How to update apps in MacOS: Two options

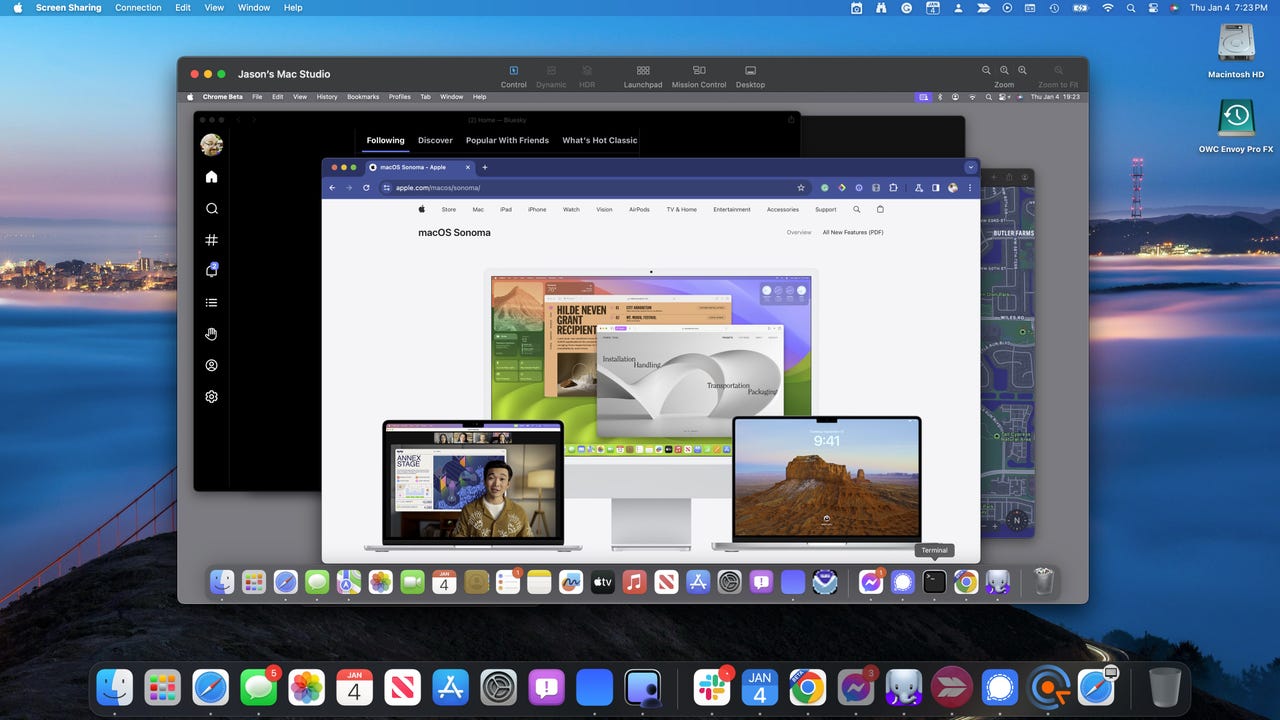
Screen Sharing on MacOS Sonoma Jason Perlow/ZDNET
Any time I see updates available for my MacOS machines, I immediately apply them. Why? Because those updates often contain security patches that keep my computers safe. Those updates might also contain new features for apps or performance and reliability improvements. Either way, I find these updates to be an essential part of maintaining the security of my devices and keeping my mind at ease.
Also: How I purged over 175GB of files from my Mac in under a minute (and you can too)
When I go to update a MacOS device, I know there’s more than one way to approach the task — from the App Store (via the MacOS GUI) or from the command line. Because I’ve spent decades working with Linux, I’m 100% comfortable using the command line, so I will sometimes open the terminal app, check for upgrades, and then run them when they’re available. Or, if I’m feeling a bit lazy, I’ll just go the App Store route.
Let me show you both approaches.
How to update MacOS apps from the App Store
What you’ll need: The only things you’ll need are an Apple device (a MacBook or iMac) and a valid user account on the machine. That’s it. Let’s get to the updates.
The fastest way to check and see if there are any updates available is by clicking the Apple button in the upper-left corner, where you might see something like 2 updates listed (indicating you have two apps that have updates available). Click that entry to open the App Store.
I have two available updates on my MacBook Pro. Screenshot by Jack Wallen/ZDNET
When the App Store opens, you can either update the apps individually (by clicking the Update button associated with the app in question) or update them all at once (by clicking Update All). During the update process, you might be prompted to close an app (or even a related app) if it’s blocking the update from continuing. Should that be the case, close the app in question, return to the App Store, and click Continue from the pop-up warning.
These two apps on my MacBook Pro have pending updates. Screenshot by Jack Wallen/ZDNET
Once the update is completed, close the App Store and you’re done.
How to update MacOS apps from the command line
This is a bit more complicated, for two reasons: first, you have to find out what apps are available for updating, and, second — as with Linux — the app names are case-sensitive.
To run commands, you must first open the terminal app, which can be done from the Launchpad. Click the Launchpad icon in your Dock and then type terminal. Click the launcher to open the Terminal app.
Next, you need to run the command to check for updates. The command in question is softwareupdate and is used for both checking and running the updates. To check for available updates, issue the command:
sudo softwareupdate -l
You will be prompted for your sudo password (which is your MacOS user password).
Also: How to update every Apple device (iPhone, iPad, Apple Watch, Mac, more)
The -l option stands for list. This will print out any available app updates and, if required, it will inform you if a restart is needed to complete any recent OS updates. If you see such a warning, make sure to do the reboot to complete the process.
Let’s say the command lists that Apple Mail has an update available, which should be listed as Mail (remember, case sensitivity). Before you update the app, make sure to close it first. Once closed, update the app with a command like this:
sudo softwareupdate -i Mail
After successfully typing your sudo password, the update will proceed. When the update completes, you may or may not have to restart the machine. (You will be informed if a reboot is necessary.) You can then re-open the app you just updated and enjoy whatever fresh features or security patches the update applied.
Also: The Apple products you shouldn’t buy this month
This is about as simple a method as you’ll find to help keep your MacOS machines running smoothly and securely. Never leave an app update lingering because it often contains security patches, which are required for the health and well-being of your operating system.
READ MORE HERE
