How to use Rancher in Kubernetes Solution Engineer
Container Security
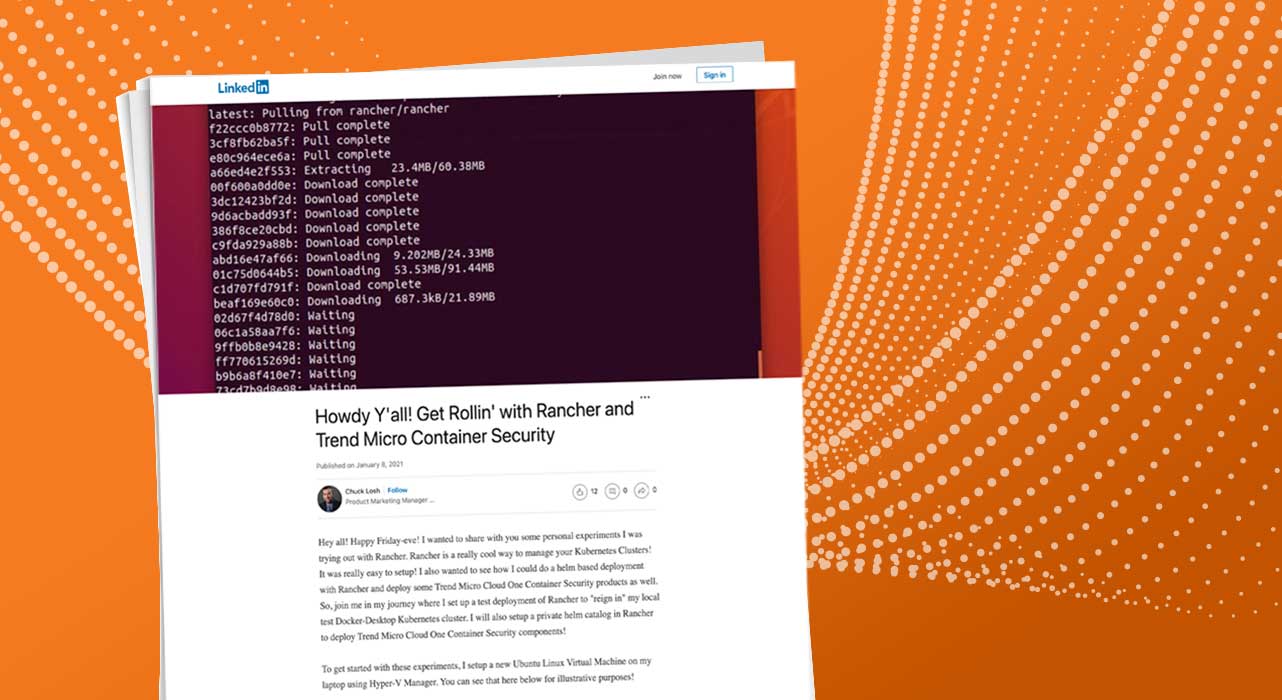
Author Chuck Losh sets up a test deployment of Rancher to “reign in” his local test Docker-Desktop Kubernetes cluster, then sets up a private helm catalog to deploy Trend Micro Cloud One Container Security components
Hey all! Happy Friday-eve! I wanted to share with you some personal experiments I was trying out with Rancher. Rancher is a really cool way to manage your Kubernetes Clusters! It was really easy to setup! I also wanted to see how I could do a helm based deployment with Rancher and deploy some Trend Micro Cloud One Container Security products as well. So, join me in my journey where I set up a test deployment of Rancher to “reign in” my local test Docker-Desktop Kubernetes cluster. I will also setup a private helm catalog in Rancher to deploy Trend Micro Cloud One Container Security components!
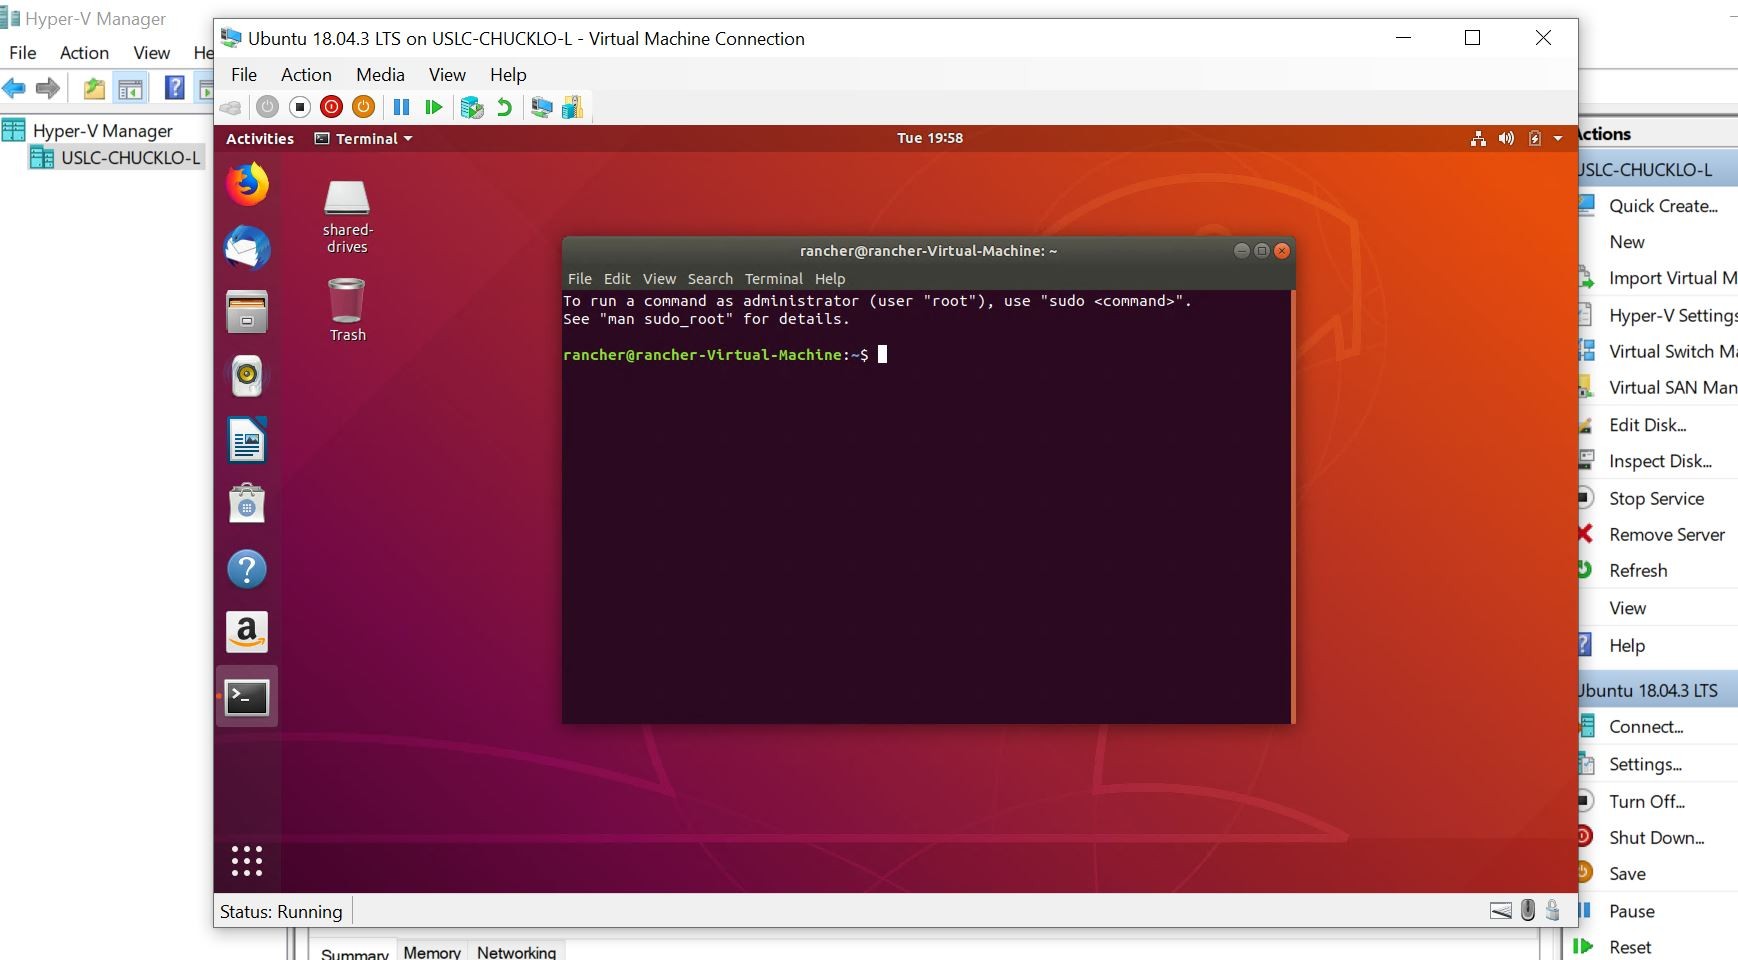
To get started with these experiments, I setup a new Ubuntu Linux Virtual Machine on my laptop using Hyper-V Manager. You can see that here below for illustrative purposes!
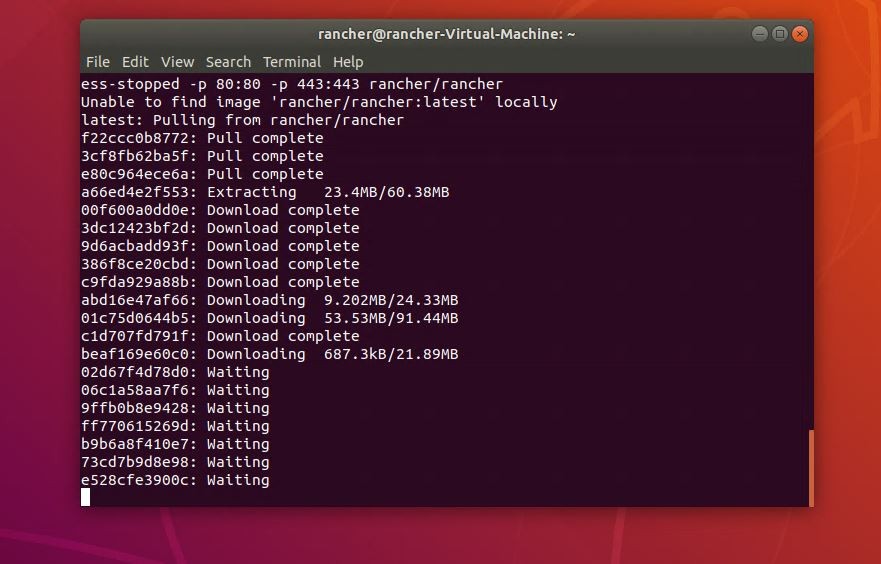
Next, I went through the Rancher install process in terminal. Pro-Tip Alert! Note: you will need Docker installed prior to running the Rancher installation.
sudo docker run –privileged -d –restart=unless-stopped -p 80:80 -p 443:443 rancher/rancher
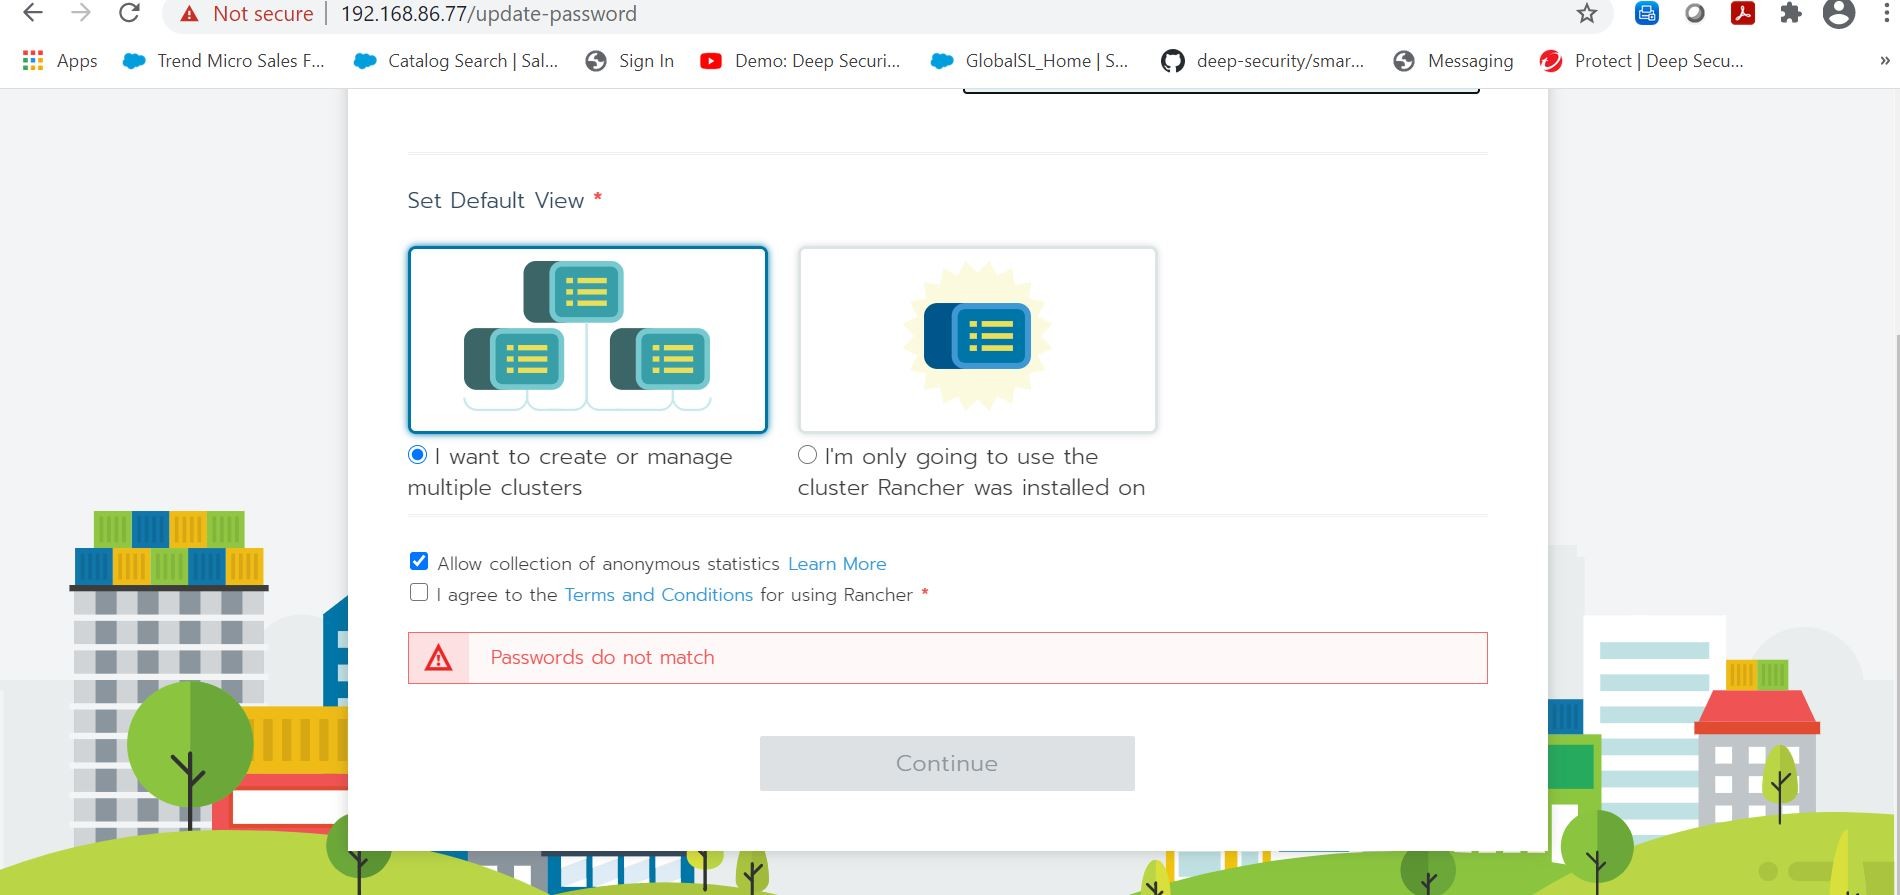
Ok, so let’s see if I can logon to Rancher in the browser! Yep I can! I am now able to setup my initial password, and also choose the option that I want to create and/or manage multiple Kubernetes clusters.
Helps also if my passwords match! Doh!
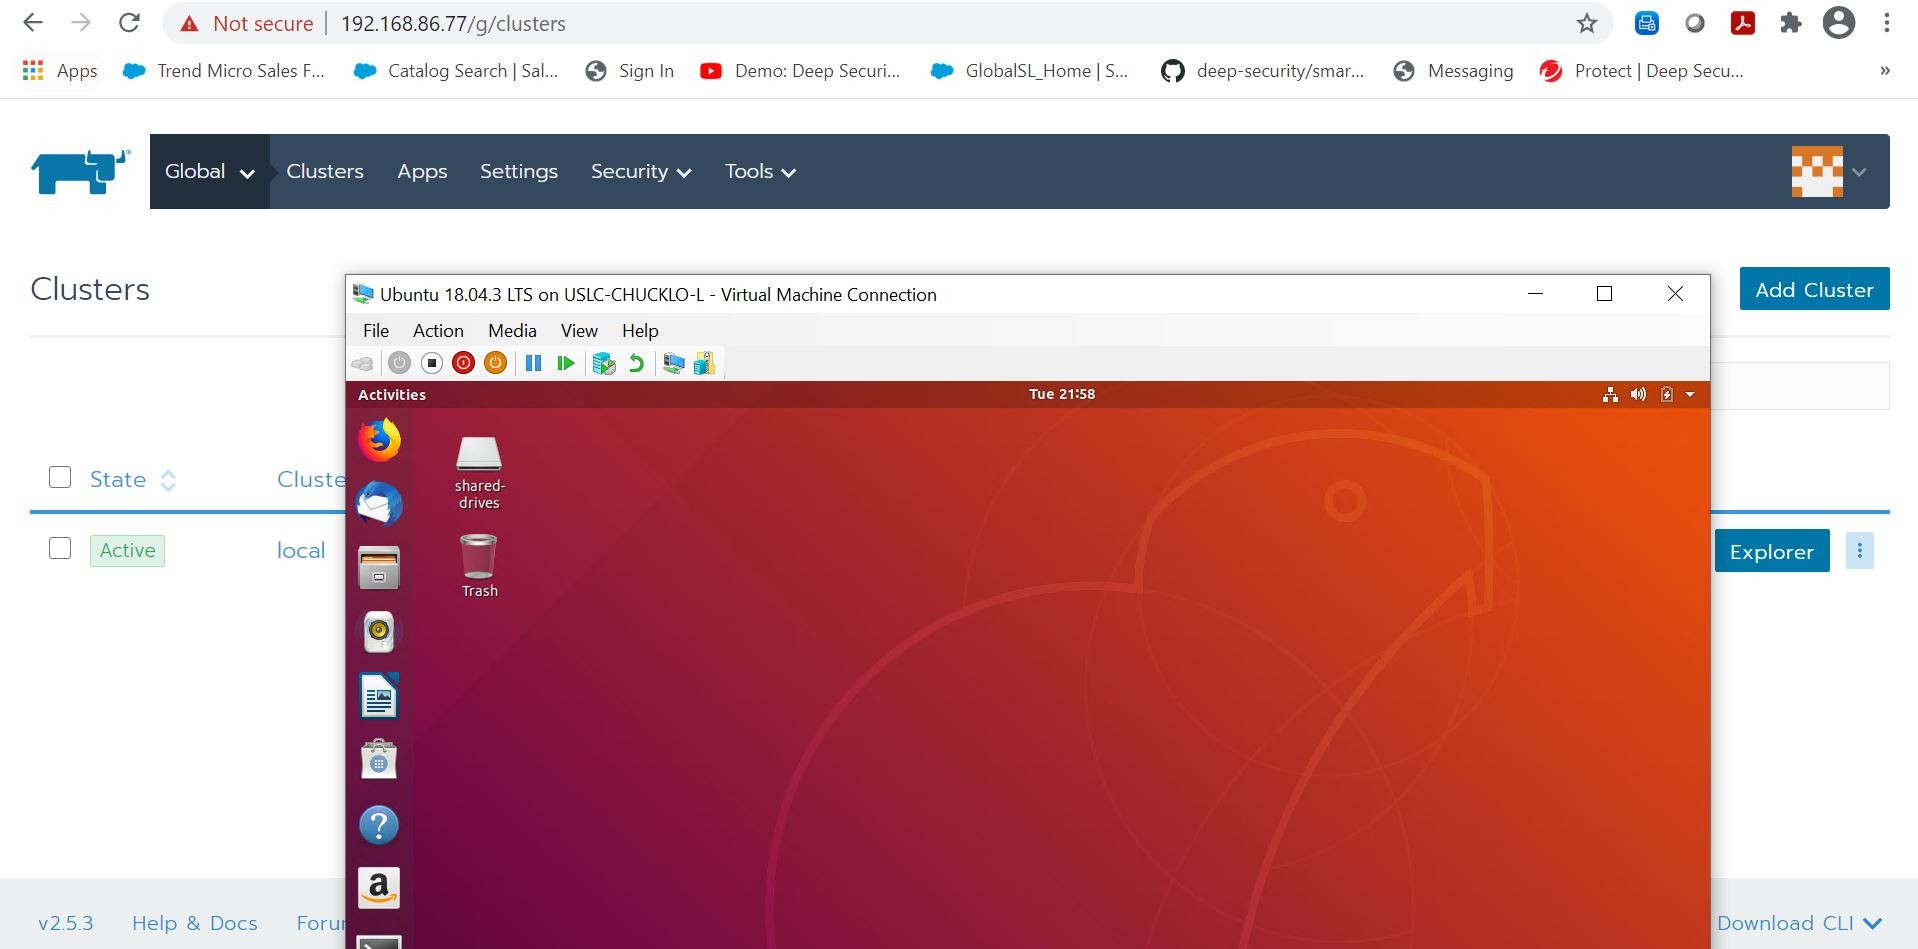
Once logged in, I can add my local Docker-Desktop Kubernetes cluster to Rancher to be managed on point!
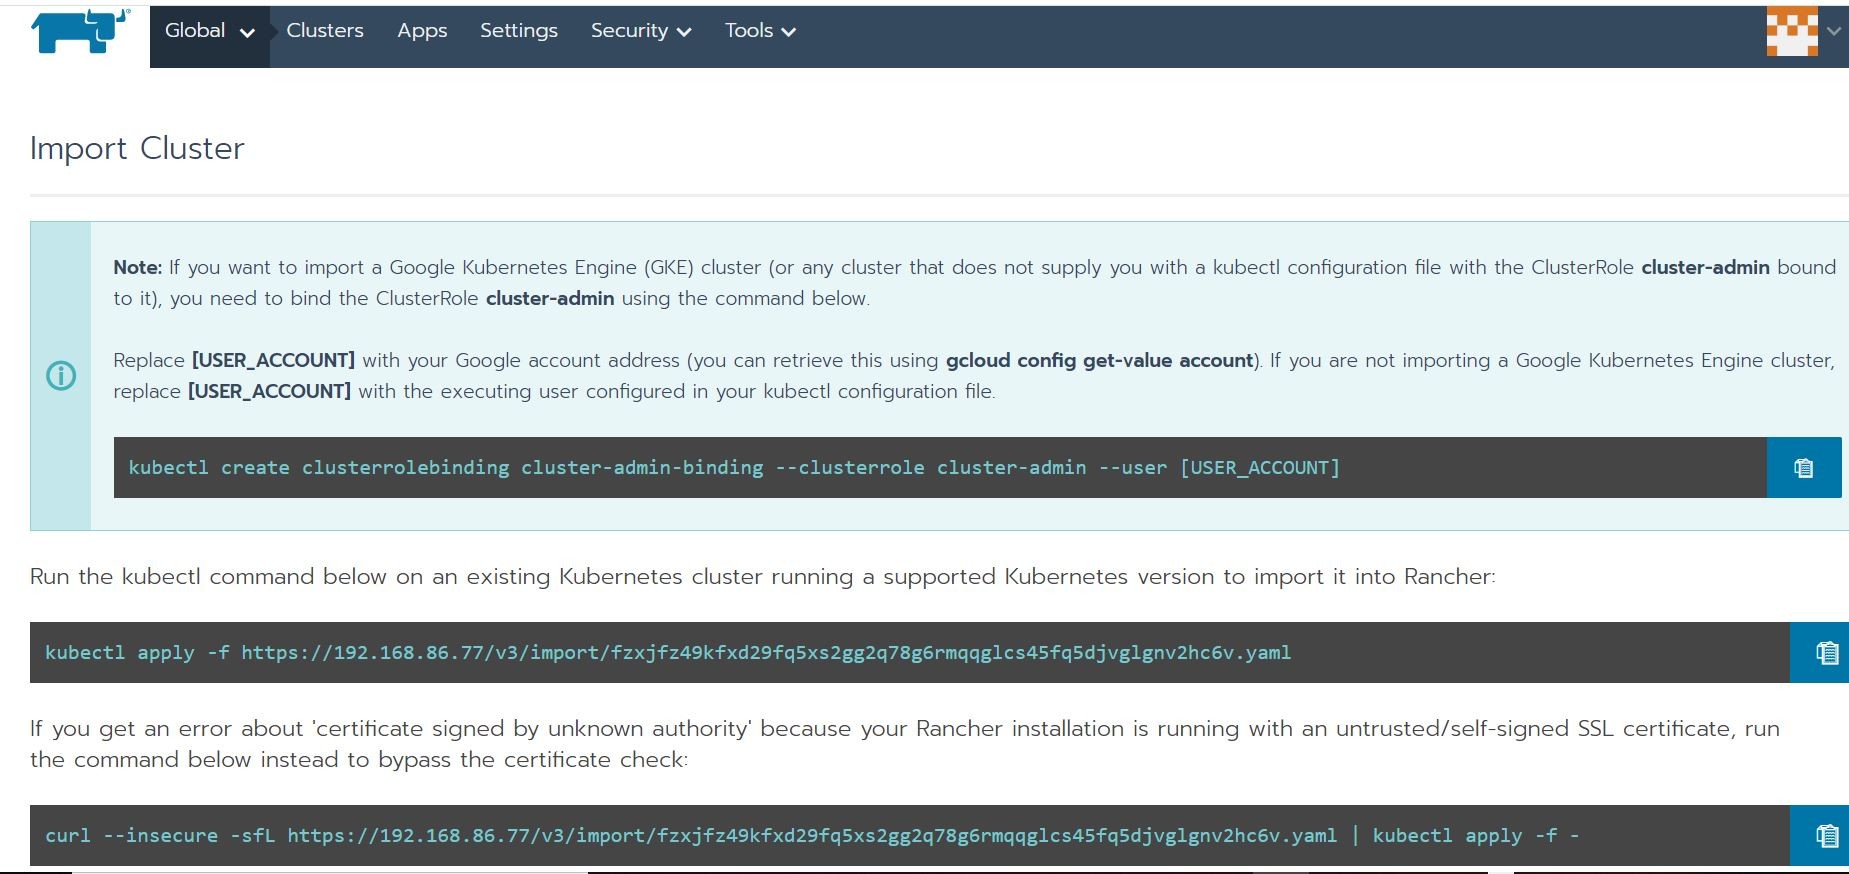
If I click the add cluster button in Rancher, I get my options displayed to do exactly just that by using the corresponding kubectl command. Awesomeness!
Here you can see me using the “self-signed” certificate kubectl option running in Git Bash. The output display shows that my Docker-Desktop Kubernetes cluster has been successfully added to Rancher!
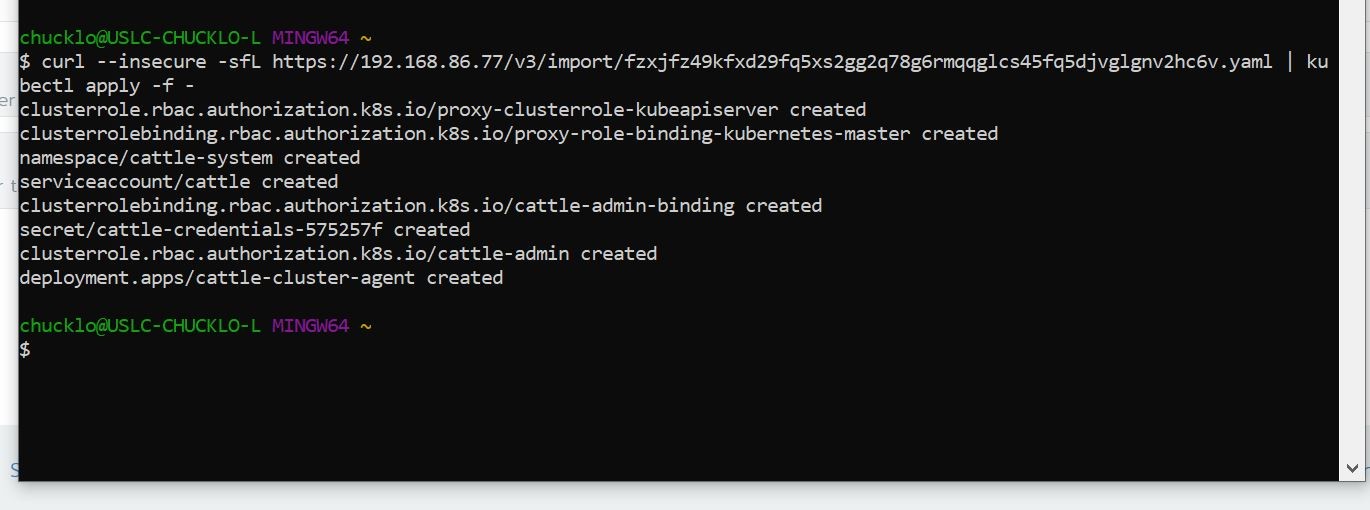
Let’s check in on Rancher and see if the Docker-Desktop Kubernetes cluster shows up on the web console now.
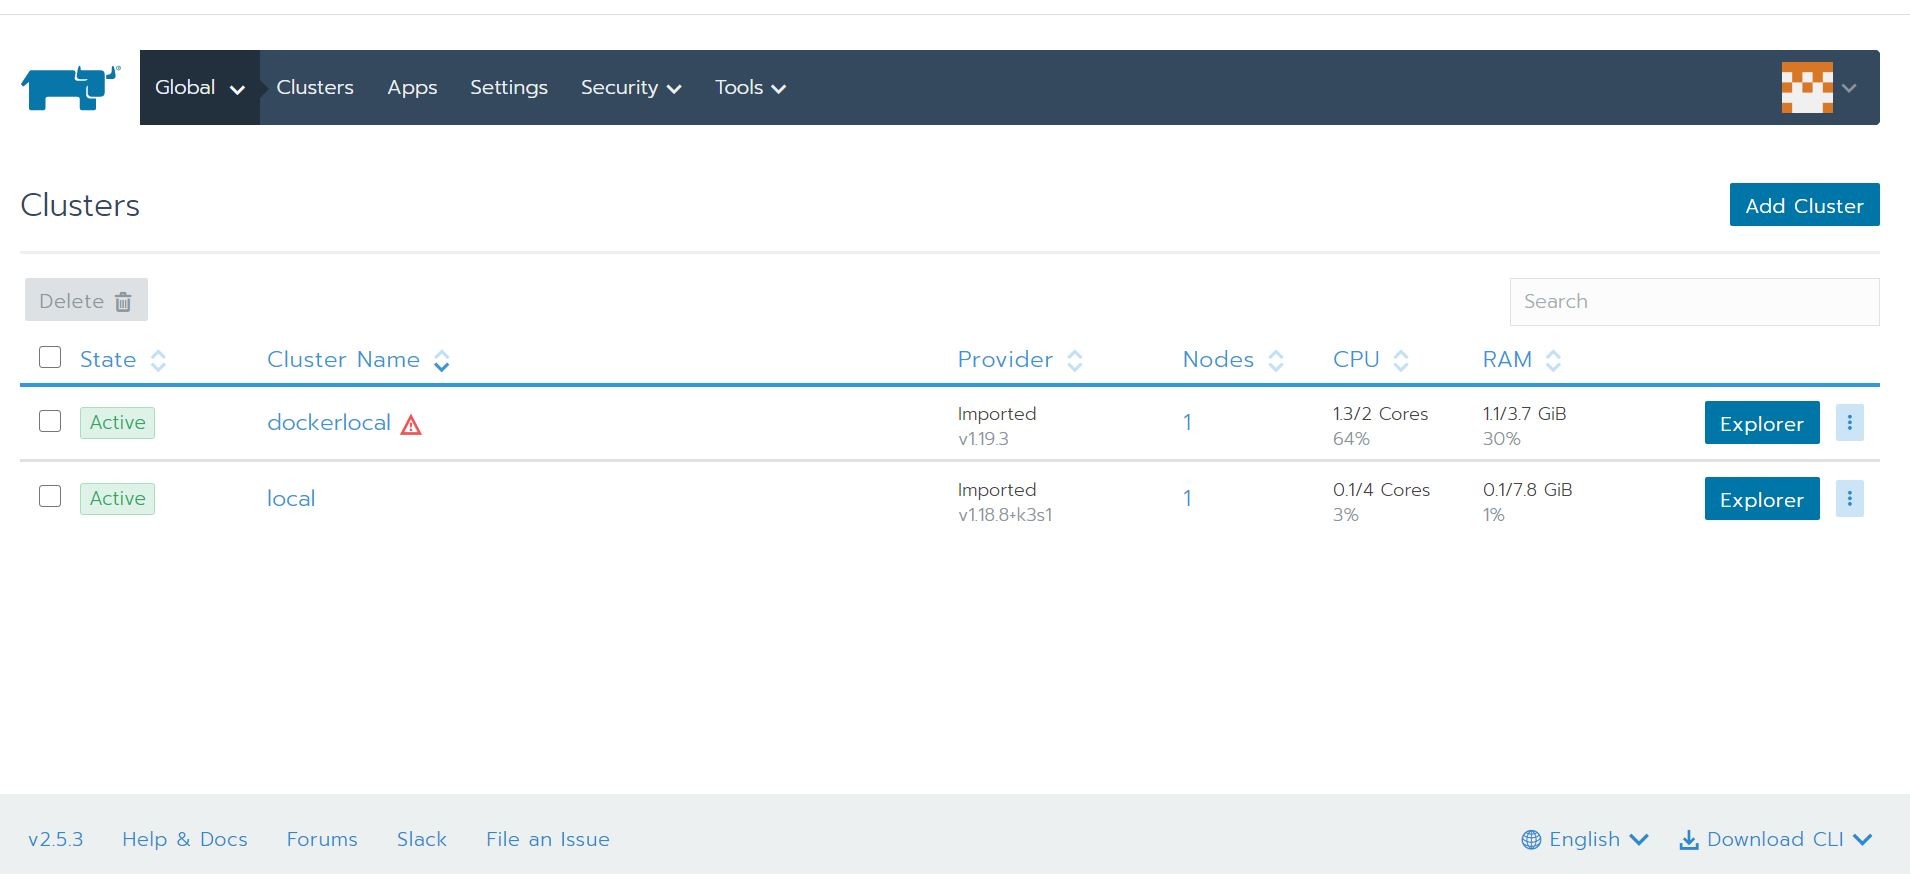
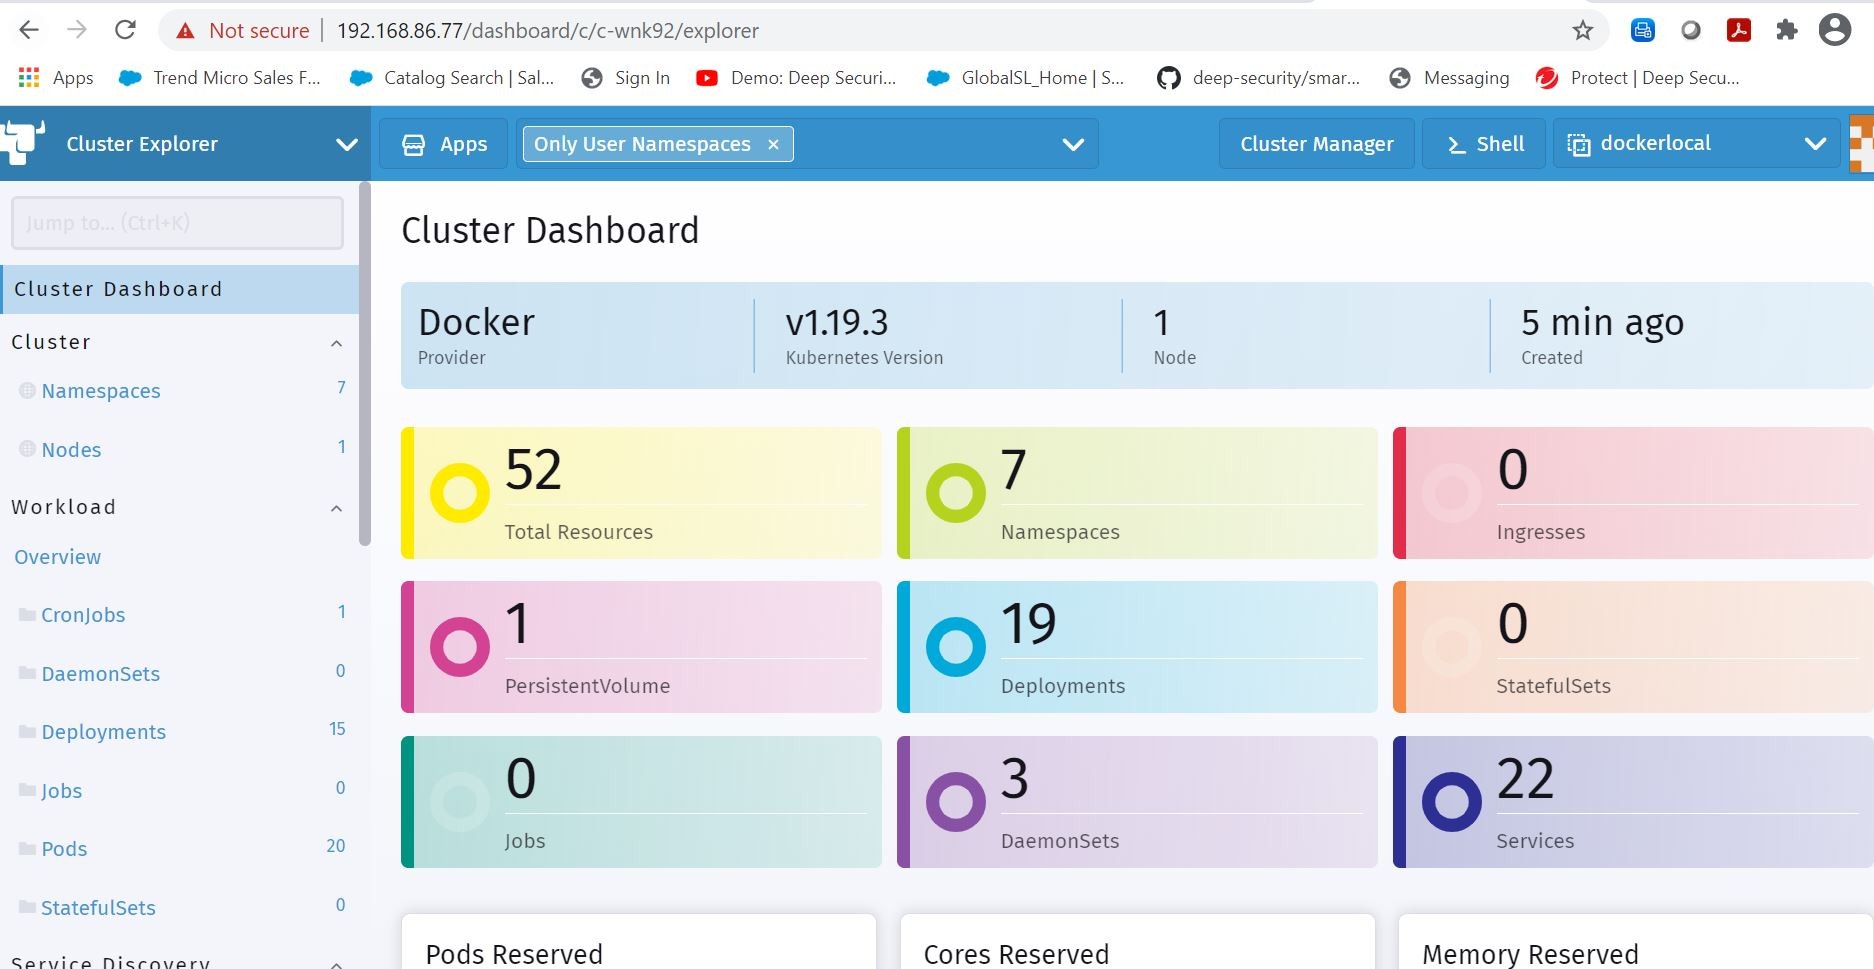
Yep, it is now imported! I can now get status information on the Kubernetes cluster, create namespaces, change settings, and issue deployments among a lot of other things. Here is an example of status information below using Cluster Explorer. Really cool dashboard!
Ok, so for starters I want to try out a helm based deployment now that my cluster is managed by Rancher. I decided set out on that journey by using the Apps and Marketplace option in Cluster Manager shown here.
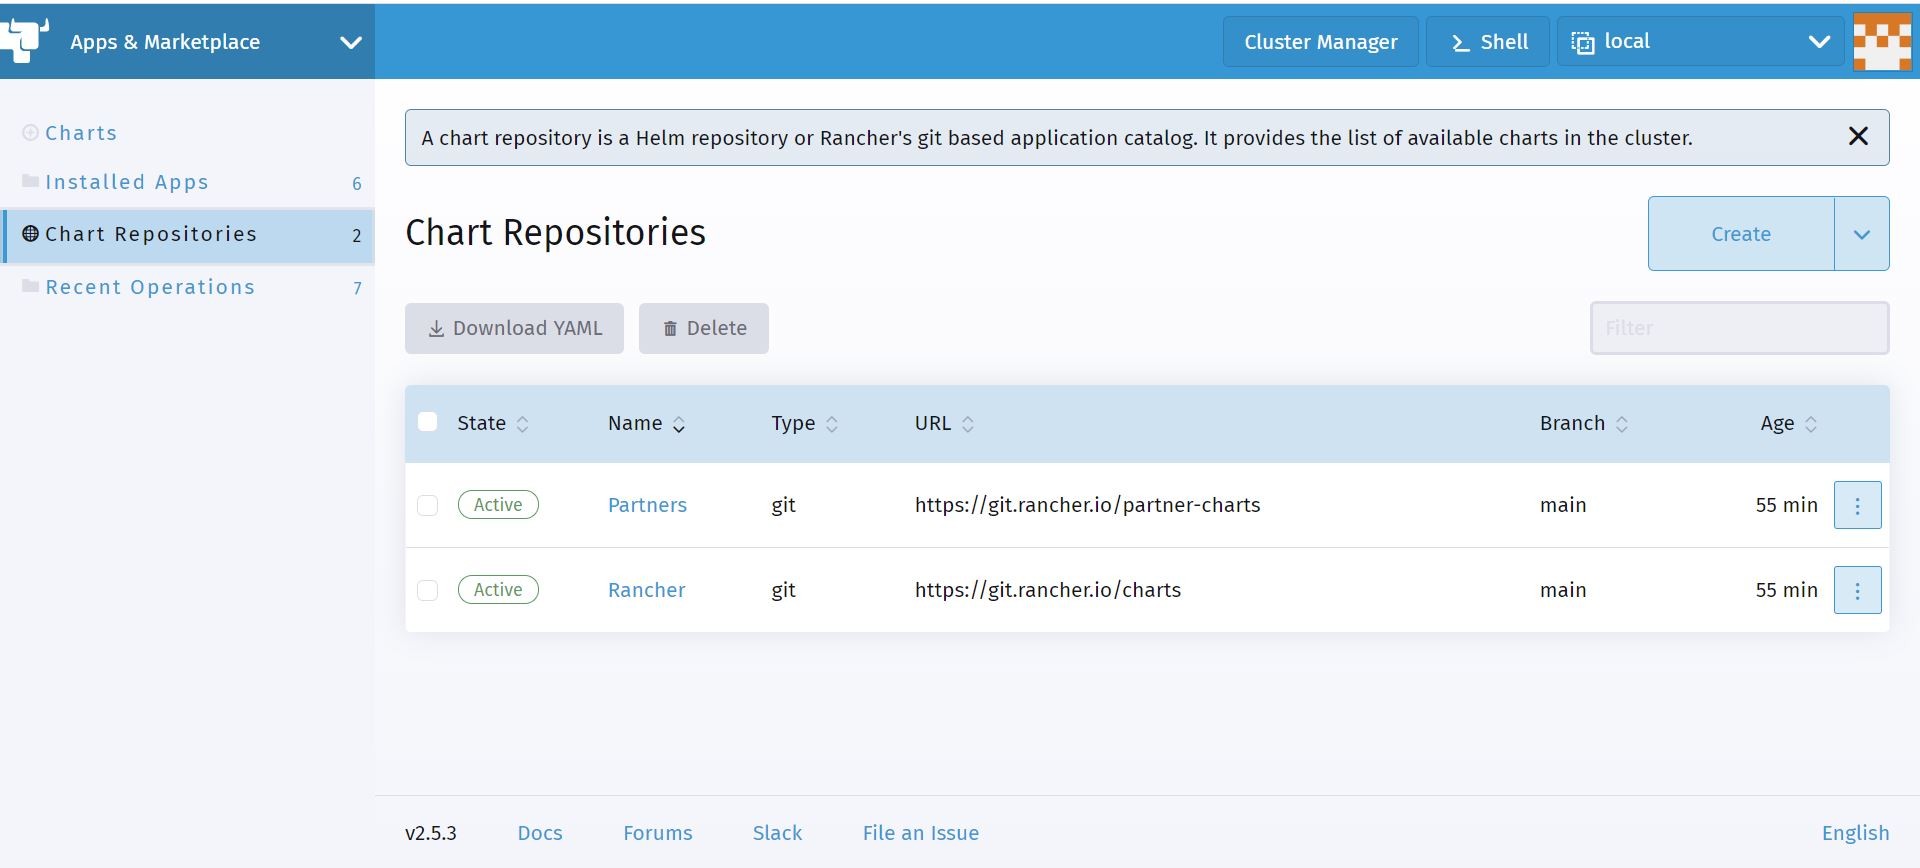
This is where you can create your very own private helm chart repository! I added the Trend Micro Deep Security Smart Check helm chart repository from GitHub shown here. This is so I can add and deploy a Container Image Scanner via Rancher into my local test Docker-Desktop Kubernetes Cluster.
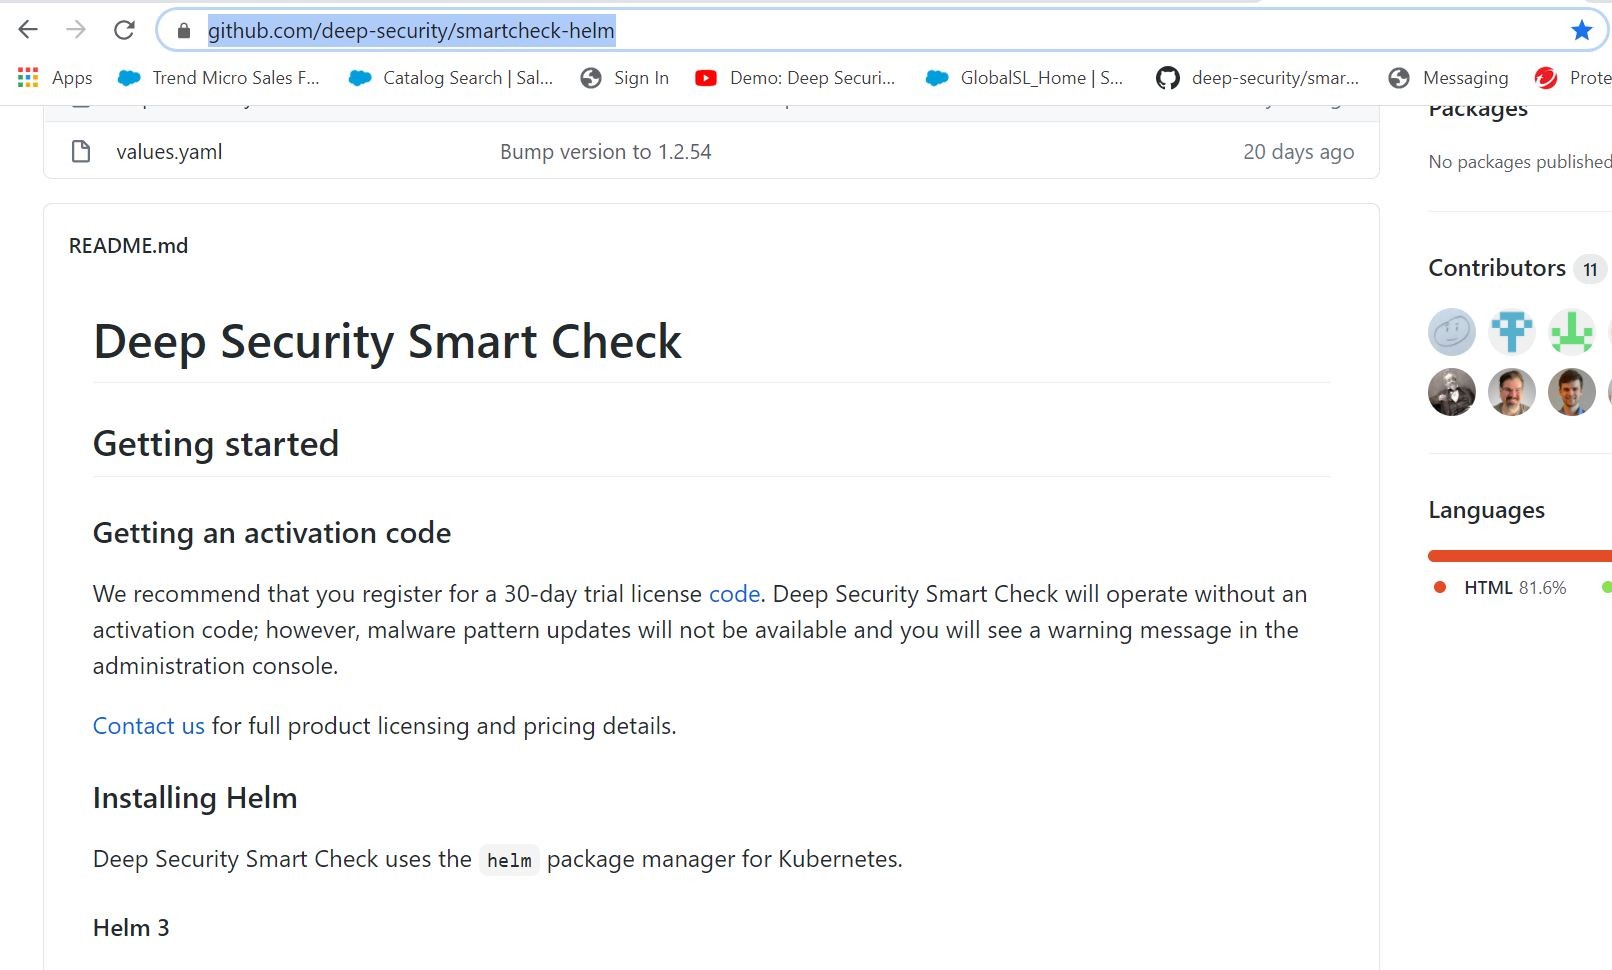
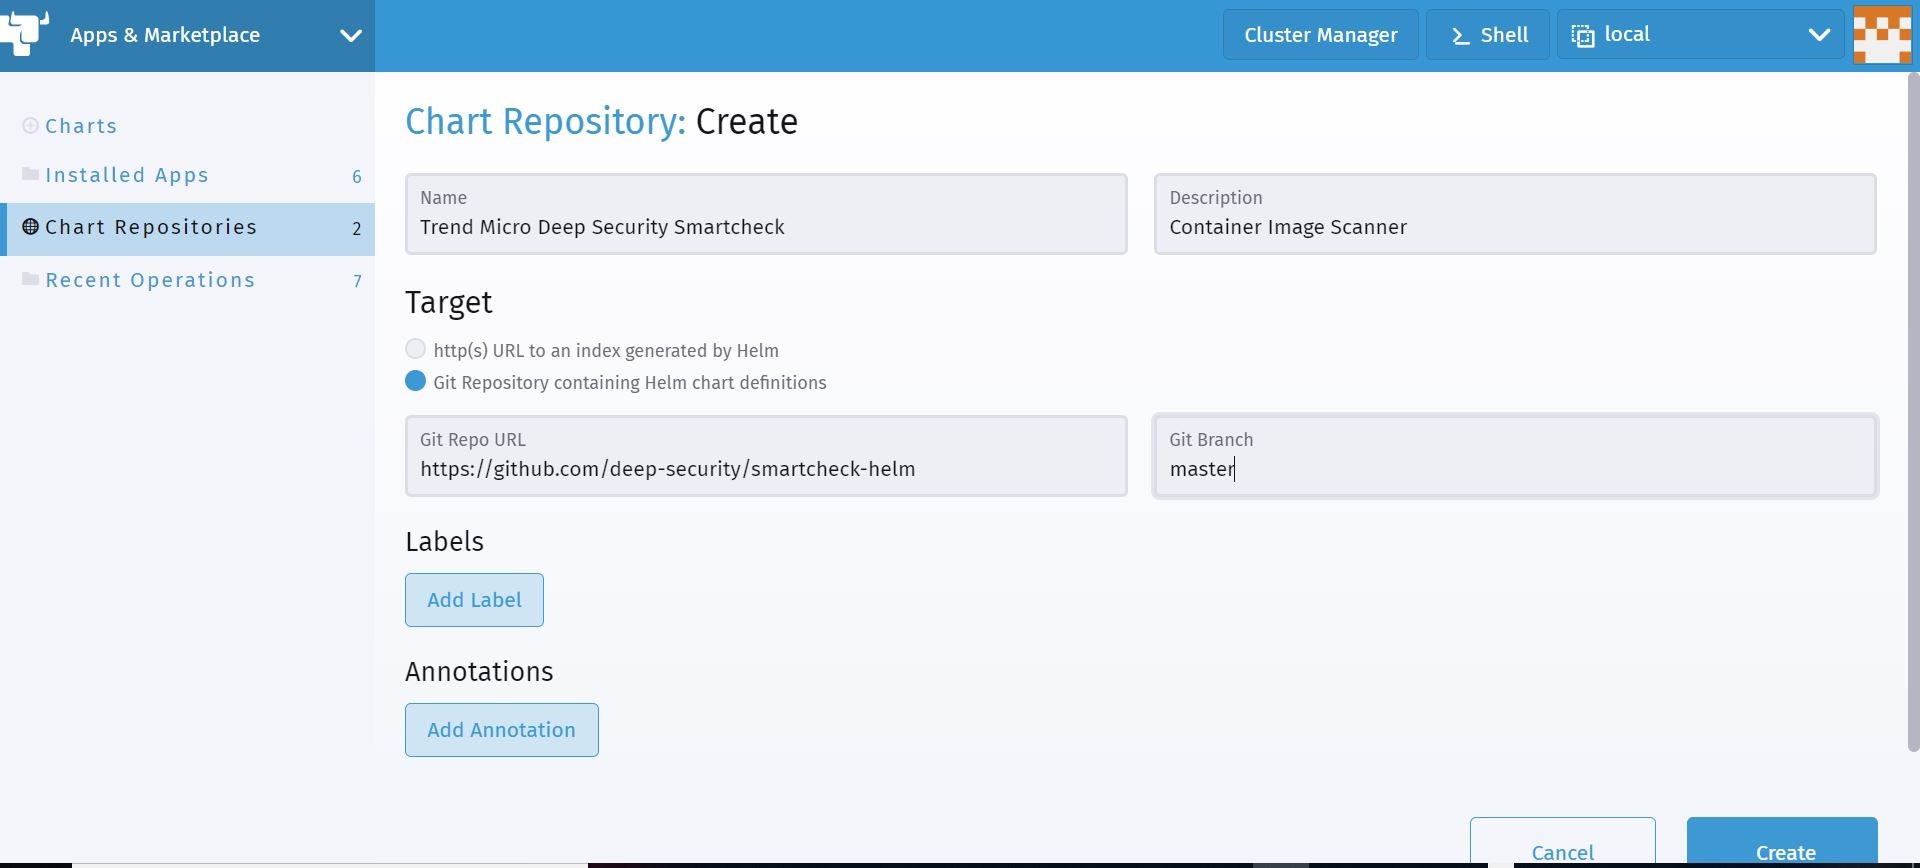
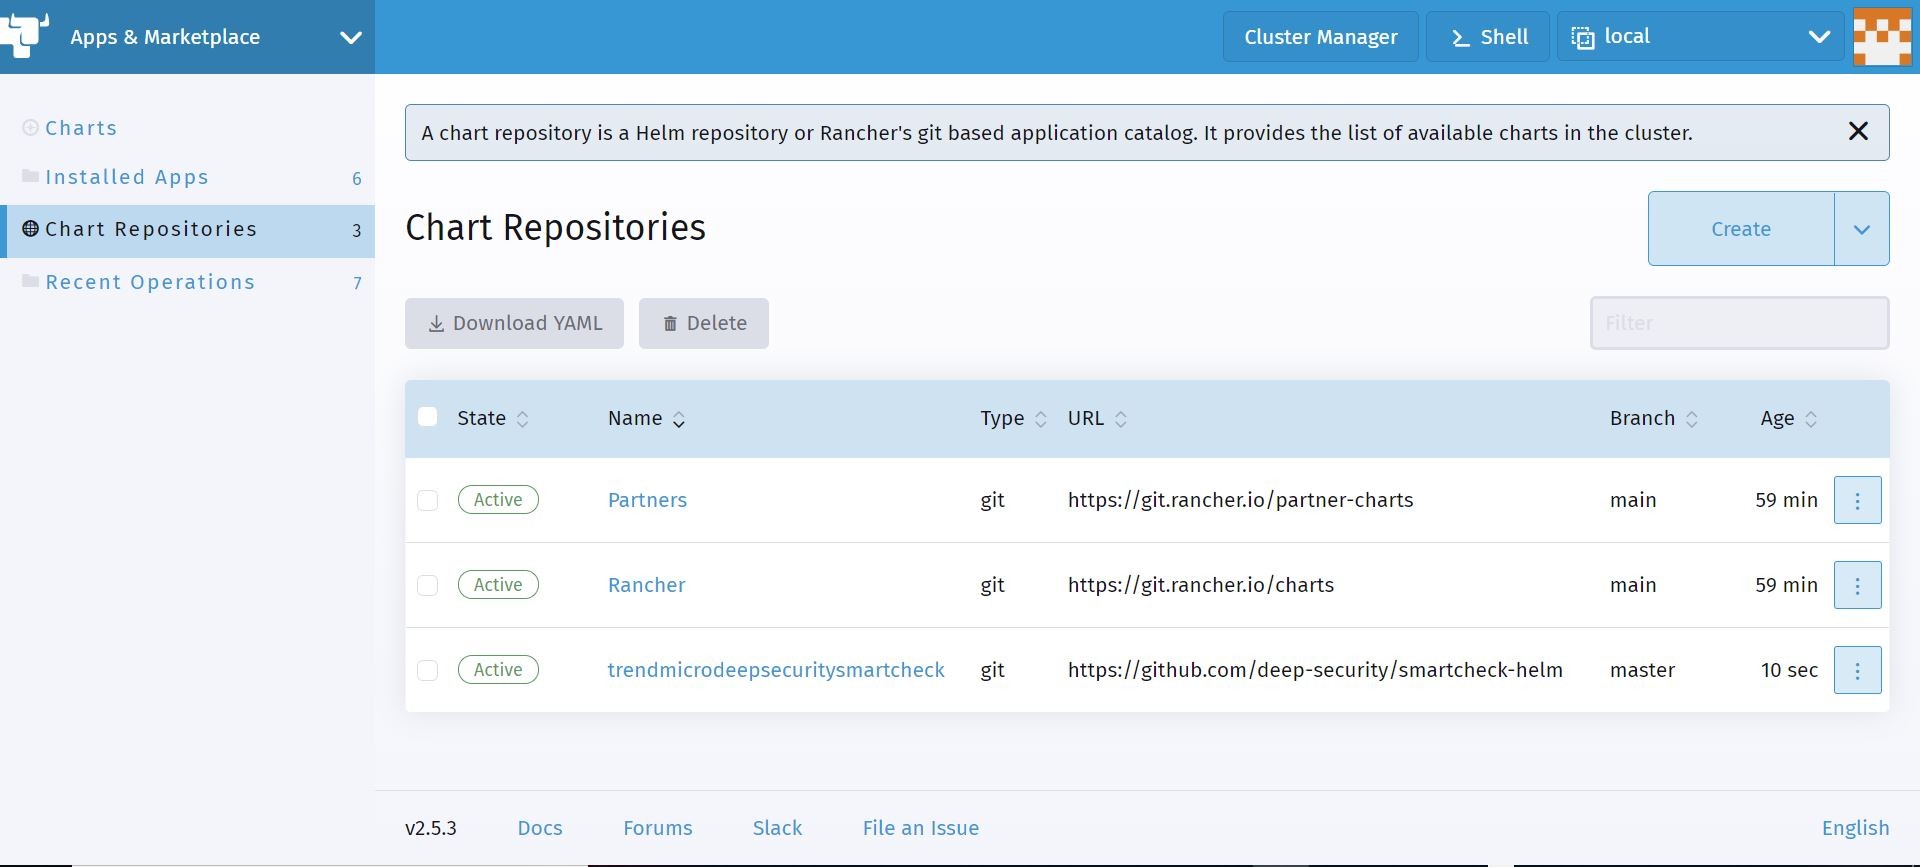
Once you add the helm chart repository from source (GitHub), I now have a repository that I can deploy from and it is showing in an active state!
Ok, so now let’s go ahead and issue a deployment of said helm chart. If I go to the charts section. I have the ability to filter, select, and deploy the private helm chart that I imported!
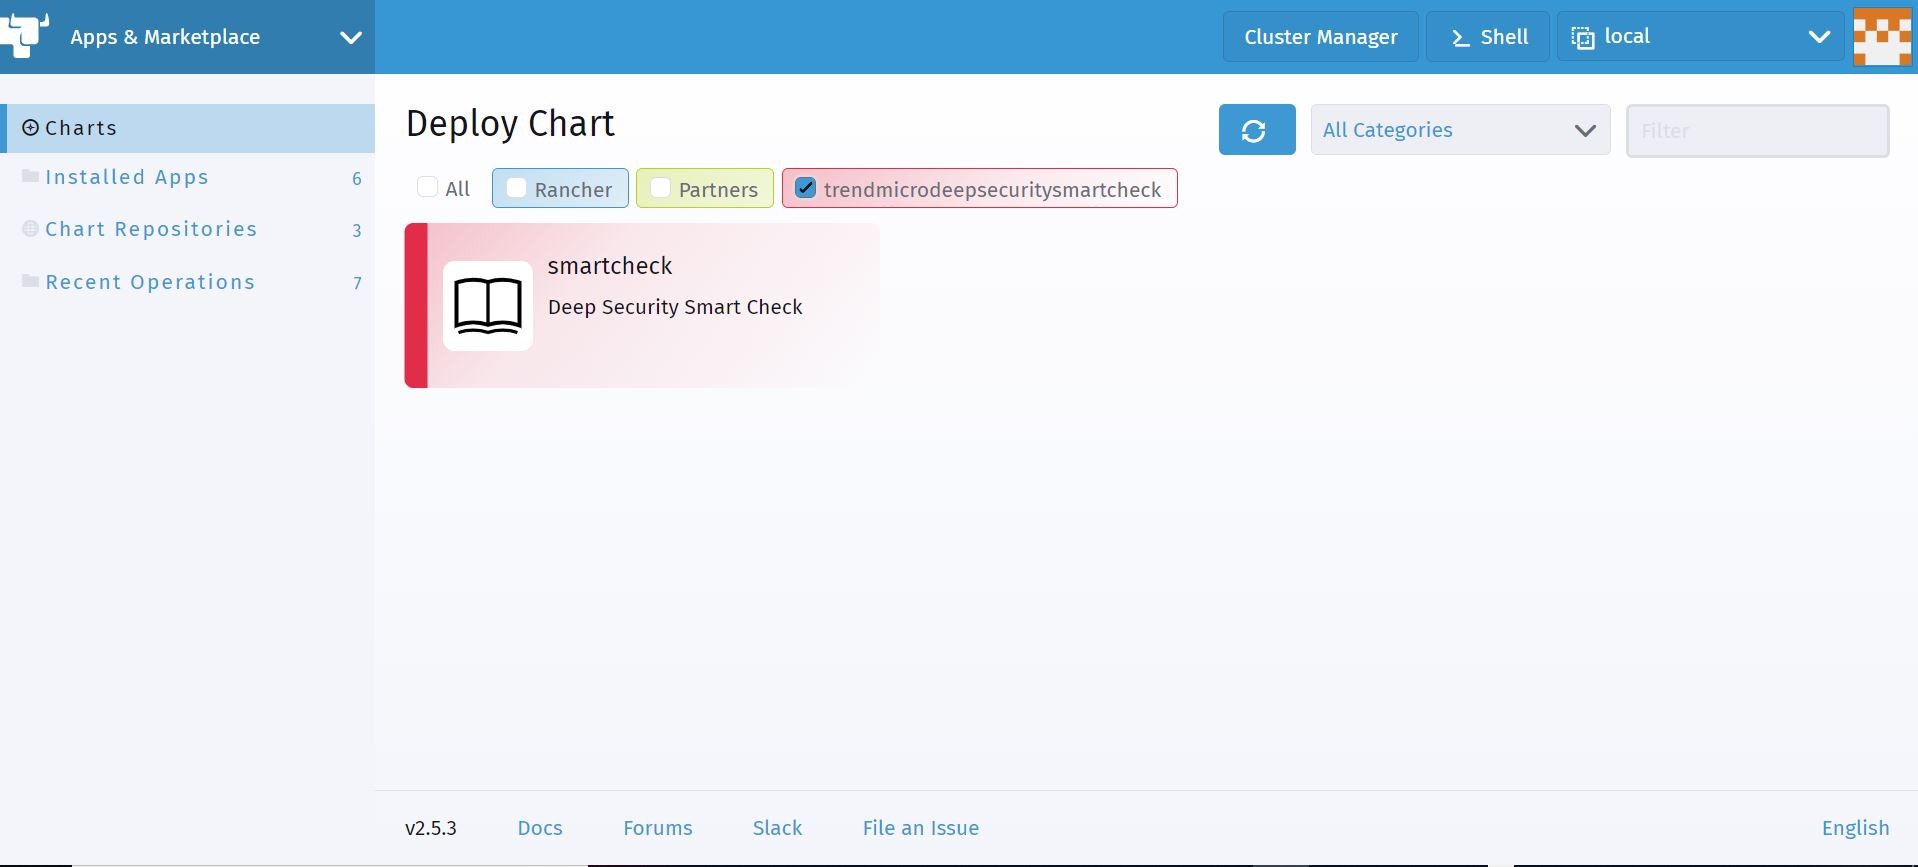
On the deployment screen, I have the ability to view the details of the chart and change configuration values such as the namespace I want to deploy to, and other values that I can change in the values.yaml file that the author has allowed me to change.
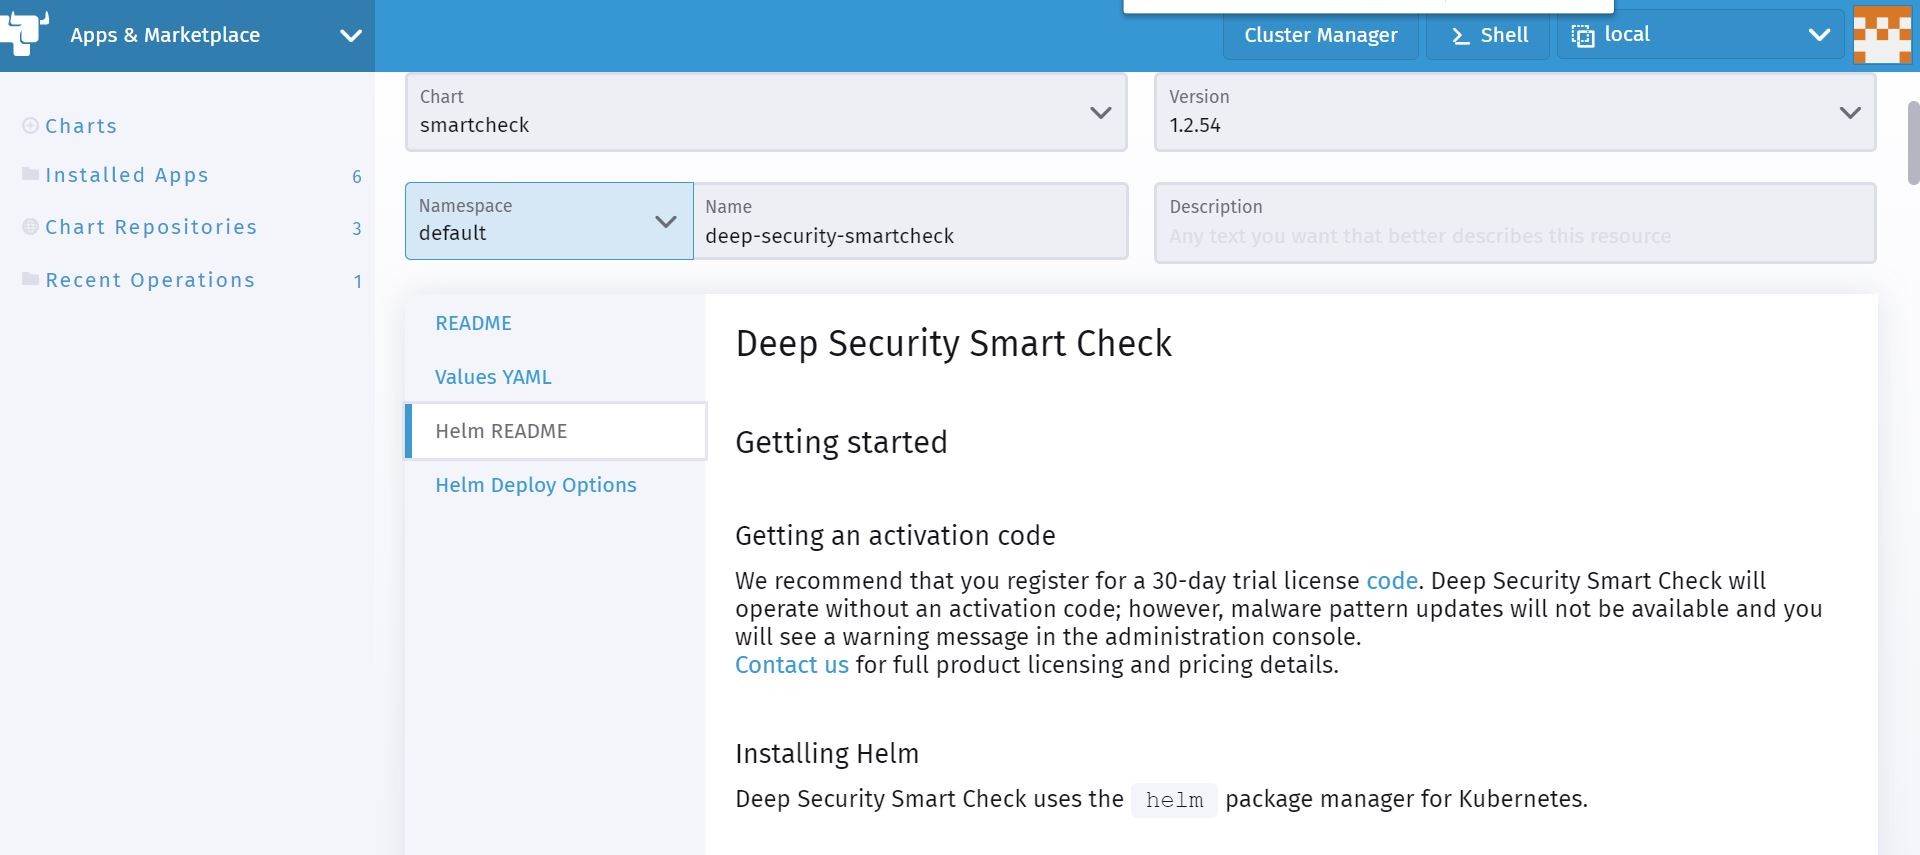
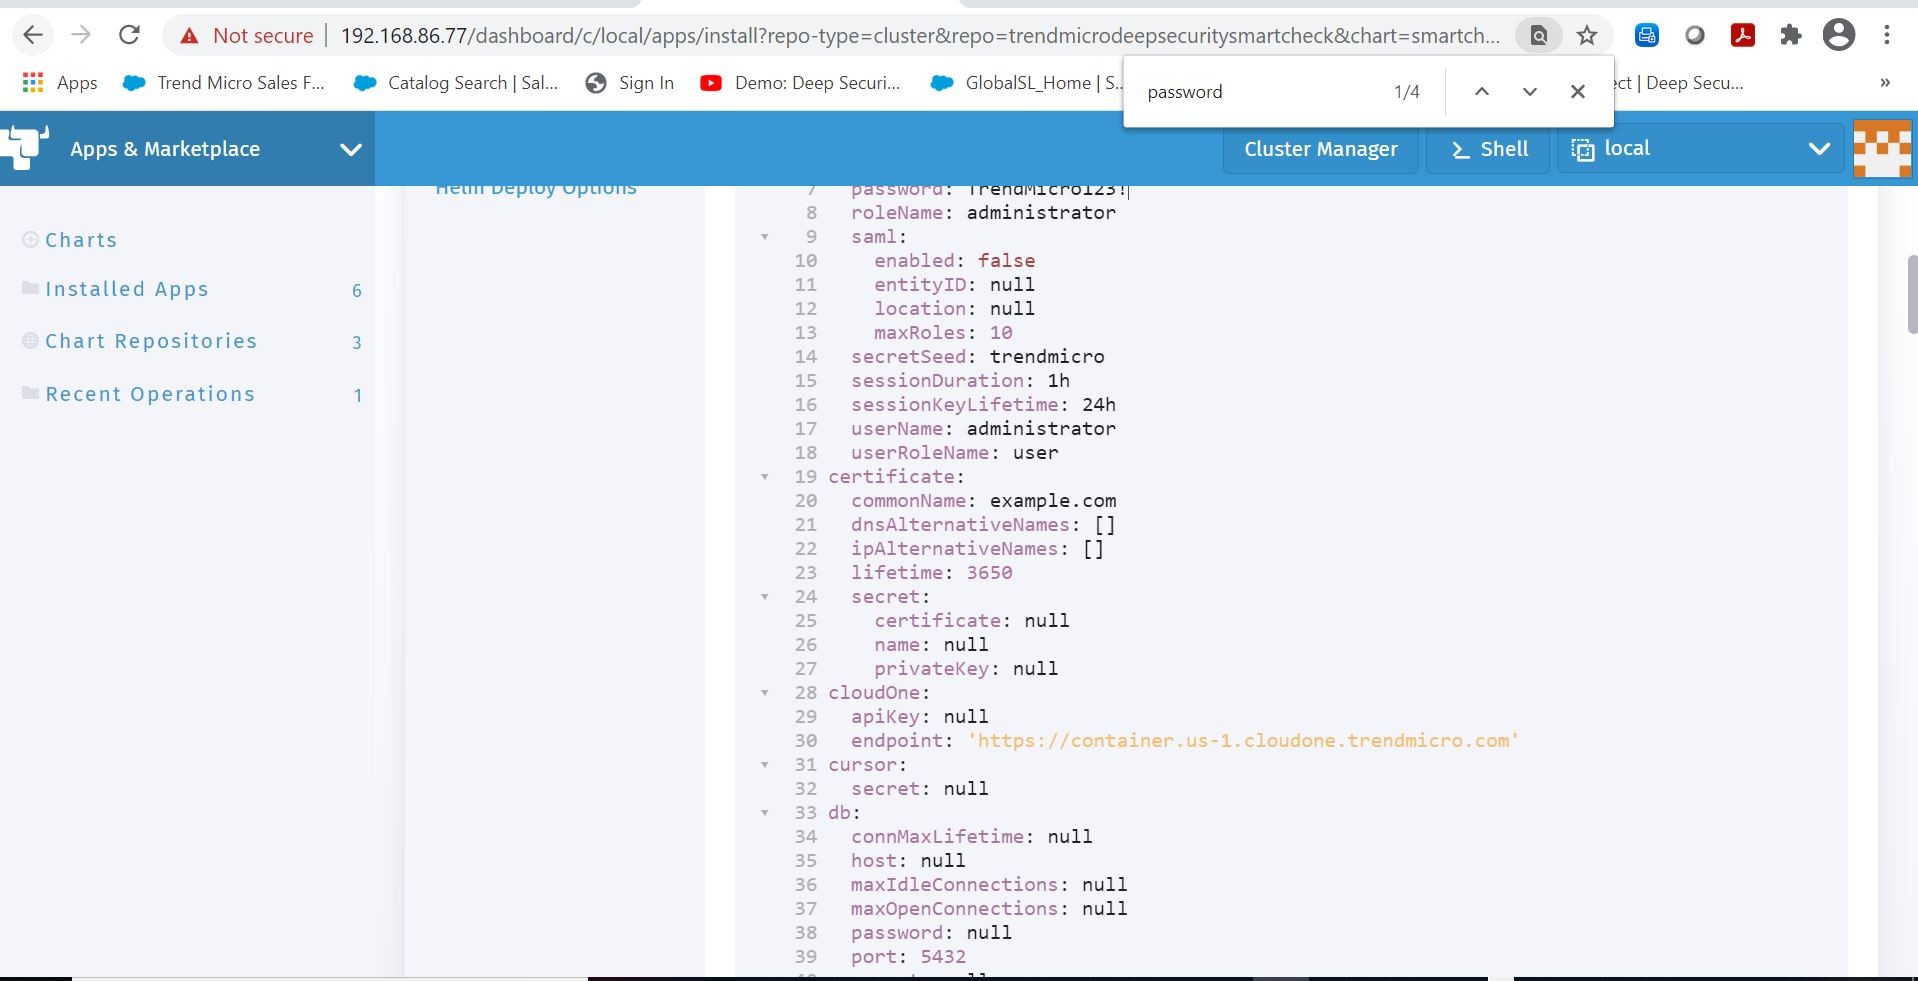
Once I have my namespace selected and configuration values that I want setup, I can go ahead and kick off the deployment.
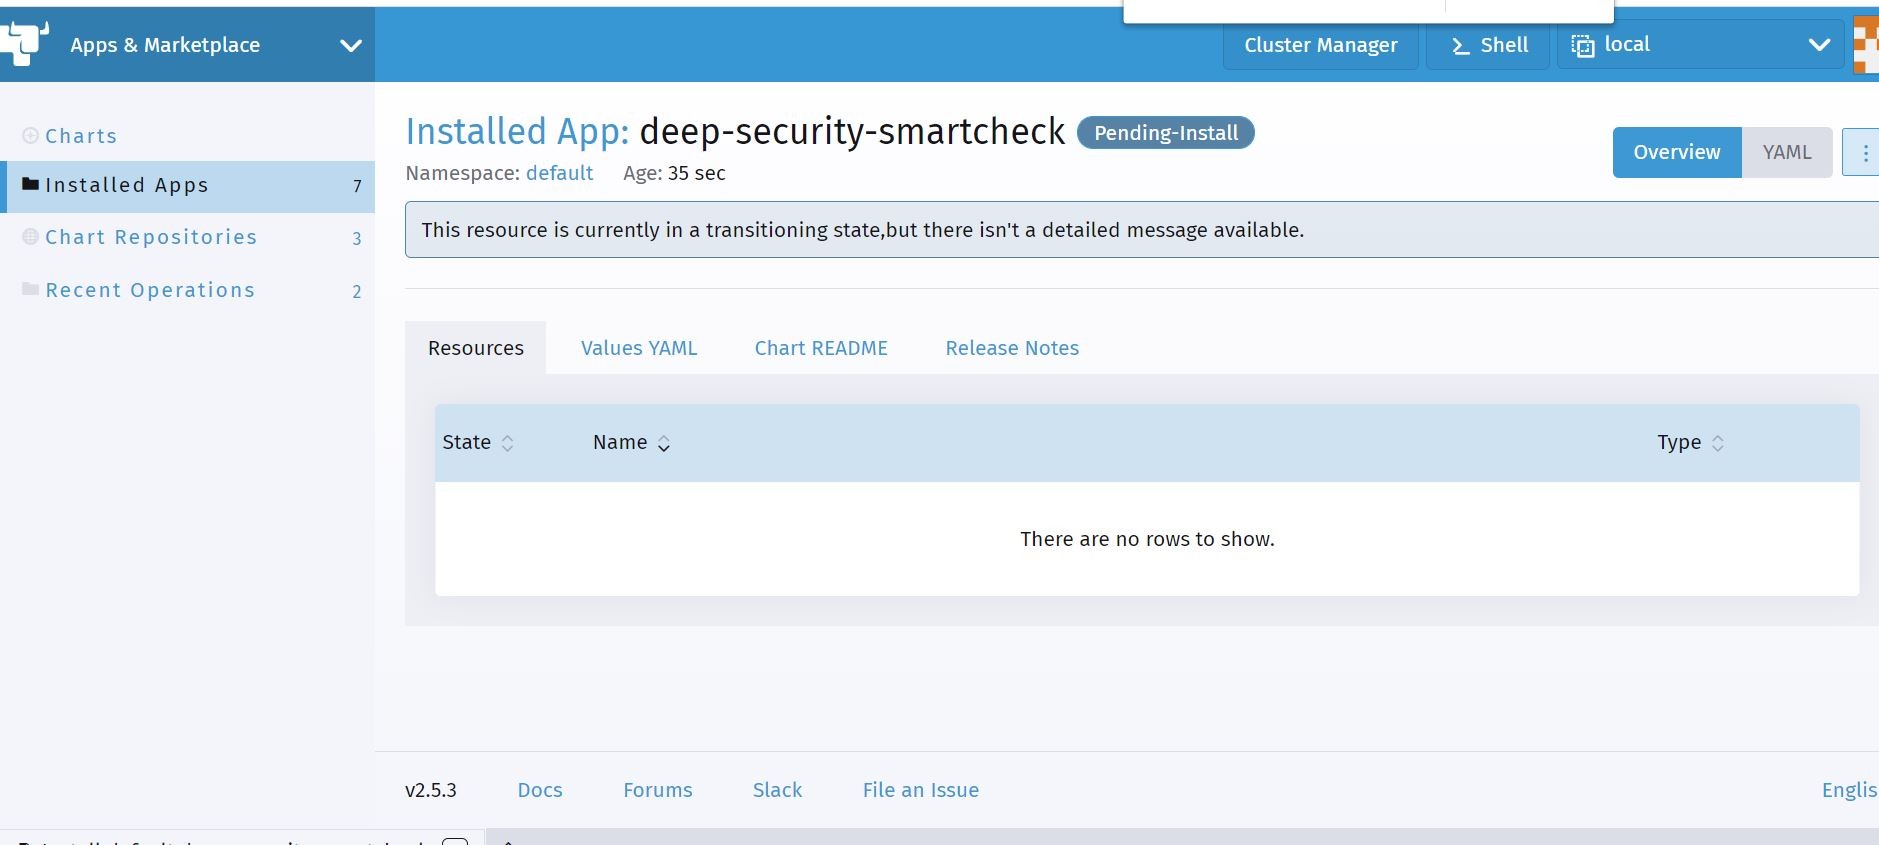
You can monitor your deployments in real-time in the Rancher console. Which is way cool!
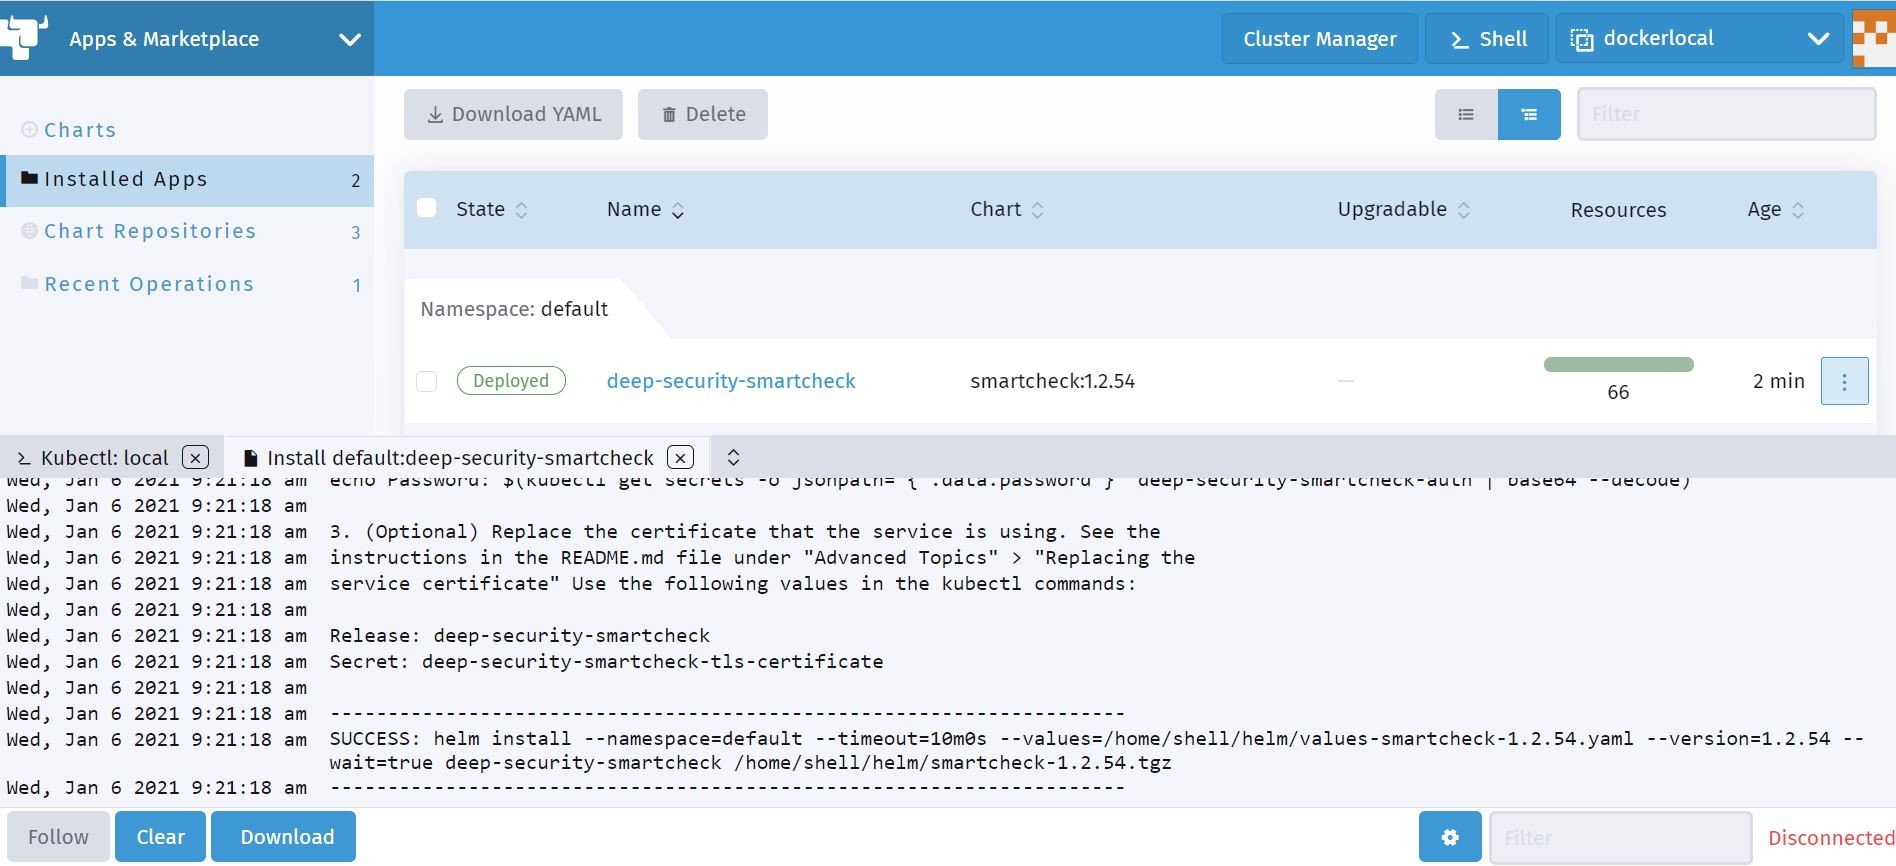
We can see that it has been deployed successfully here and ready for me to logon to the Container Image Scanner. I can also see my newly created containers running on my Kubernetes cluster on the Docker-Desktop.

Let me see if I can access the newly deployed application…
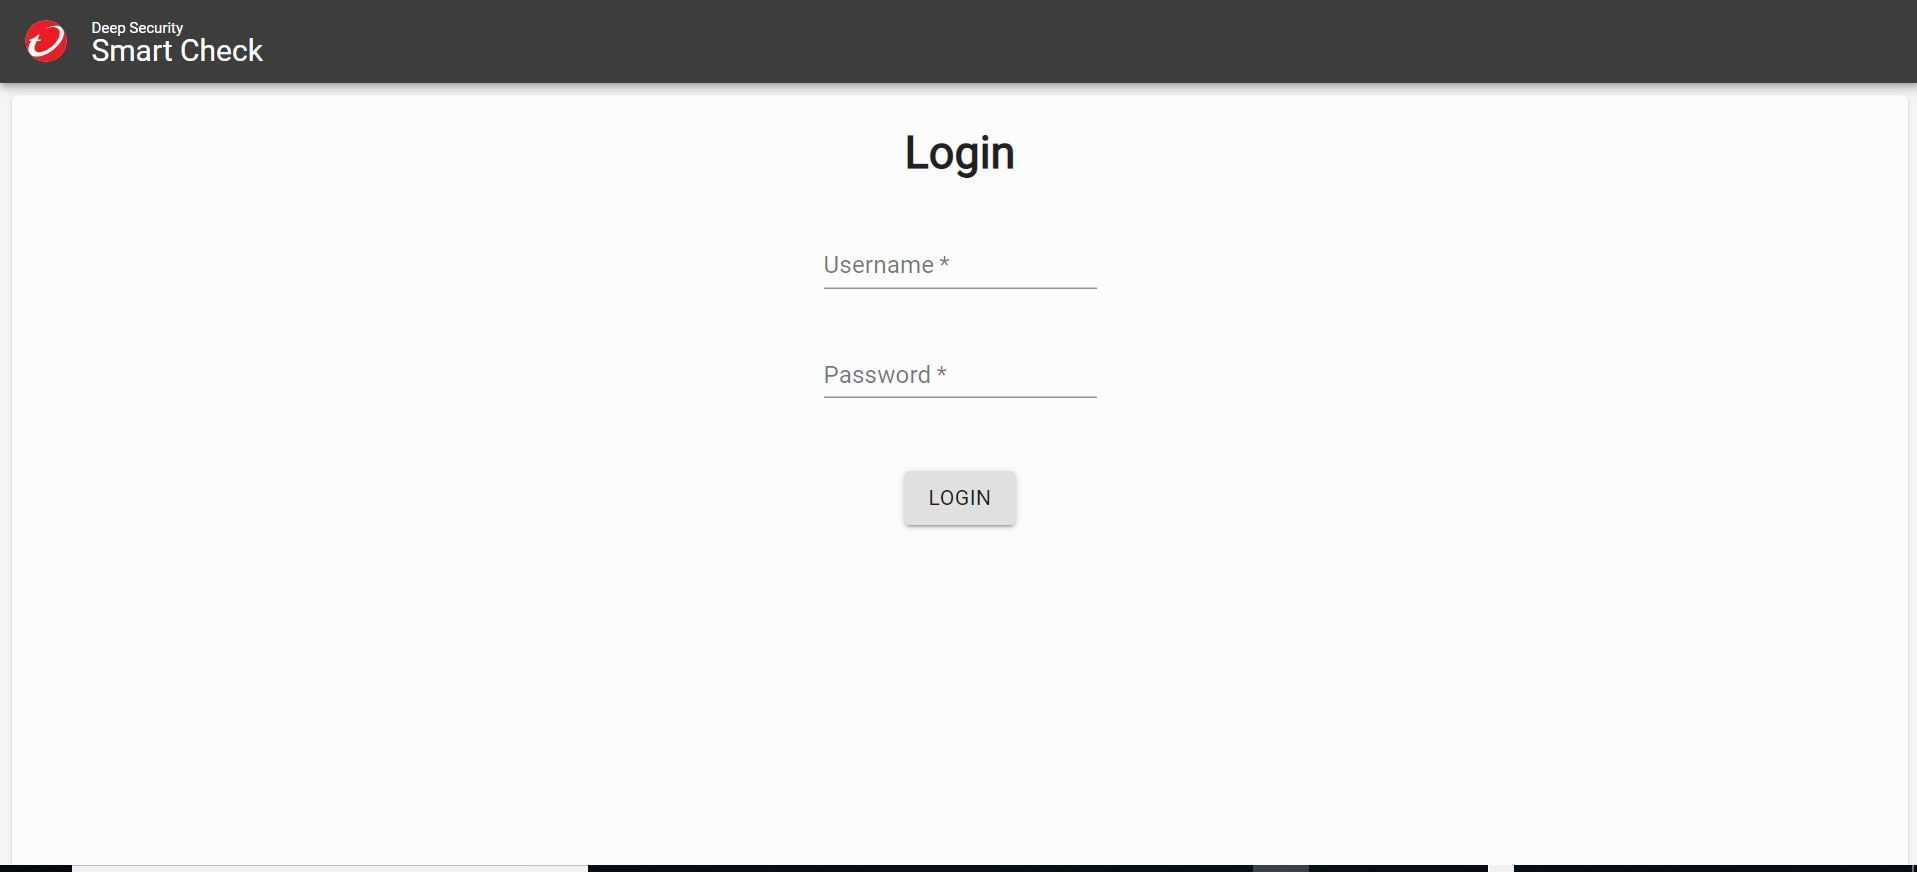
I can! Trend Micro Deep Security Smart Check solution is primed and ready to go!
I can log in and add my Container Registries to be scanned.
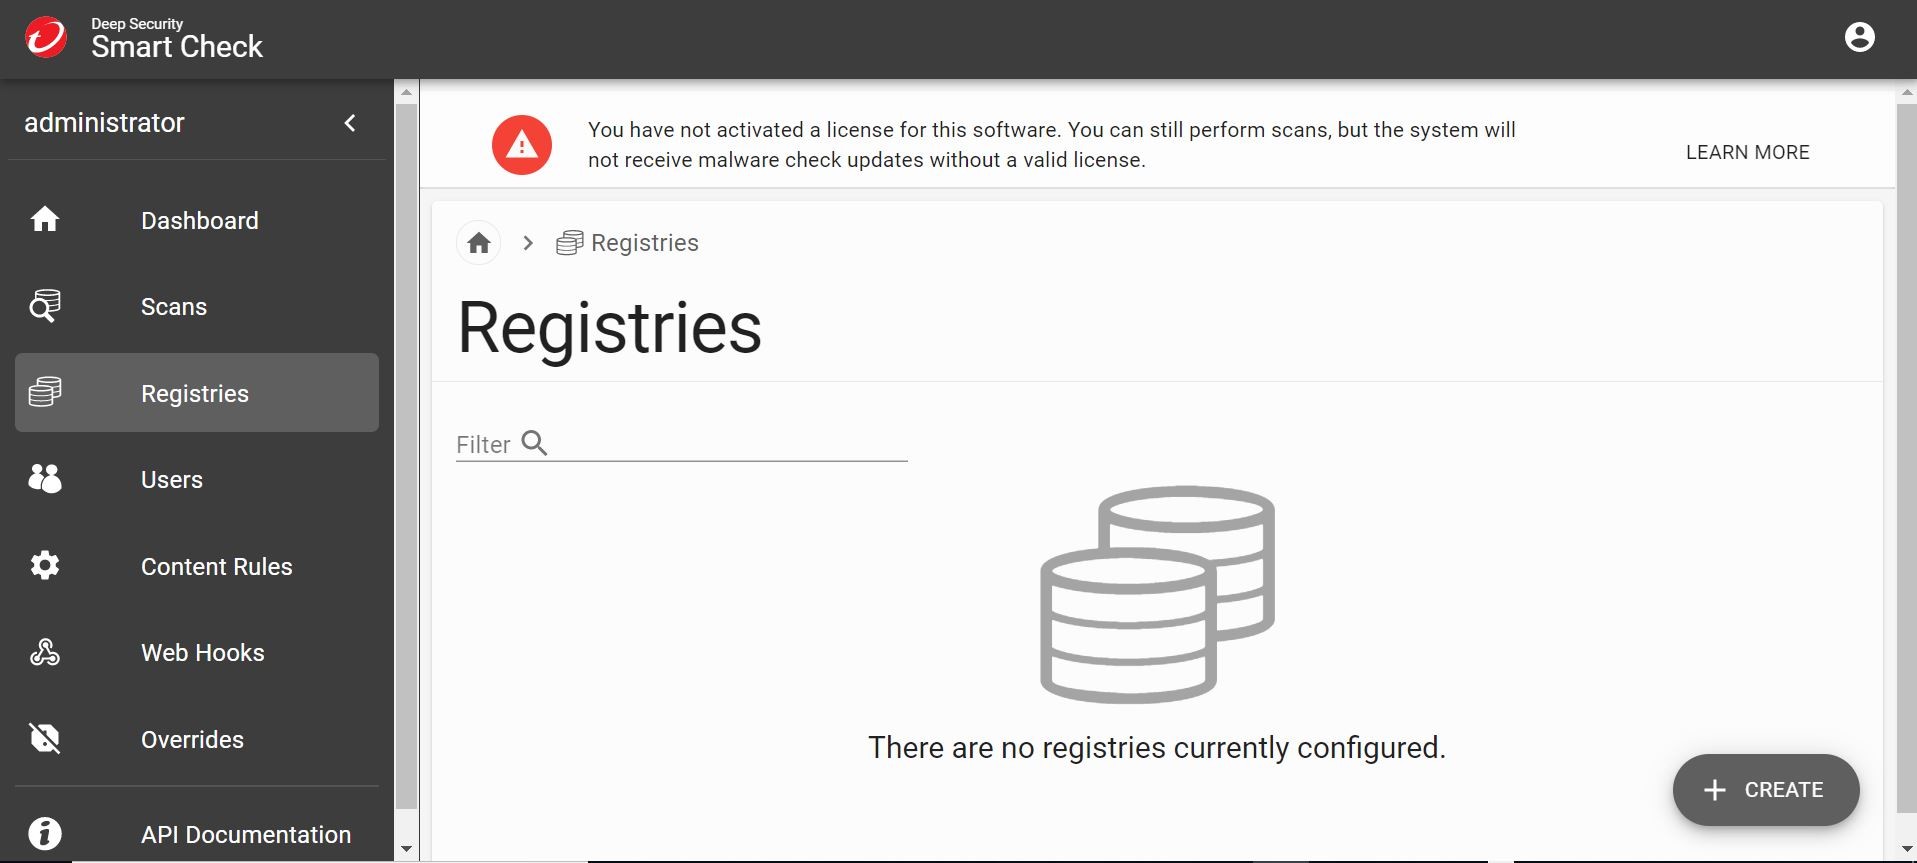
Ok, so what if I want to register my Trend Micro Deep Security Smart Check scanner to Trend Micro Cloud One Container Security? That’s a good one/two combination, right? I can do that by updating the helm chart I just deployed with an associated API Key. To get the API Key, I go ahead and sign into Trend Micro Cloud One Container Security console.
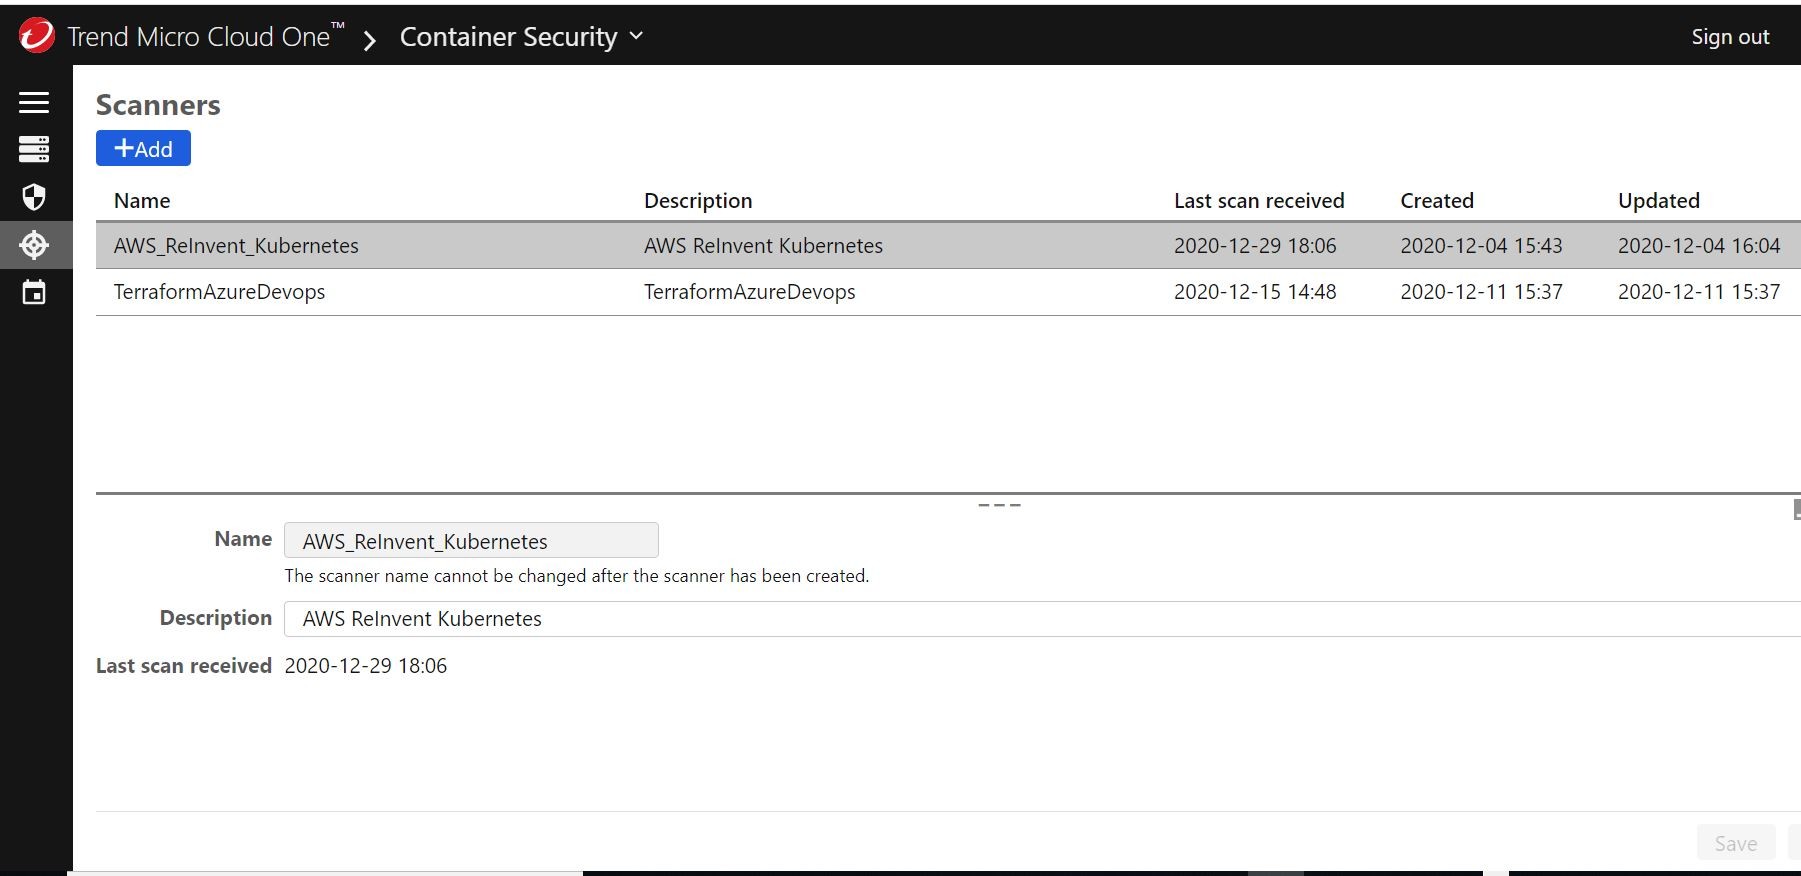
I click the add new scanner button under the scanners section to register a new Container Image Scanner.
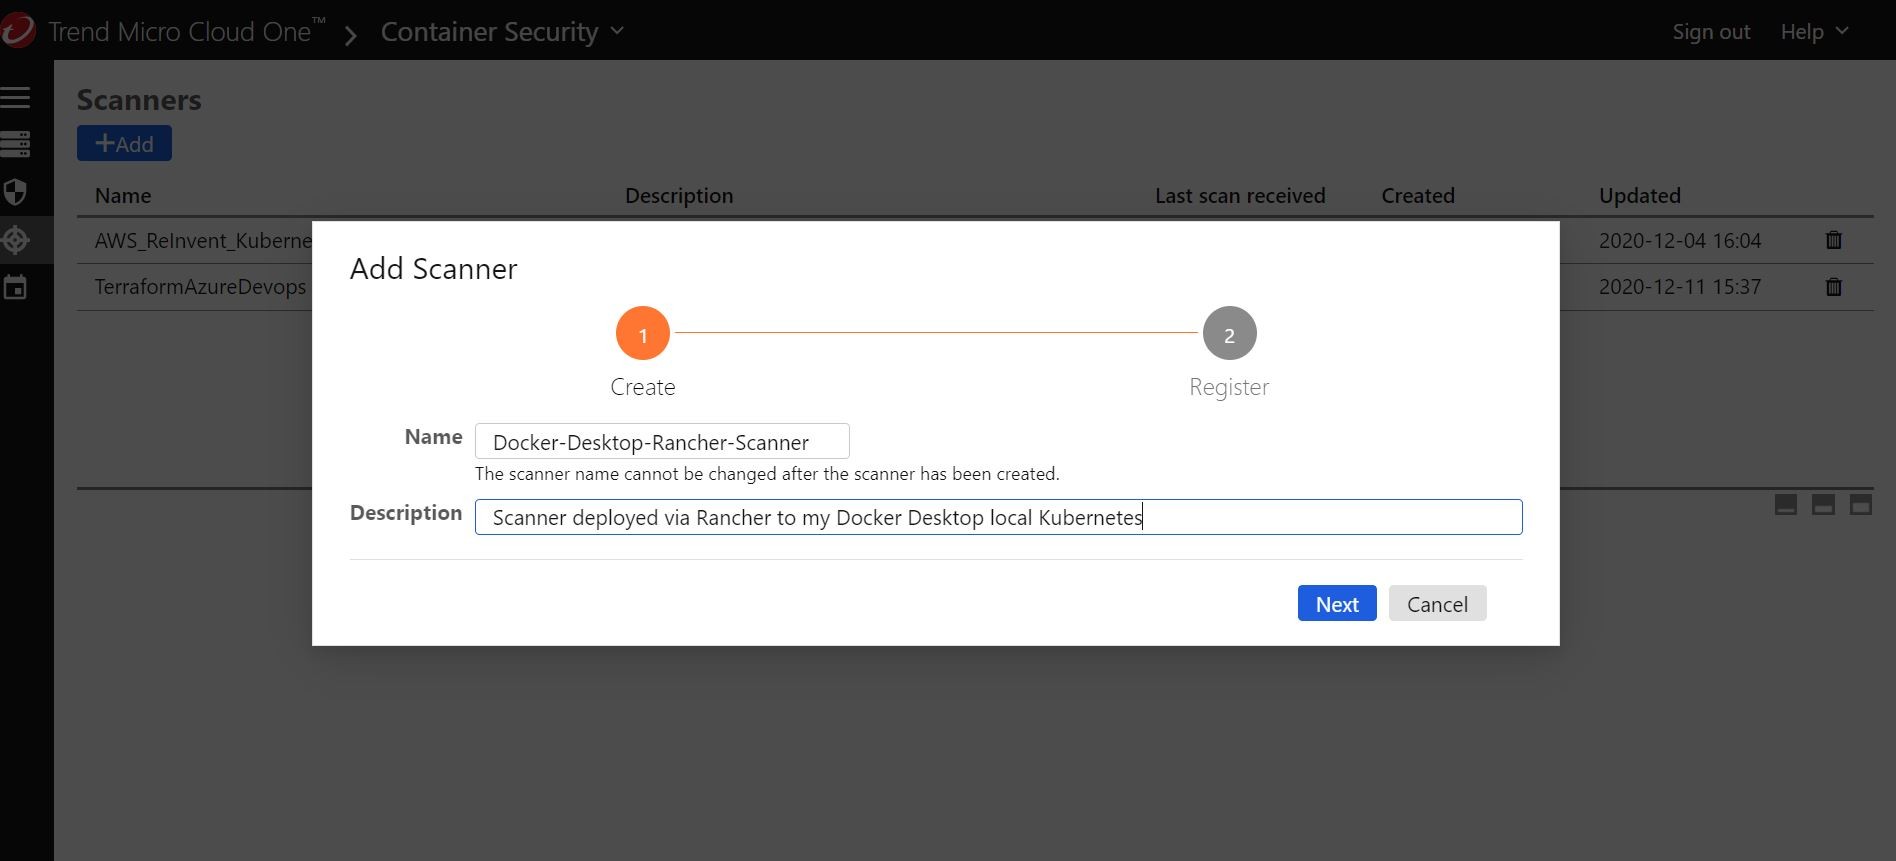
Once I name it accordingly, I should be presented with an API key that I can grab and add/update to my helm chart deployment and create a new release from right from inside Rancher!
You can see me doing that here on the following screens.
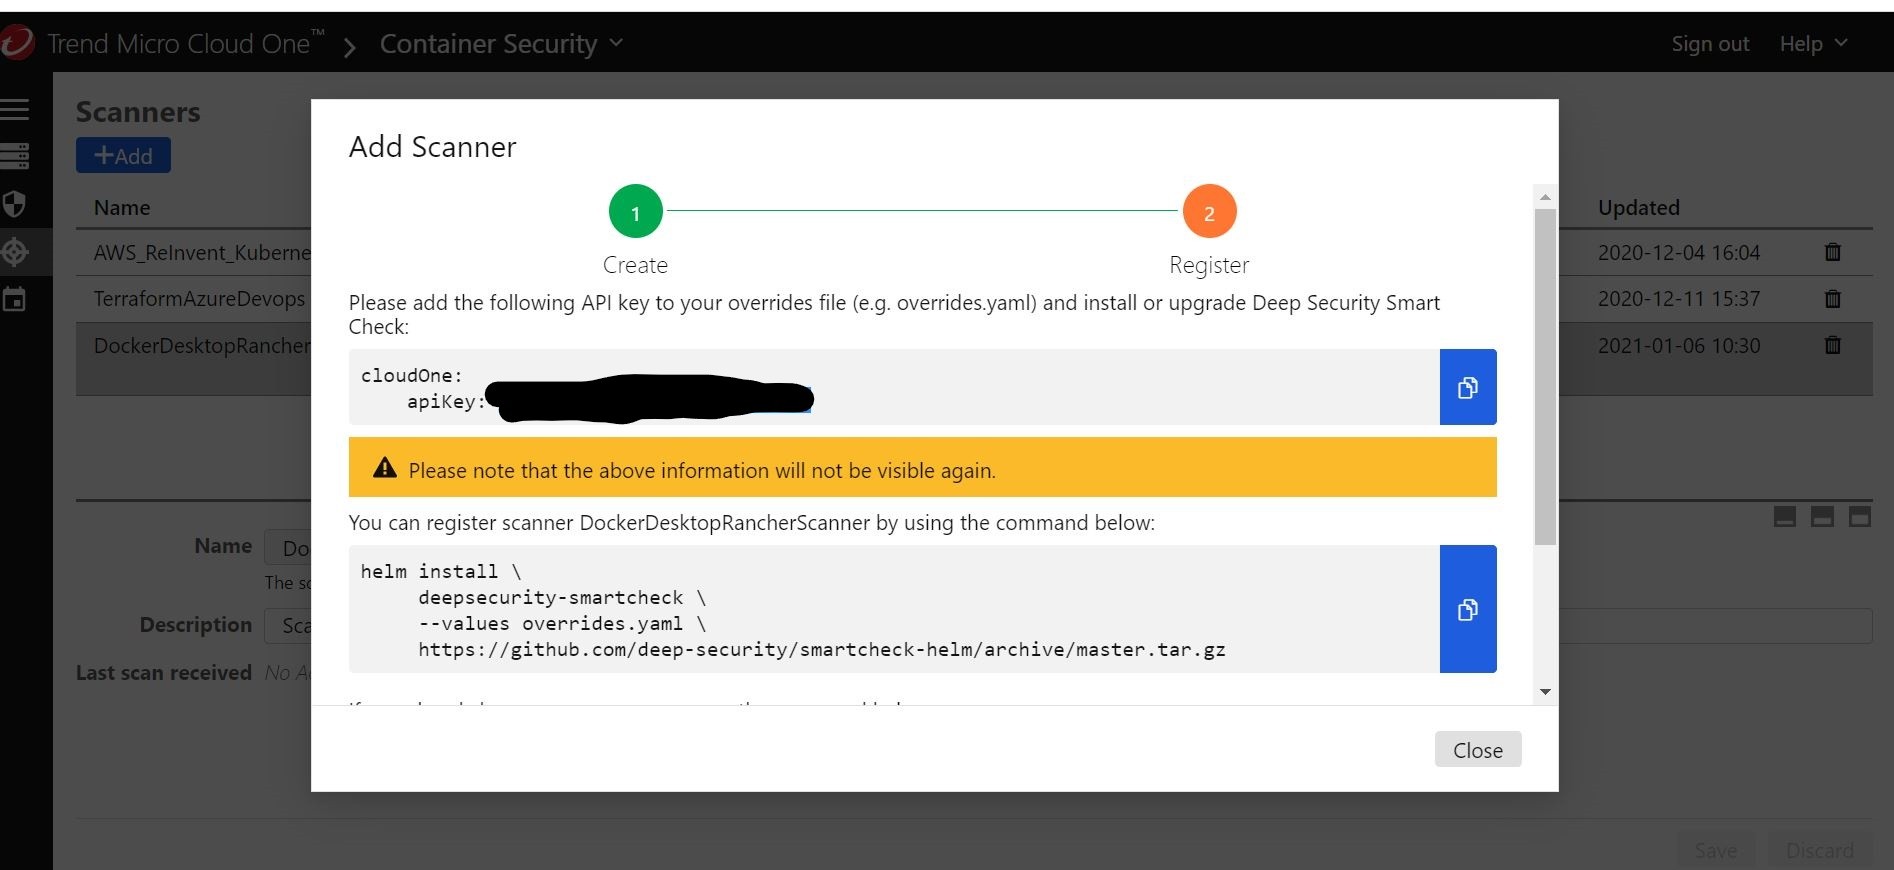
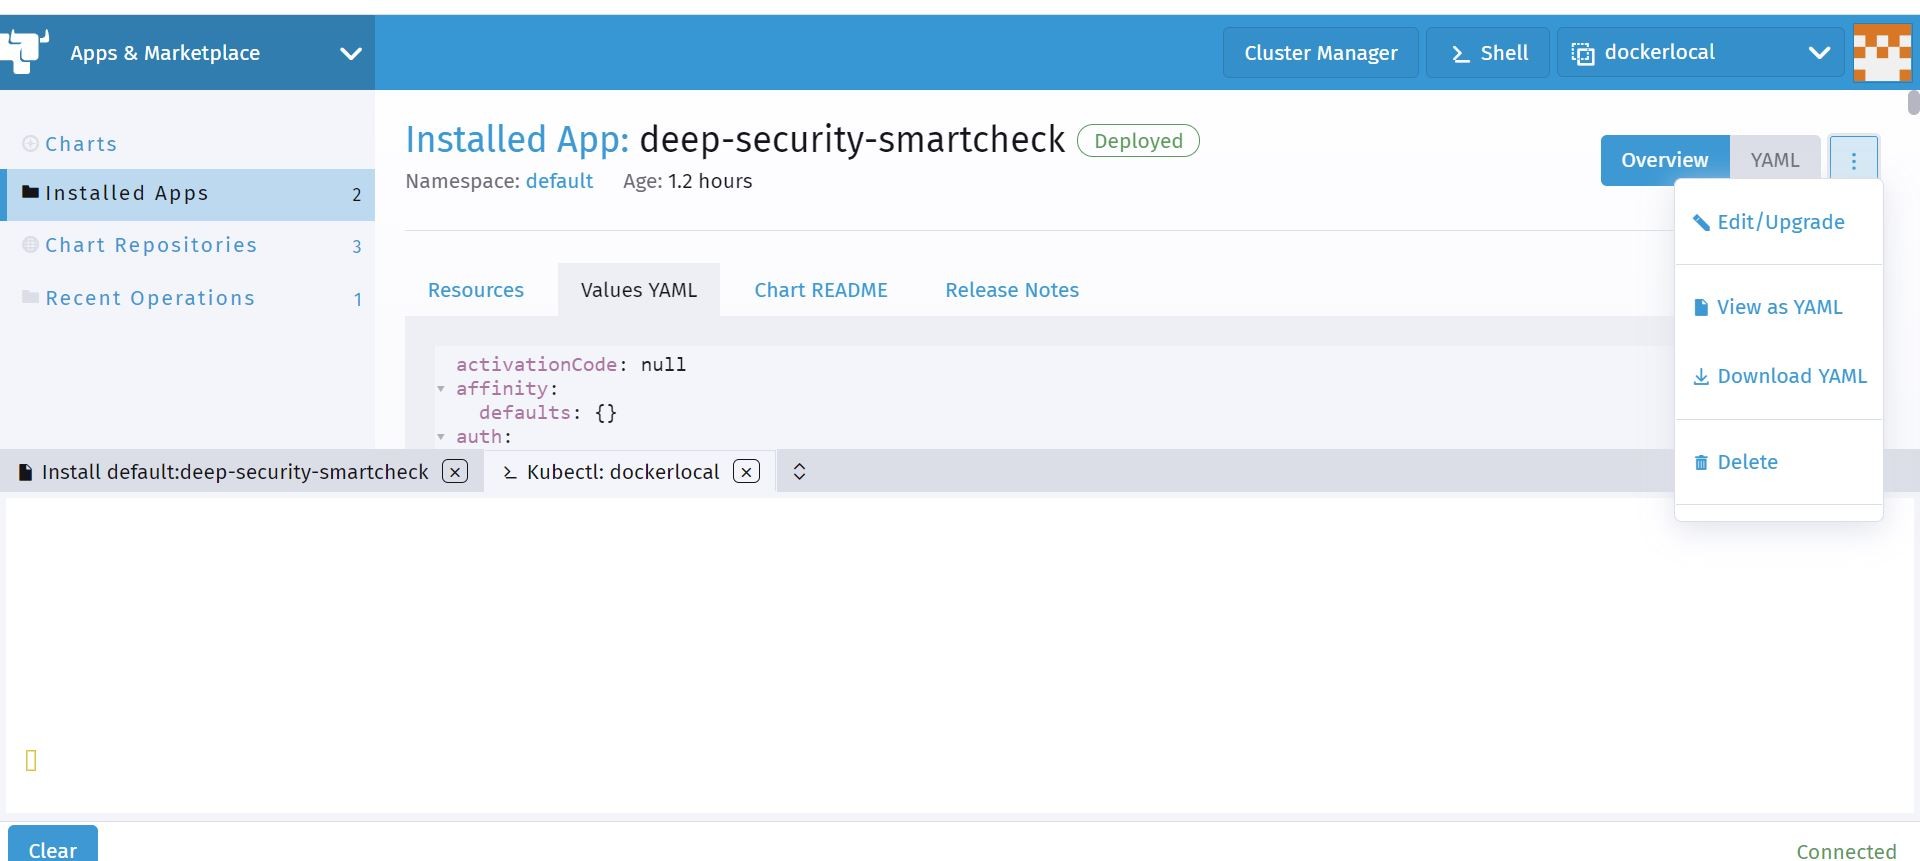
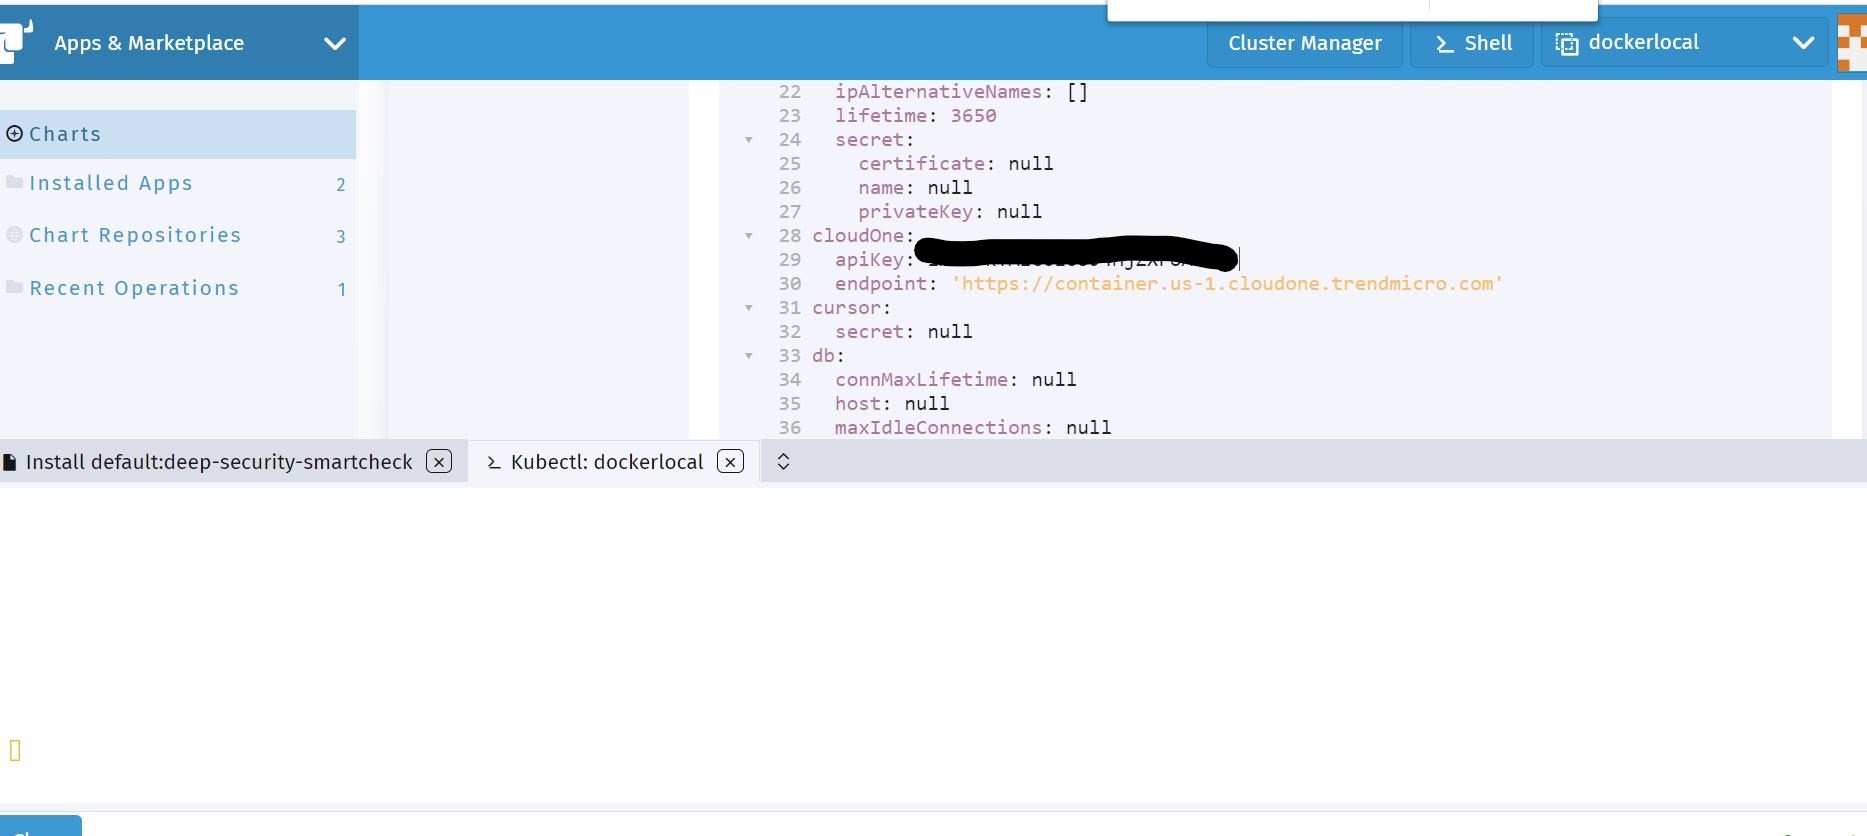
Ok, now that the upgrade is completed on the helm deployment a new release has occurred. Let me try and scan some of my Container Images that I added in my Azure Container Registry, and see if I can now get those scan results sent to my Trend Micro Cloud One Container Security account.
What sorcery is this???
Yep! Looks like the the deployment upgrade was successful. I am now getting scanner information sent to Trend Micro Cloud One Container Security.
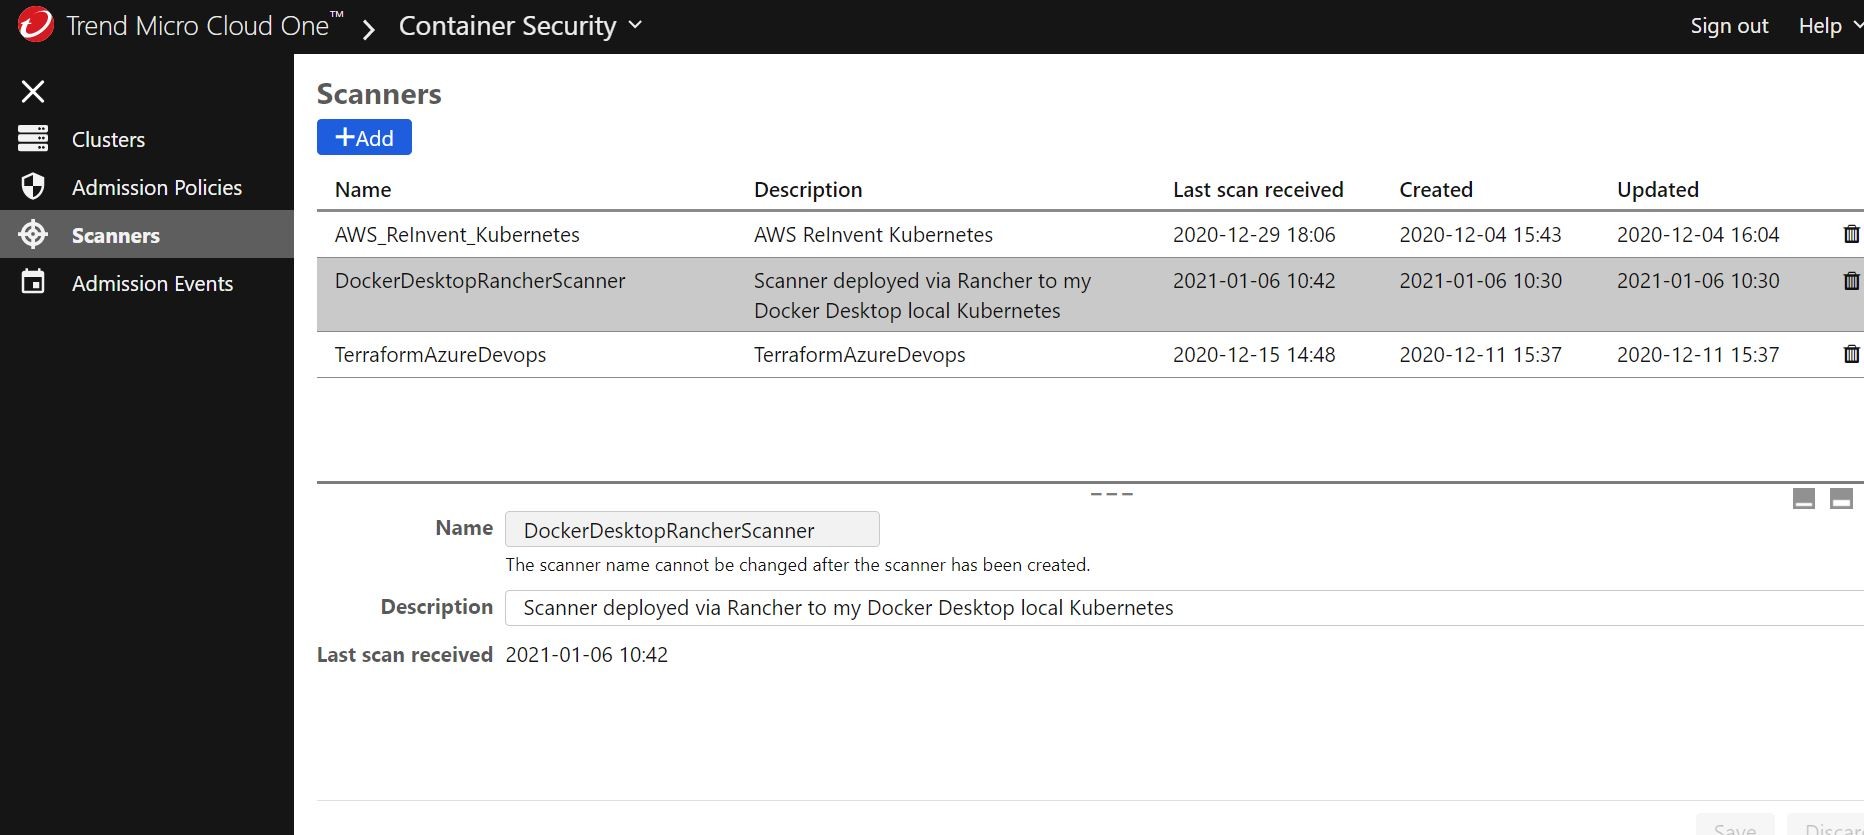
So, as results come in from the Trend Micro Deep Security Smart Check scanner they will be sent to Trend Micro Cloud One Container Security console. Very cool!!
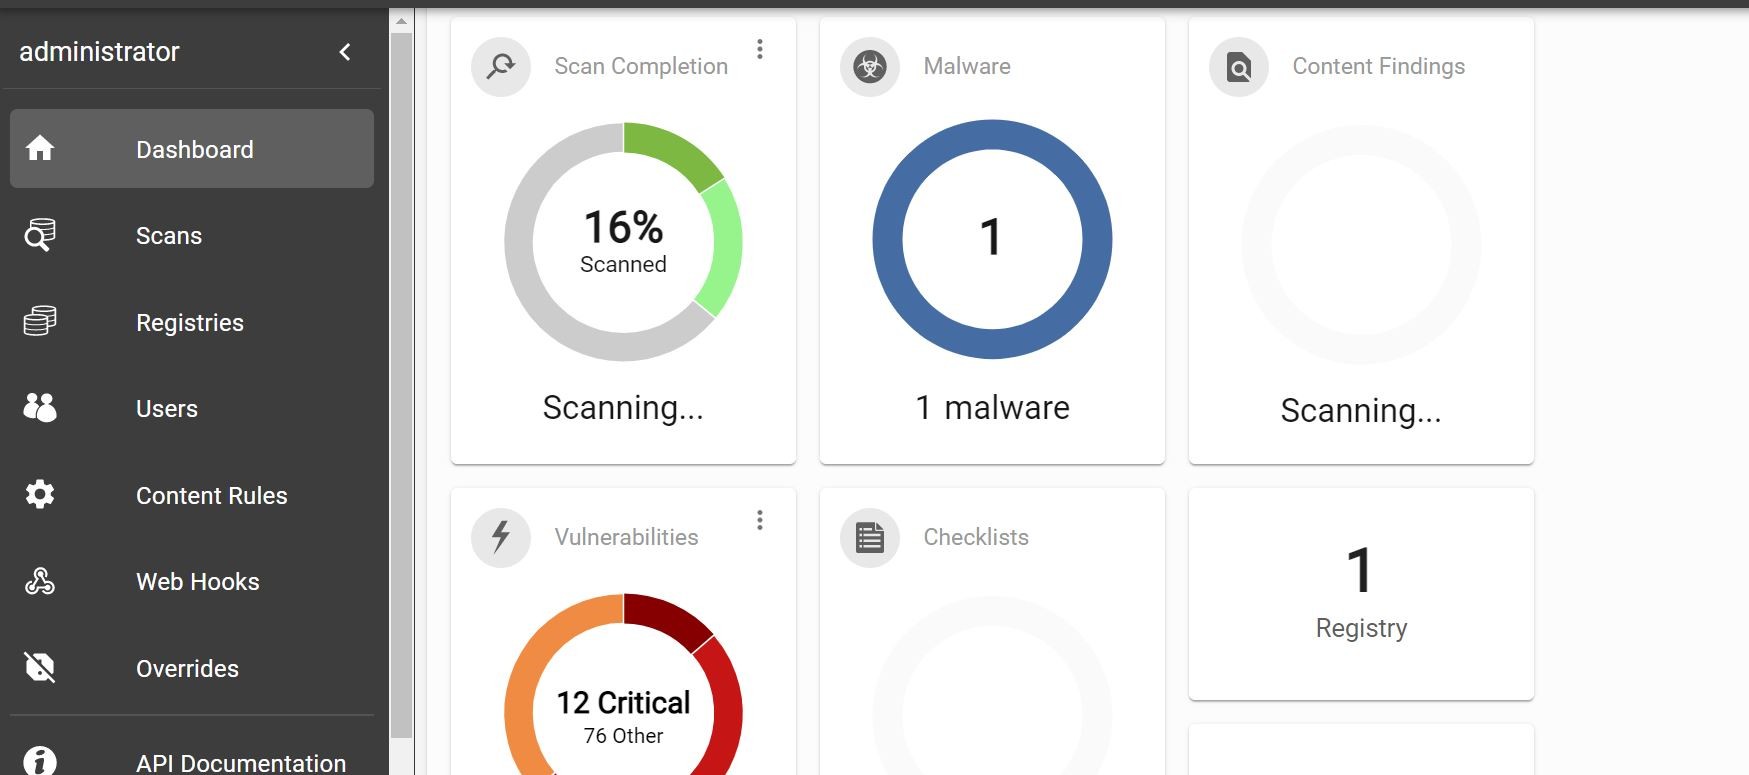
So, what can I do with the integration?
I can use those results to make policy based decisions with the Trend Micro Cloud One Container Security Admission Controller. I can deploy an admission Controller inside my Docker-Desktop Kubernetes cluster to provide information on which deployments are being sent to the cluster and what is allowed and not allowed. Such as what images have been “scanned” or “not scanned”.
Let’s go ahead and setup another helm chart repository for the policy-based Admission Controller component.
First, off, where can we get our hands on the helm chart? Well, for your convenience its up on GitHub. Let’s “lasso” that chart in a new helm repository in Rancher!
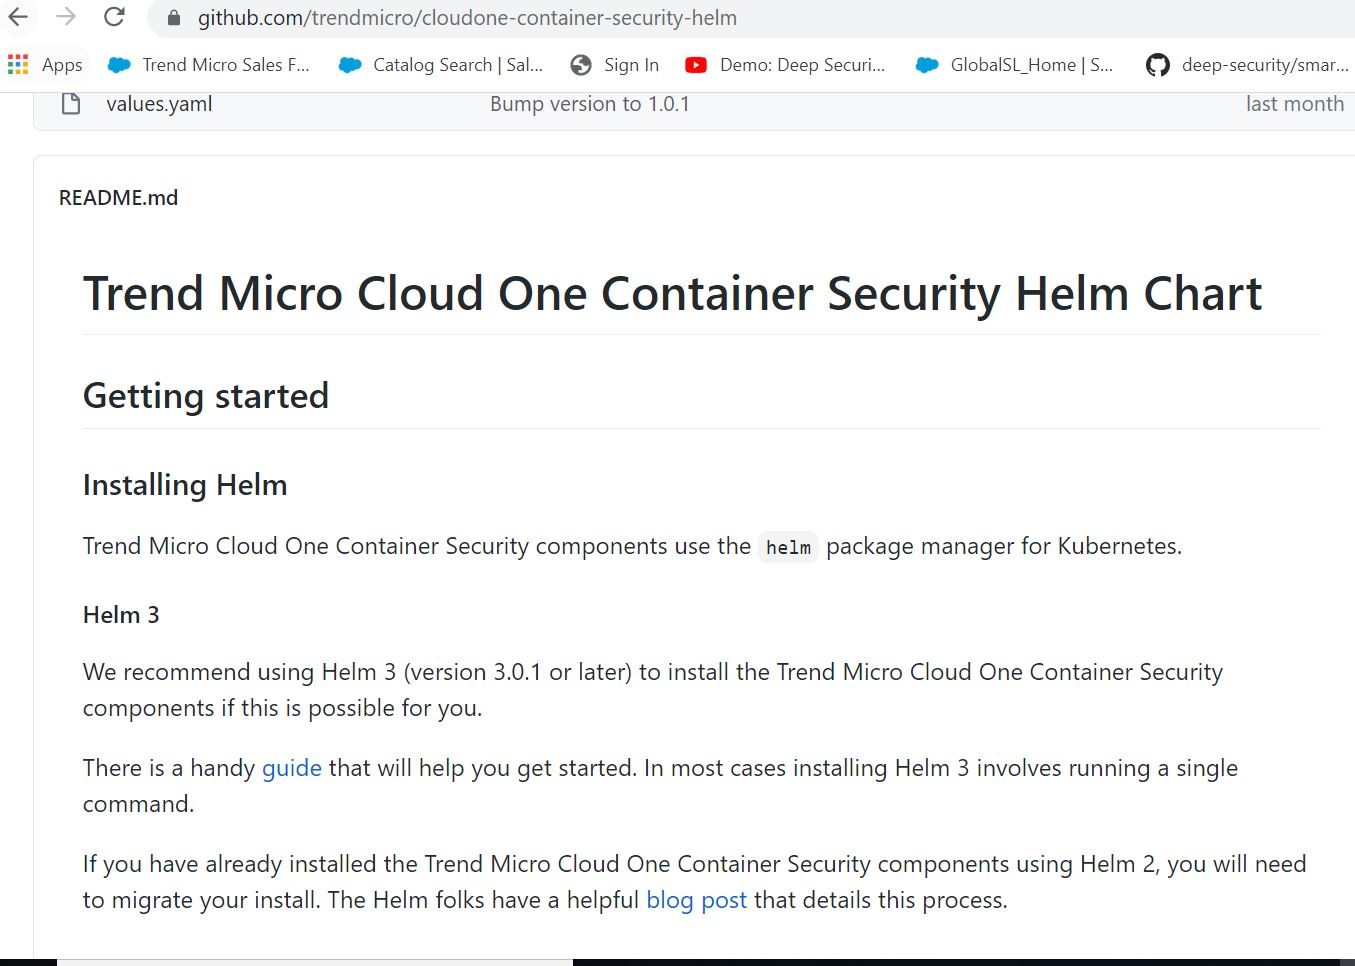
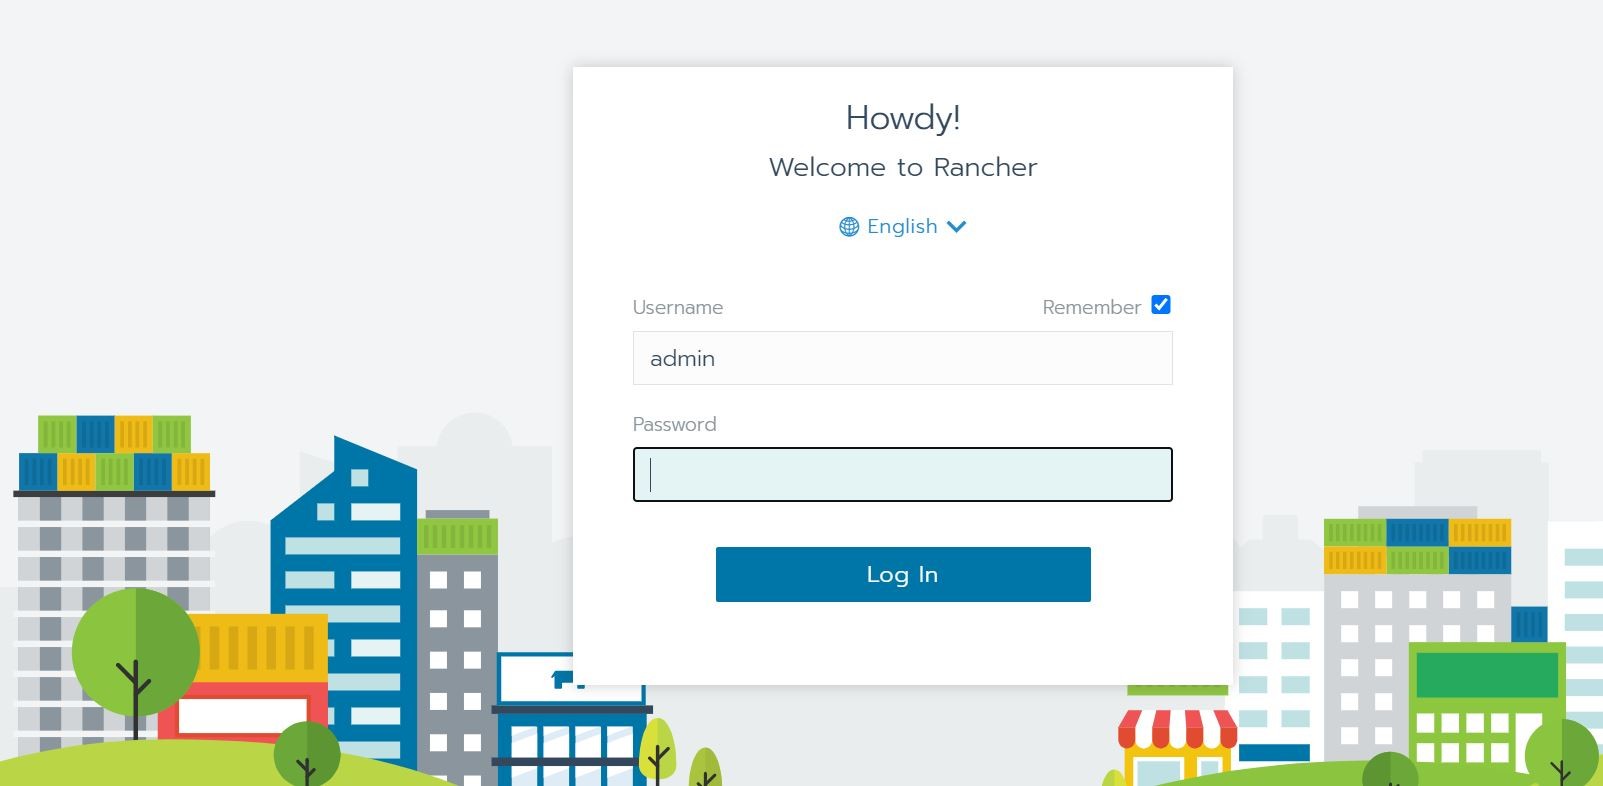
Let’s log back on to Rancher to set that up.
Shown below, I am setting up a new helm chart repository in Rancher for said Admission Controller. I link in the GitHub showcased above to load the chart into Rancher.
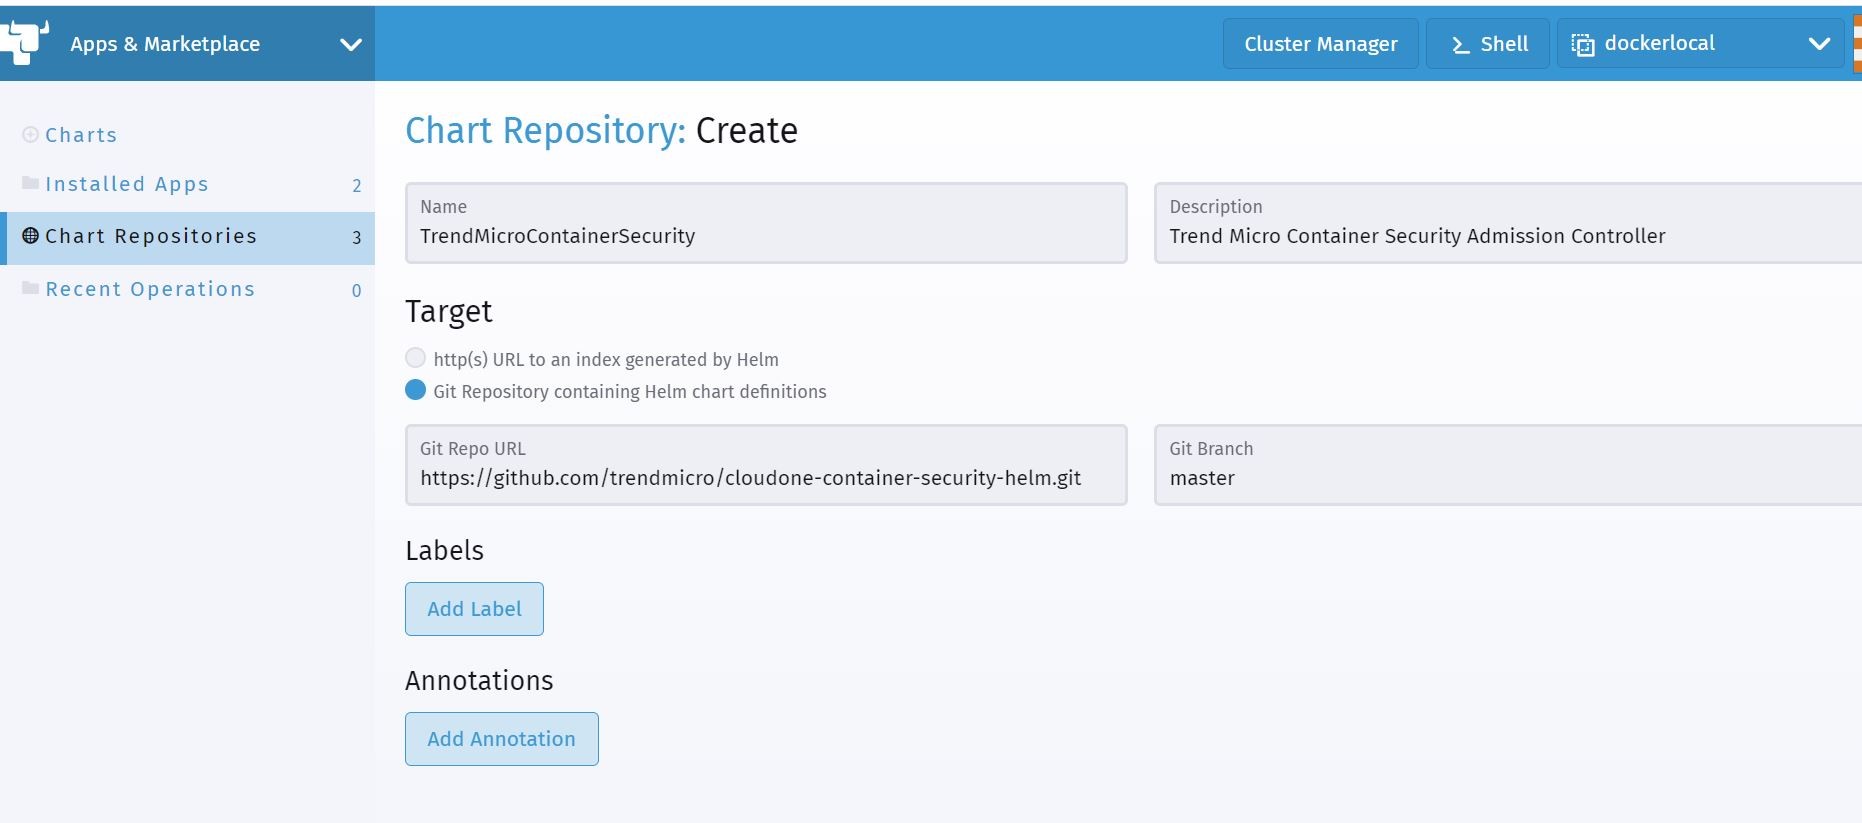
Ok, now I can see that new chart repository for Trend Micro Cloud One Container Security Admission Controller is now onboarded.
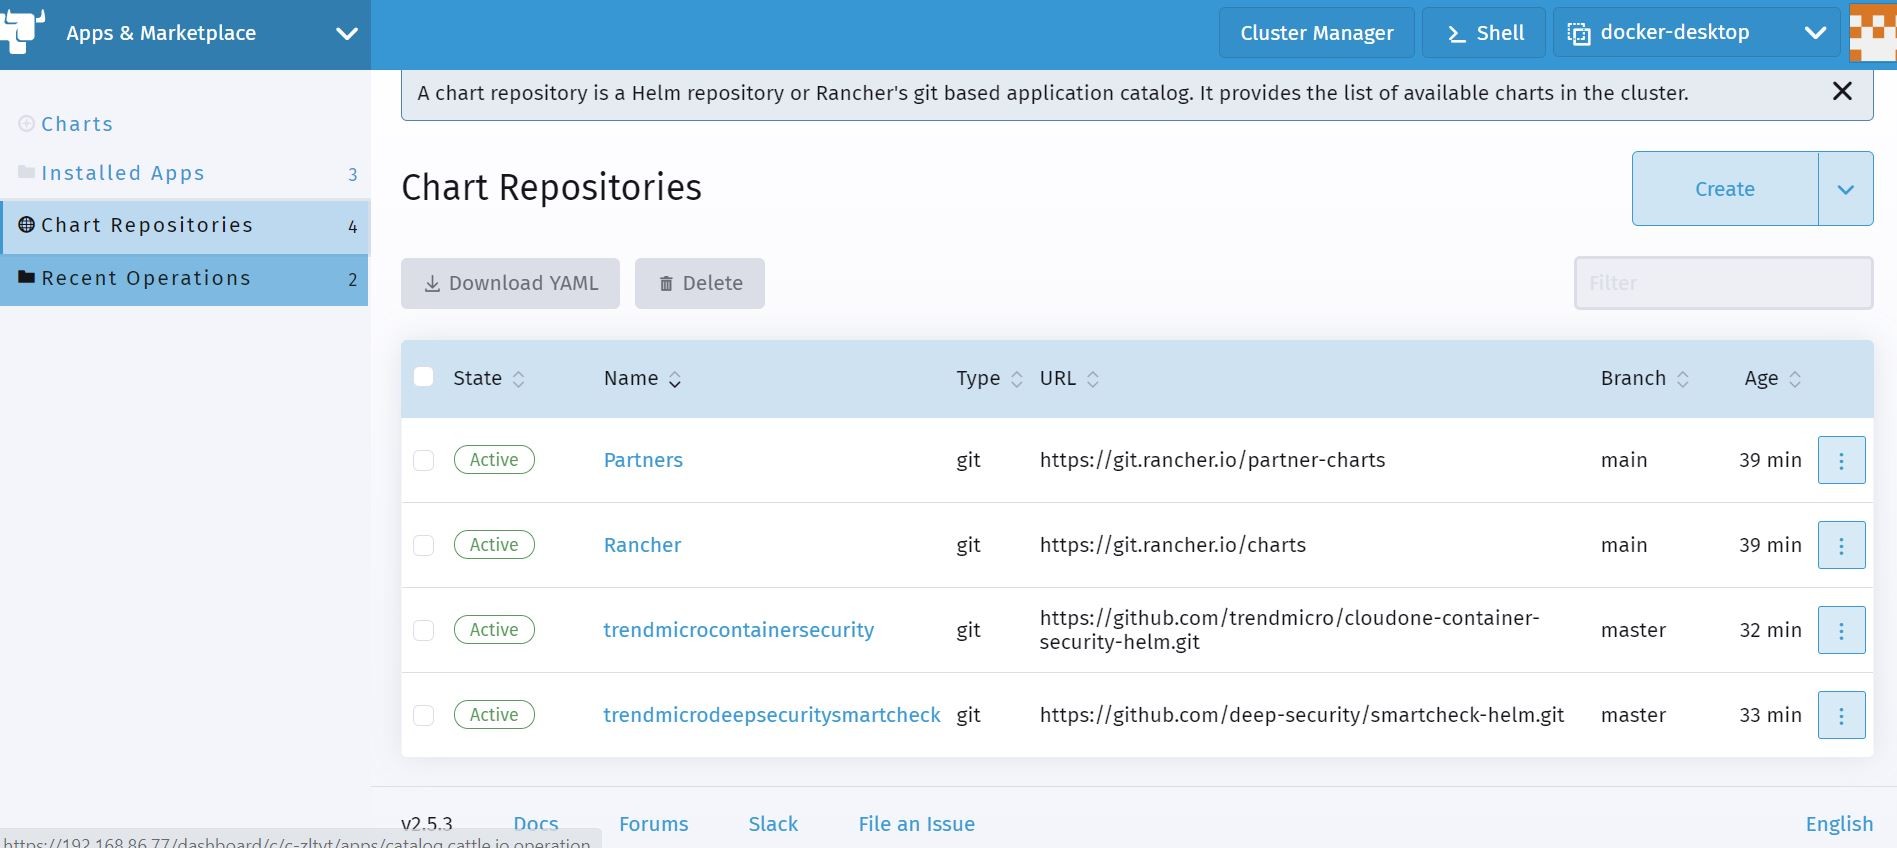
Ok, awesome! So, now I need to go into my Trend Micro Cloud One Container Security console to register a new Admission Controller and generate an associated API Key.
I do that by clicking the Add Cluster button. I name it accordingly. Right now we will leave the Admission Policy unselected. We will get to that soon! All in good time!
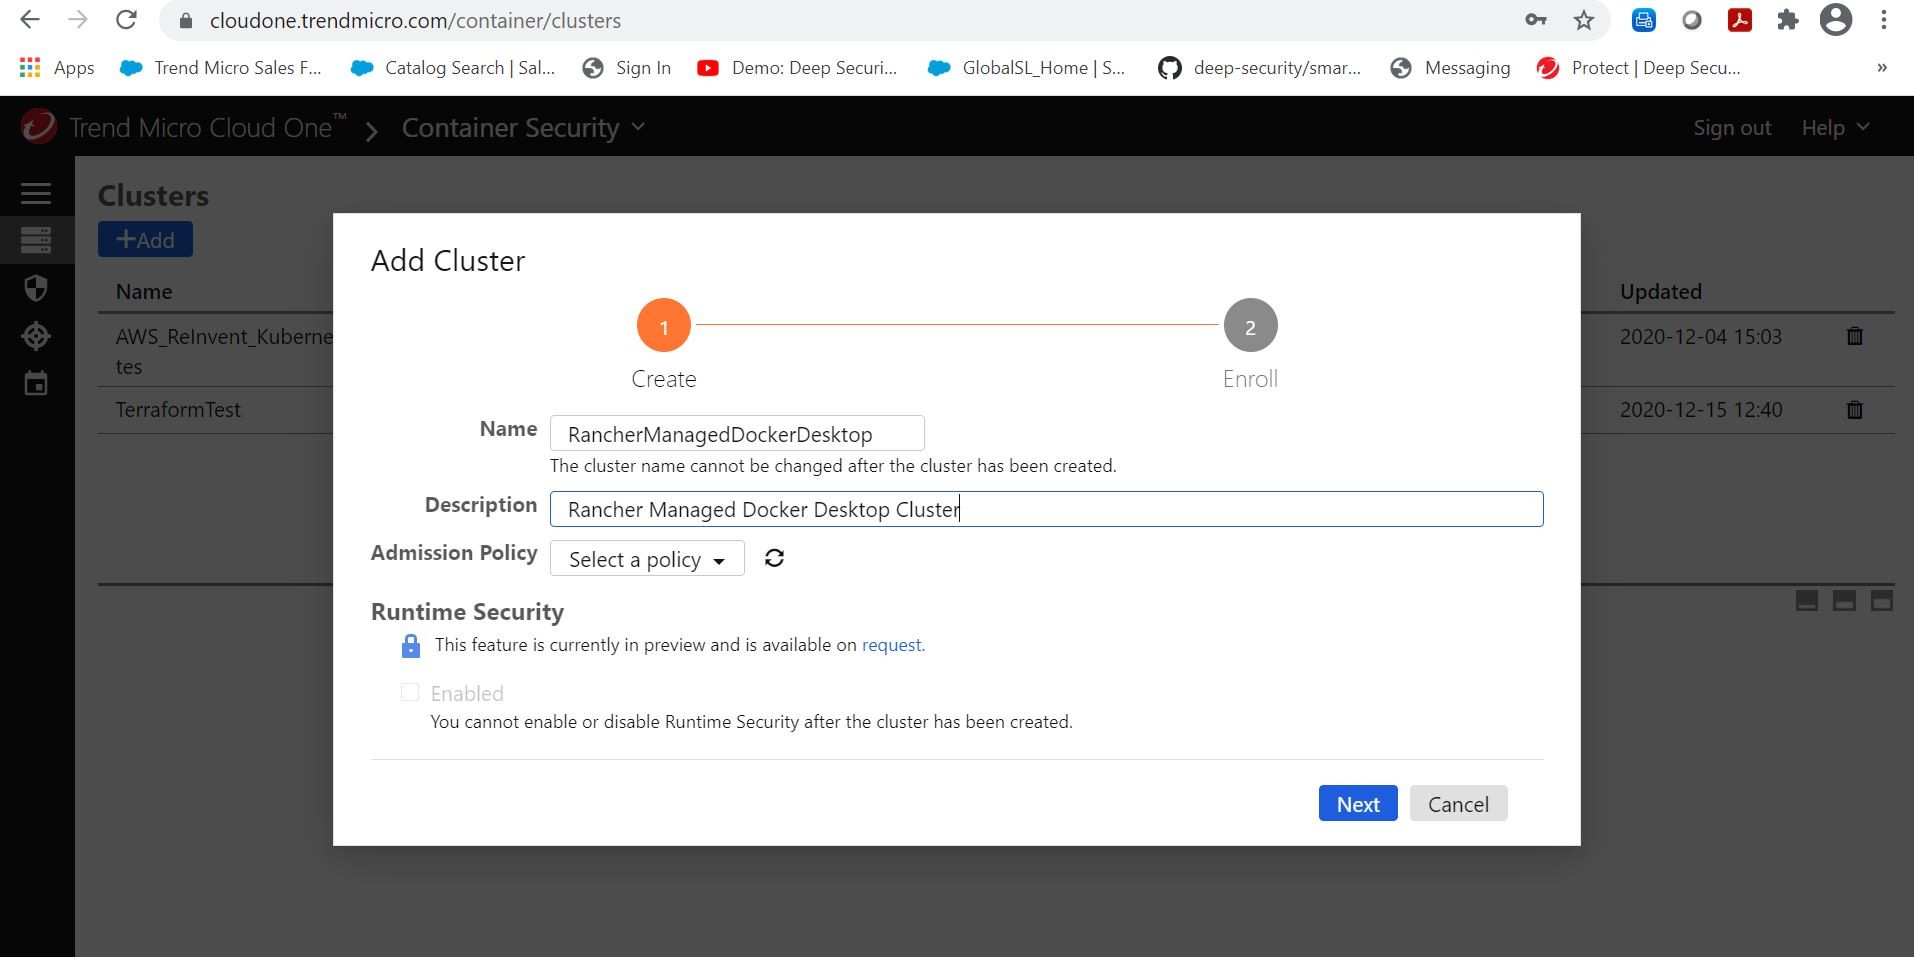
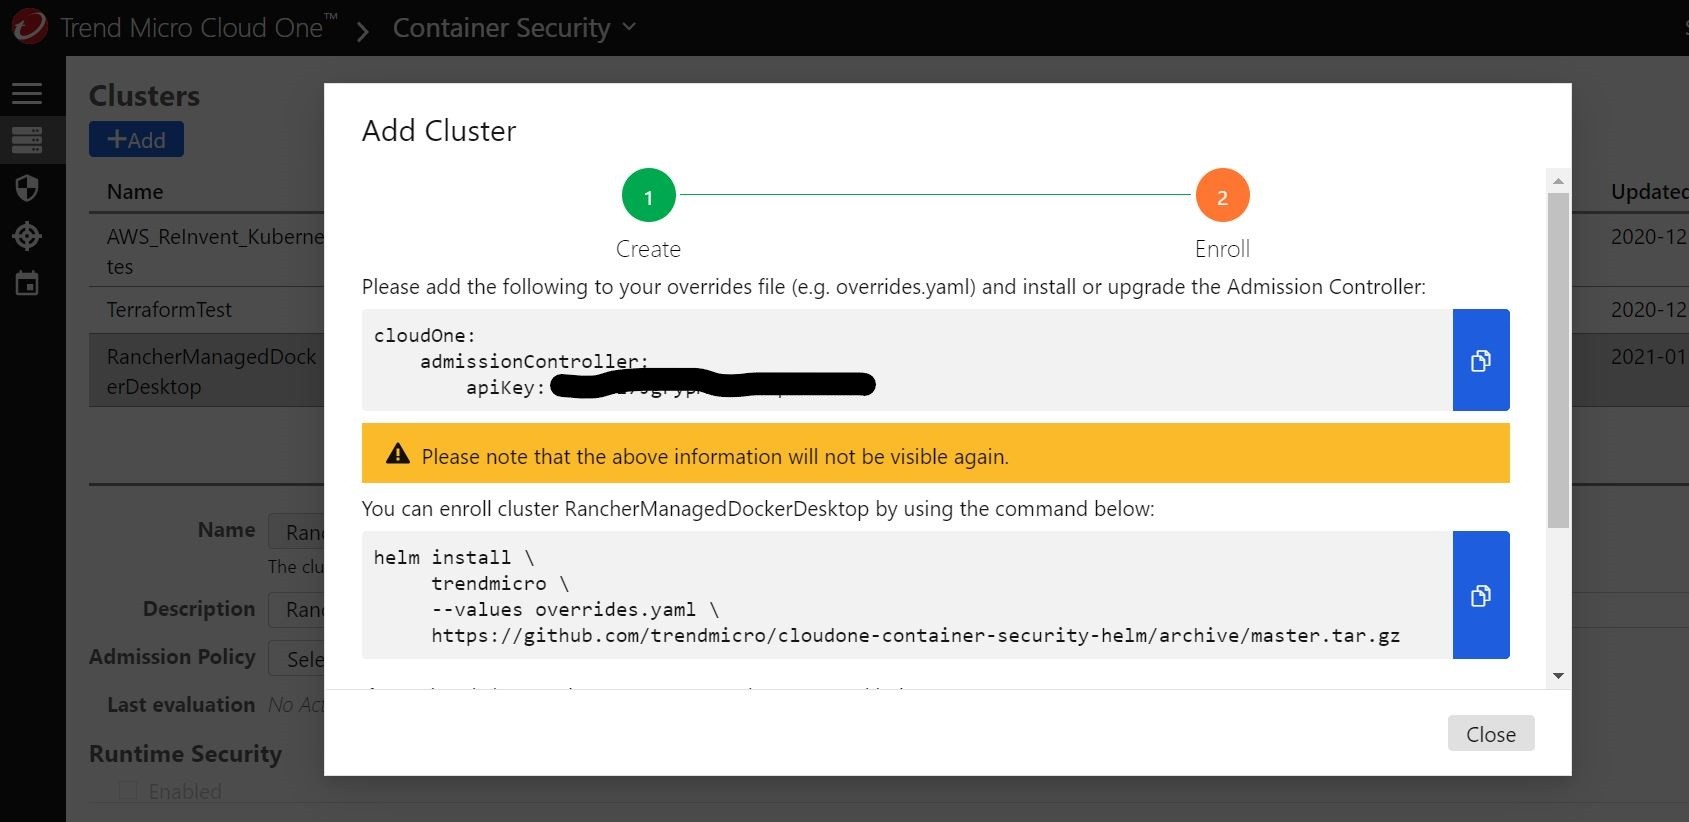
The very next screen will display my API Key from my Trend Micro Cloud One Container Security console. This can be used for my helm deployment in Rancher. Yesssss!
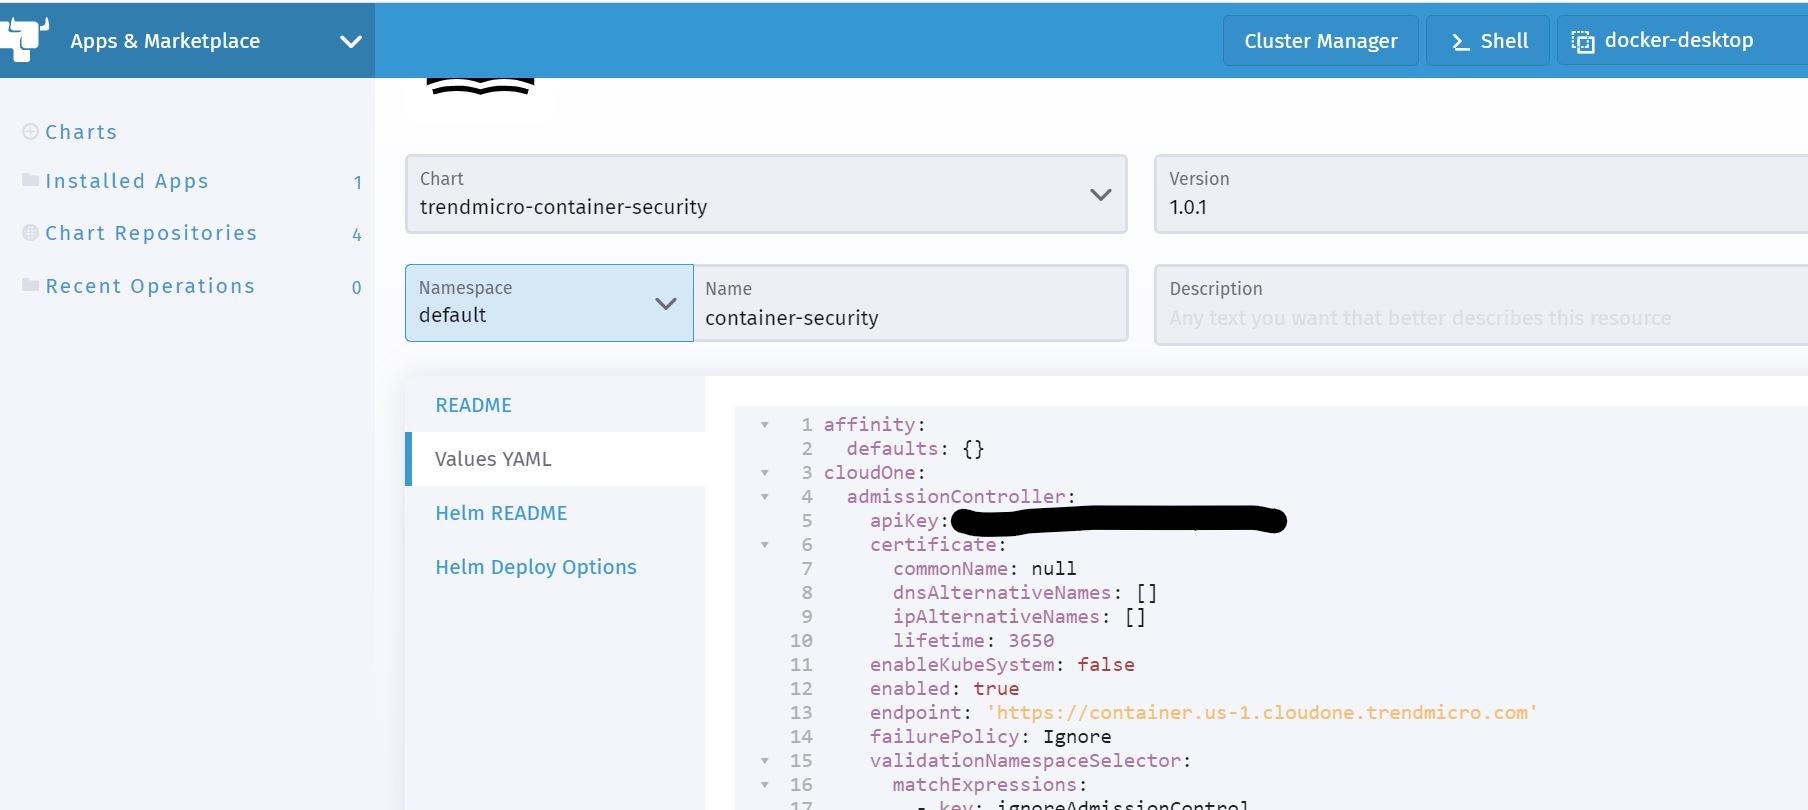
Ok, so back to my Cluster Manager in Rancher, under charts, I can select my newly imported Container Security chart and choose a Kubernetes namespace to deploy to. I also go to the values yaml section and paste in my API Key to register the Admission Controller to the Trend Micro Cloud One Container Security console. Just like I did with the Container Image Scanner component.
After clicking Install……We see here in the Rancher output that the helm deployment was successful to my test cluster.
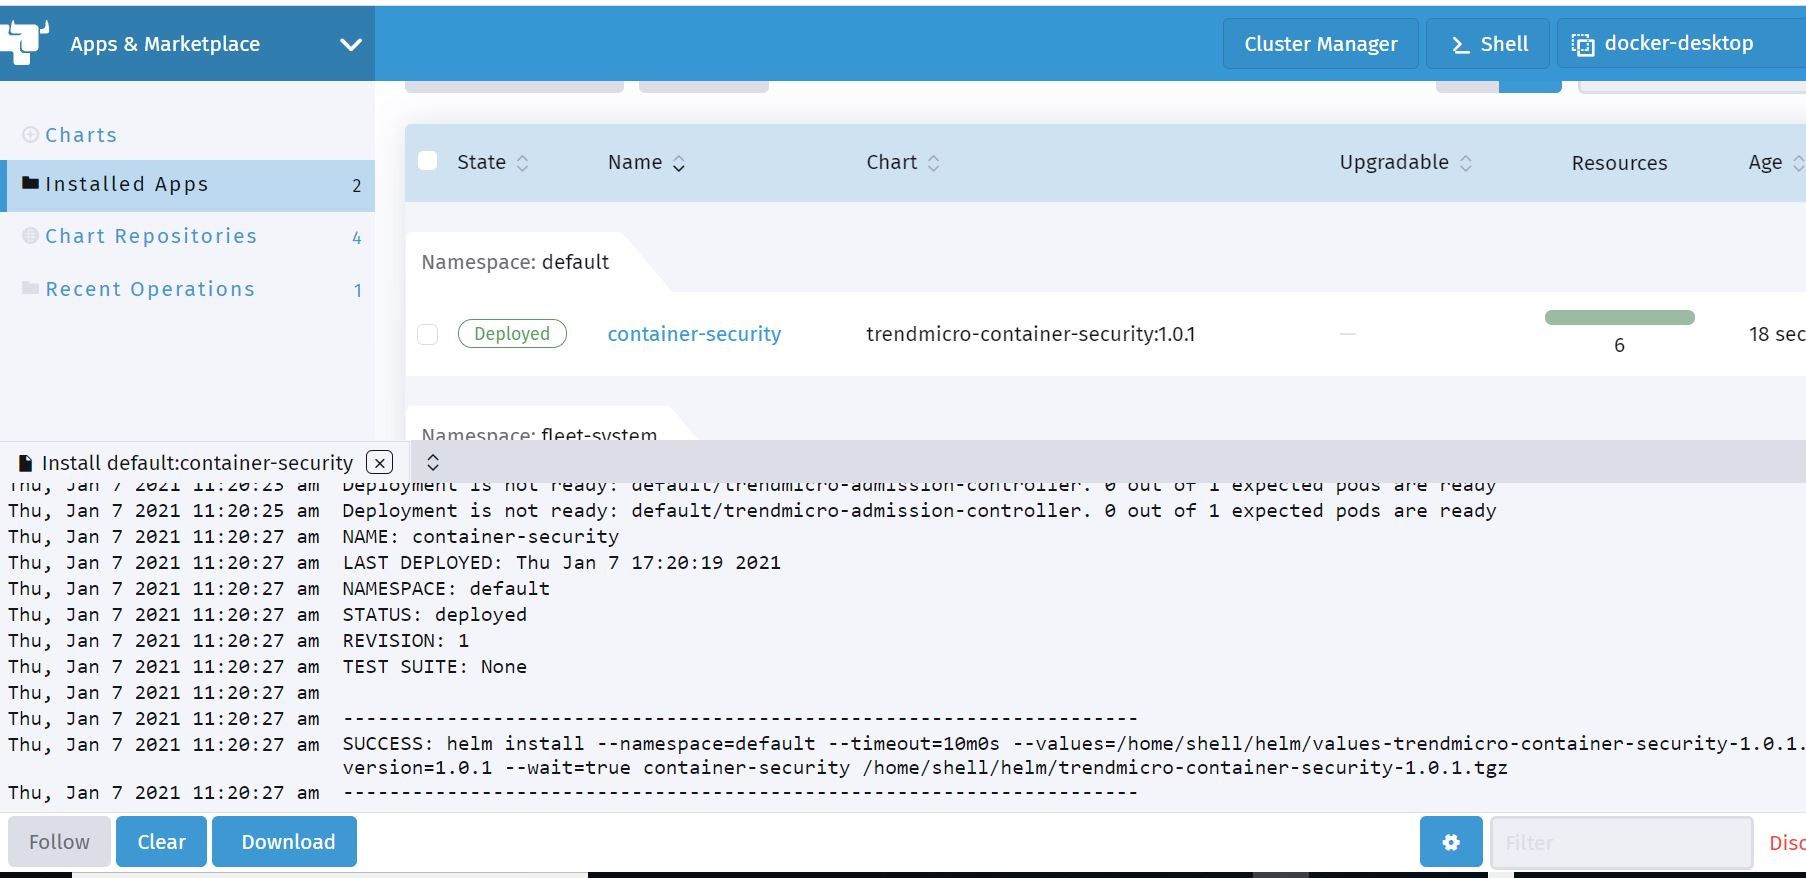
Let’s go back to the Trend Micro Cloud One Container Security console and setup an Admission Policy to be assigned to the Admission Controller.
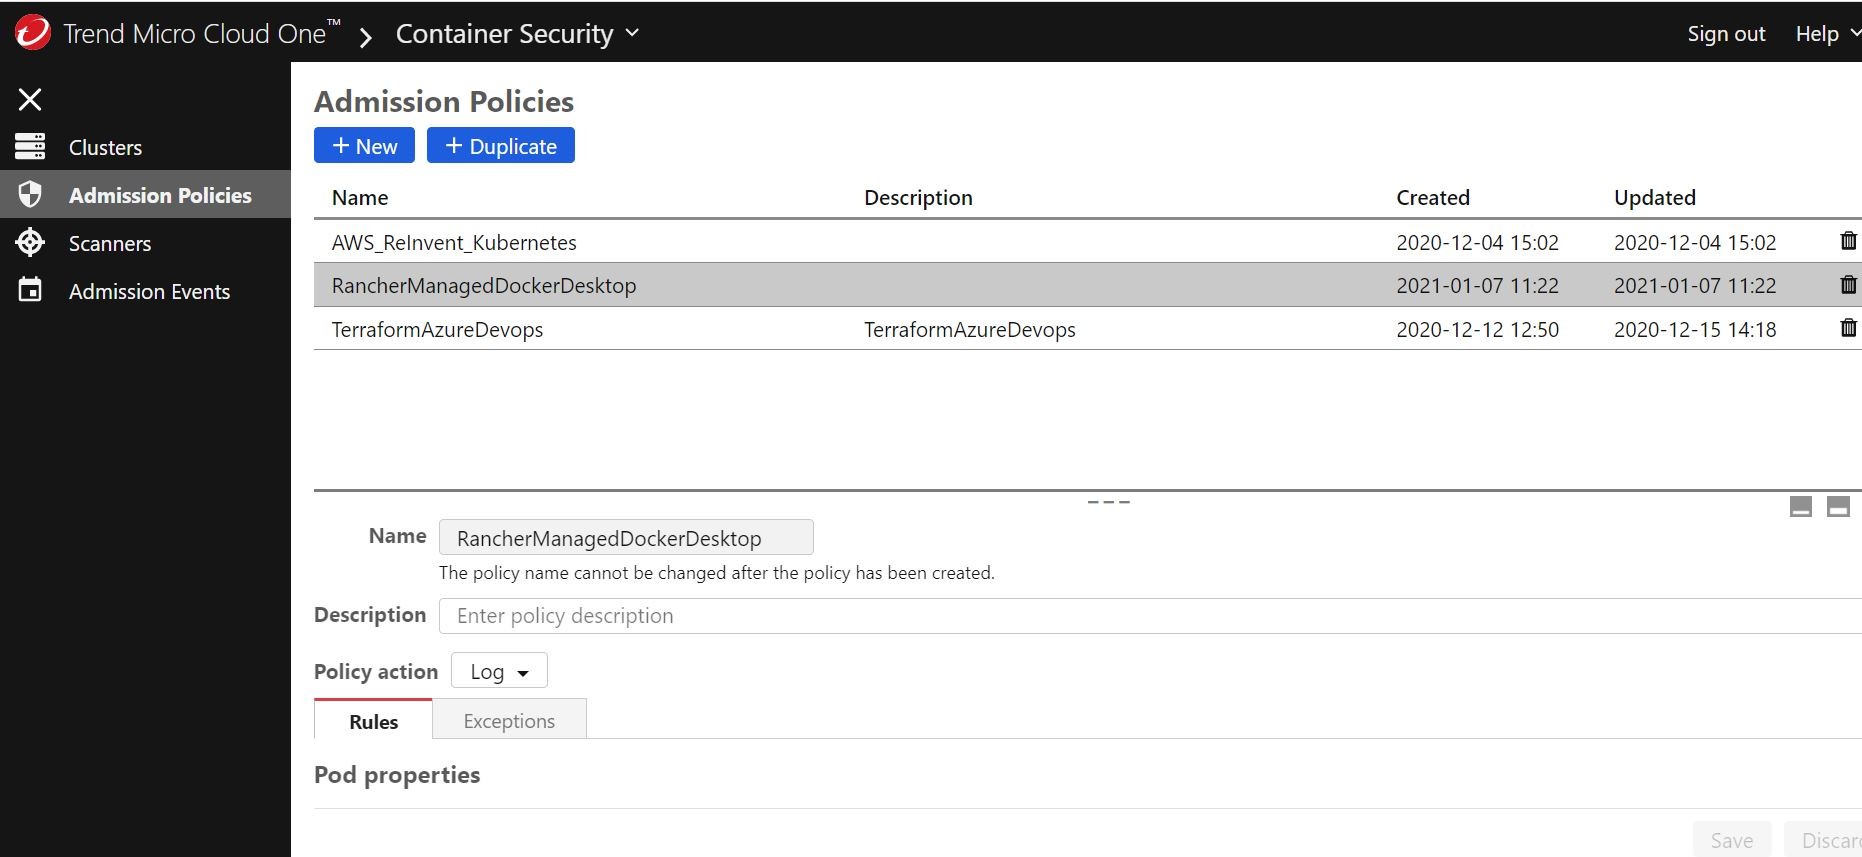
Here under the Admission Polices section I created a new test policy for Rancher and my Docker-Desktop Kubernetes cluster.
I set it to Log instead of Block just for monitoring/testing purposes. That way upon a detected violation it (Container Security) will just tell me what “it would do” and the reason why.
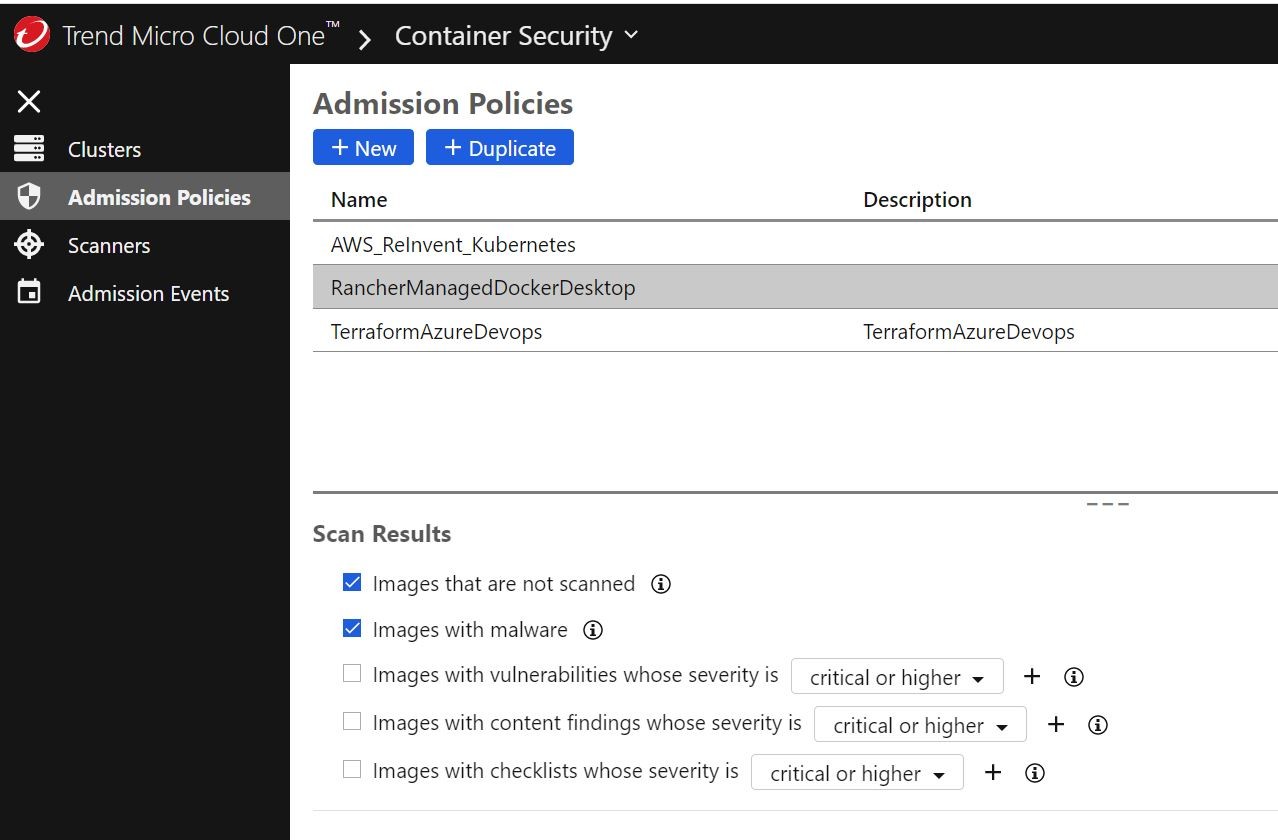
Other things I added to the policy decision options were to not allow “un-scanned” images into the cluster and “scanned” images with malware. Two important things right off the bat!
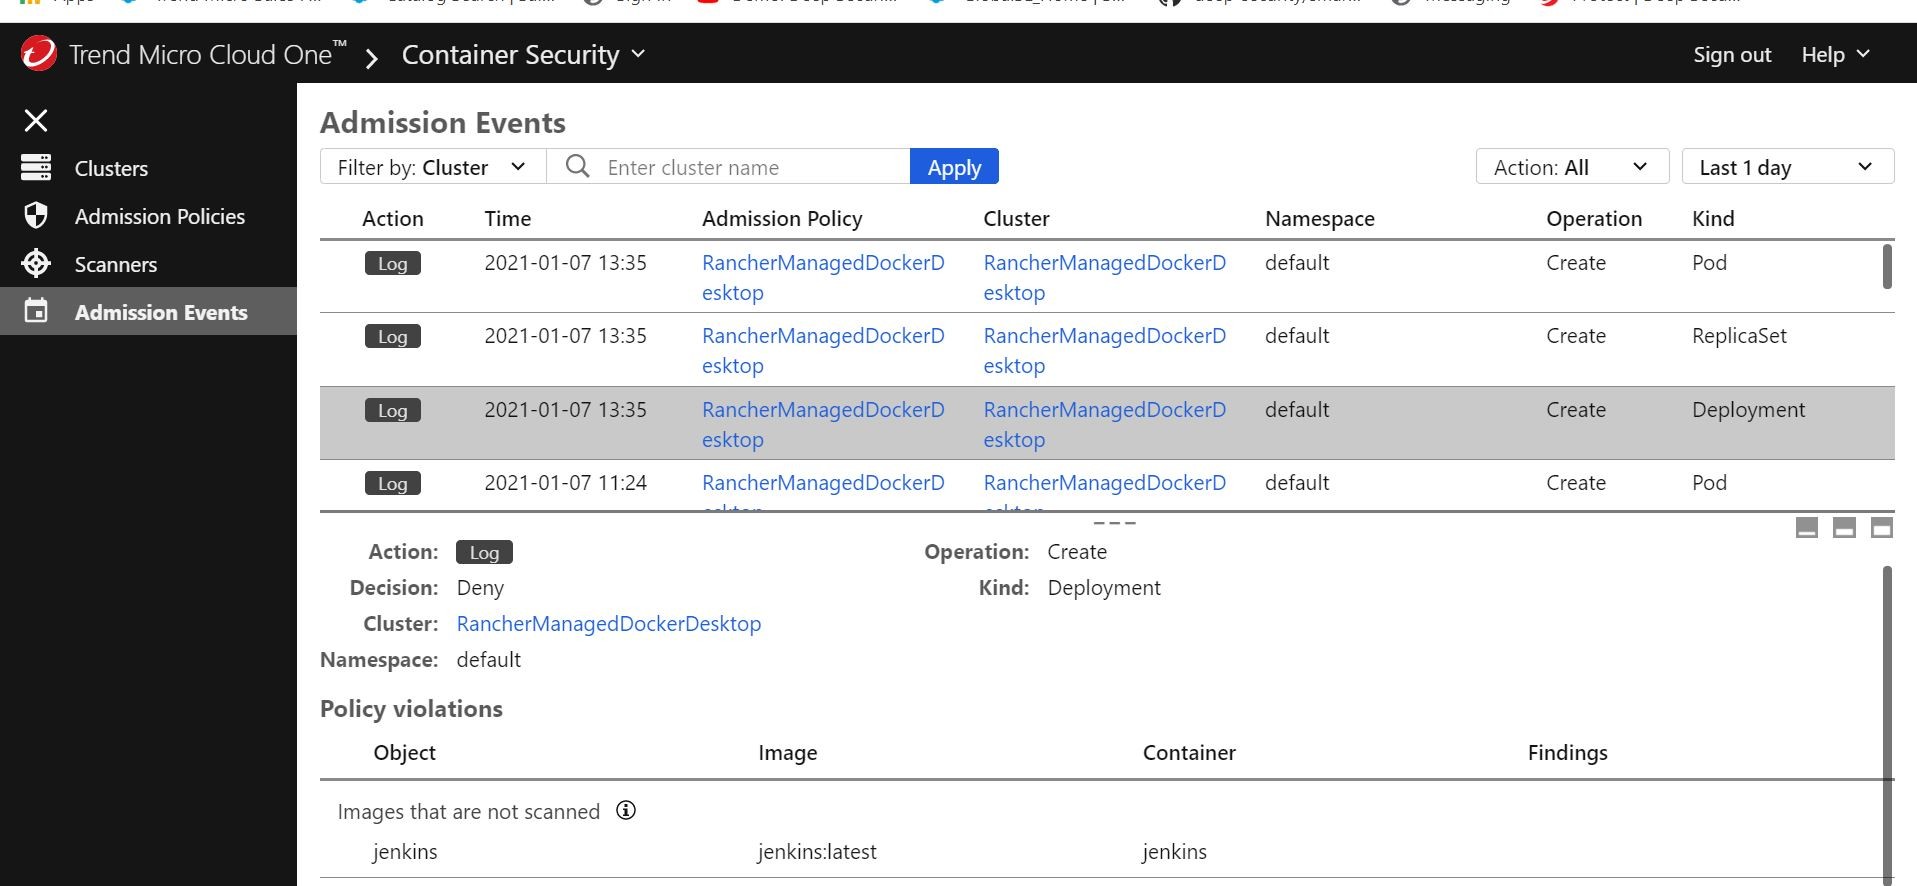
Ok, cool! Well, after assigning policy I started getting Admission Control events showing up in the Trend Micro Cloud One Container Security console! Huzzah!
I even tested a new deployment in Rancher by deploying a container image jenkins/jenkins:latest as a test.
Which that image is not in my current Azure Container Registry and has not been scanned by the Container Image Scanner. It picked that up and logged it accordingly! Since I currently set the action to Log, it would have made the determination to “block” as shown here! Very cool! That is intended behavior and also providing me information on admission events to the Docker-Desktop Kubernetes cluster in real-time!
Tags
sXpIBdPeKzI9PC2p0SWMpUSM2NSxWzPyXTMLlbXmYa0R20xk
Read More HERE


