Run Command Line Interface with Hybrid Cloud Security Solution Engineer
Cloud Native
Learn how you can get started with running CLI commands against Trend Micro Cloud One™ services.
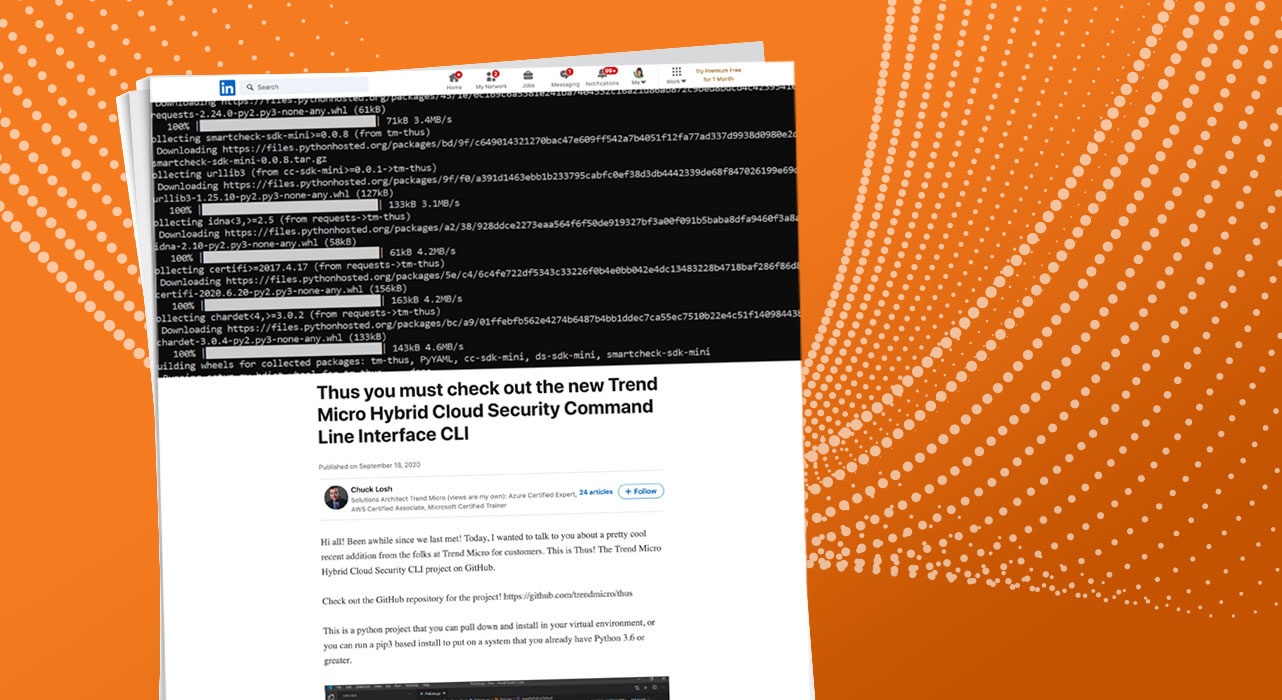
Hi all! Been awhile since we last met! Today, I wanted to talk to you about a pretty cool recent addition from the folks at Trend Micro for customers. This is Thus! The Trend Micro Hybrid Cloud Security CLI project on GitHub.
Check out the GitHub repository for the project! https://github.com/trendmicro/thus
This is a python project that you can pull down and install in your virtual environment, or you can run a pip3 based install to put on a system that you already have Python 3.6 or greater.
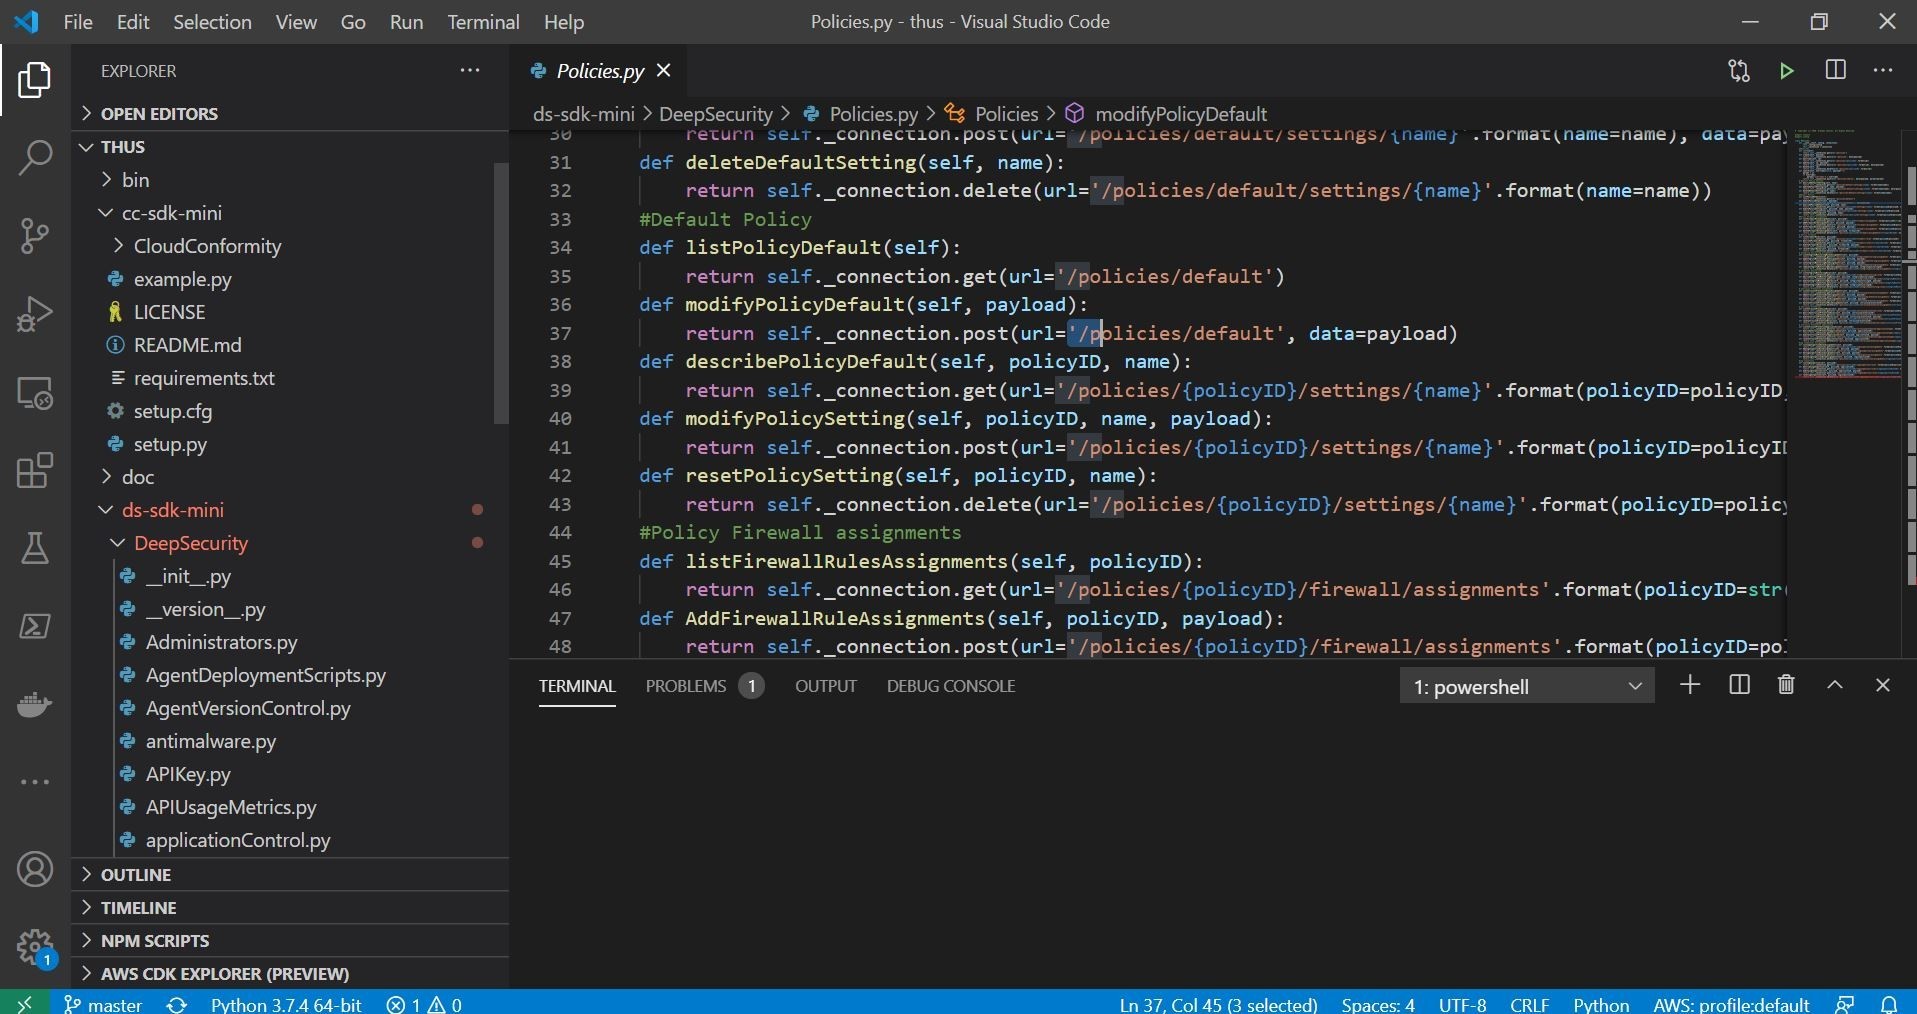
In this case, I ran my tests inside the Windows Subsystem for Linux or WSL as you can see above. My distribution is the new Ubuntu version 20.04 LTS release. The instructions for setup can be followed in the GitHub markdown article referenced previously to install the Python packages and dependencies. You can also enable autocomplete utilizing tabs which is a very useful feature in any CLI based tool! Here is the example of the pip install command to install the CLI!
Once you get the CLI installed, let’s go ahead and add our API information to the software. The CLI tool allows you to connect to your associated Trend Micro Cloud One Services. At the time of this article, Trend Micro Workload Security, Trend Micro Container Image Security, and Trend Micro Cloud Conformity are supported for connections.
To start, let’s go with Trend Micro Cloud One Workload Security. First, make a credentials file to connect the CLI to the corresponding service.
You can do this in the vi editor, or nano if your prefer. You are going to want the structure of the credentials file pretty similar to below. The DSMapikey variable is an api key generated from your Cloud One Workload Security Console.

You can easily generate an API key in the Cloud One Workload Security console shown below as an example.
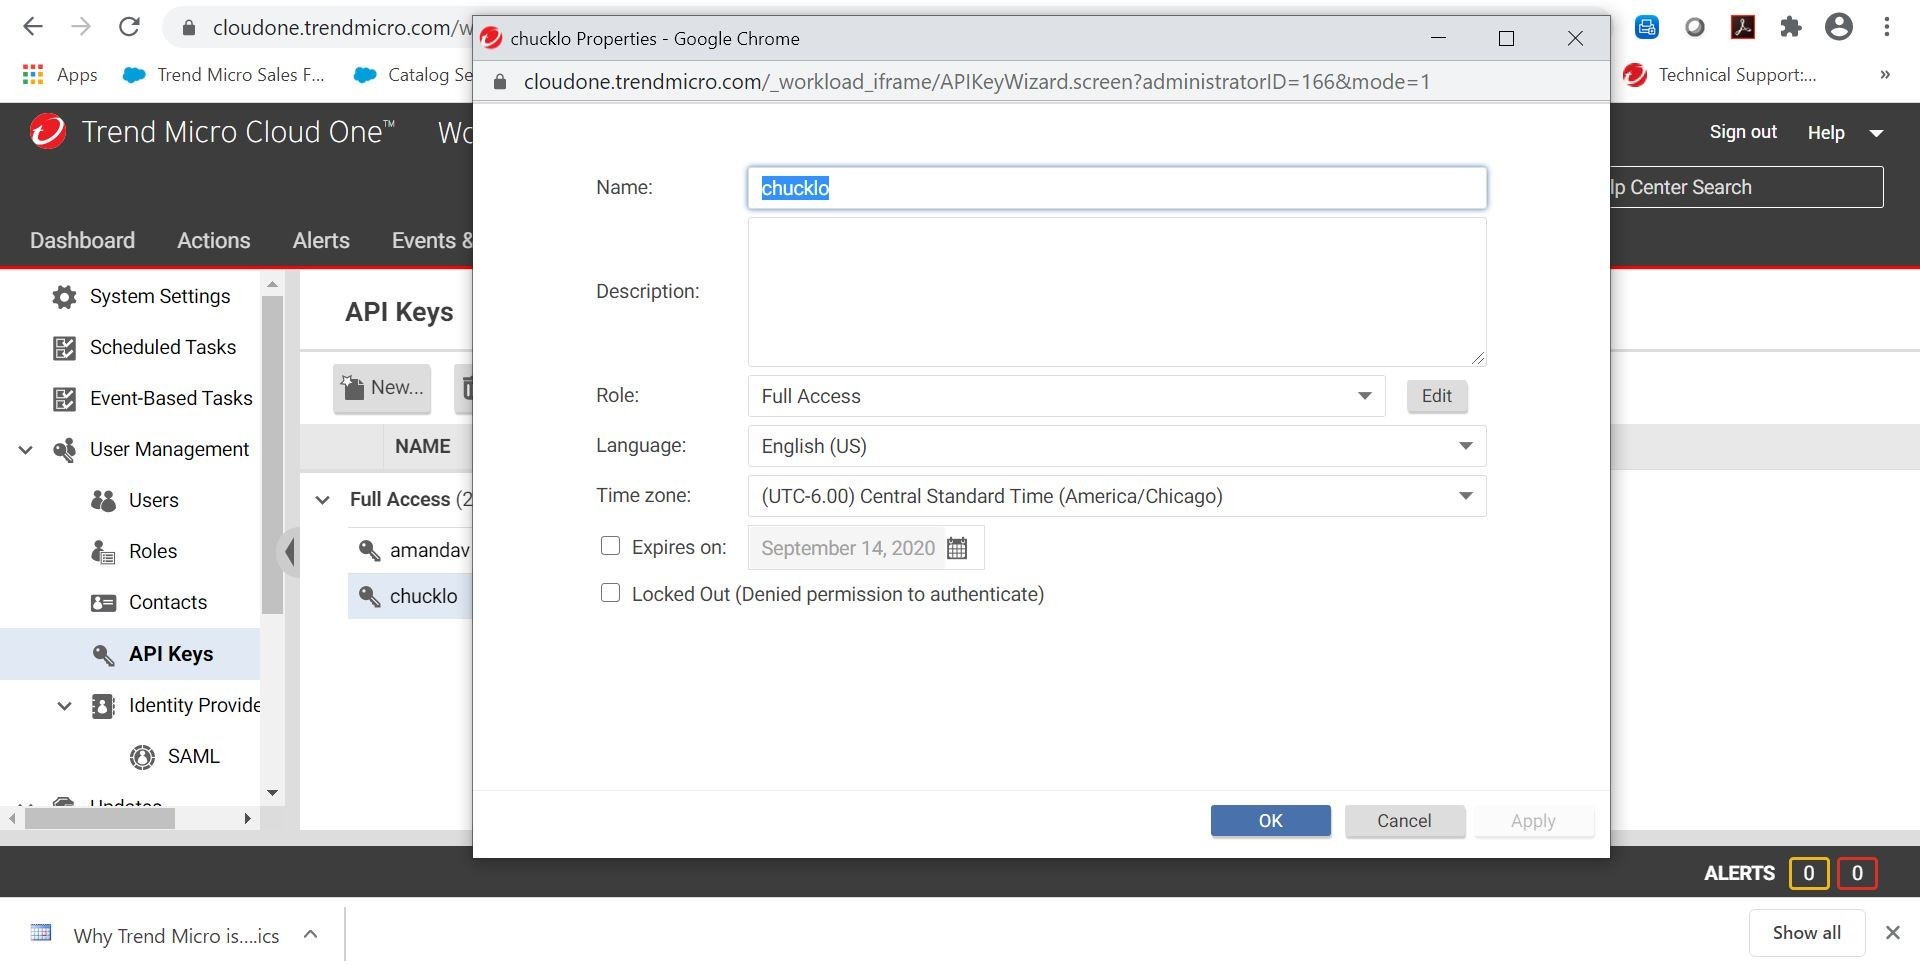
The next file that you are going to want to create for the Thus CLI to use for Cloud One Workload Security is the configuration file. Again, use vi, or nano to edit. Your resulting configuration file should look pretty similar to below.

This file is going to have the API of the DSMHost entered which should be the address below for Trend Micro Cloud One Workload Security.
A totally optional piece is if you want to verify the SSL certificate, or not. This is done with the DSMVerifyssl flag.
Ok cool! Let’s see if the CLI interface works. I edited my bashrc file to add the autocomplete functionality. That is shown below.

This is so autocomplete automatically starts up each and every new terminal session.

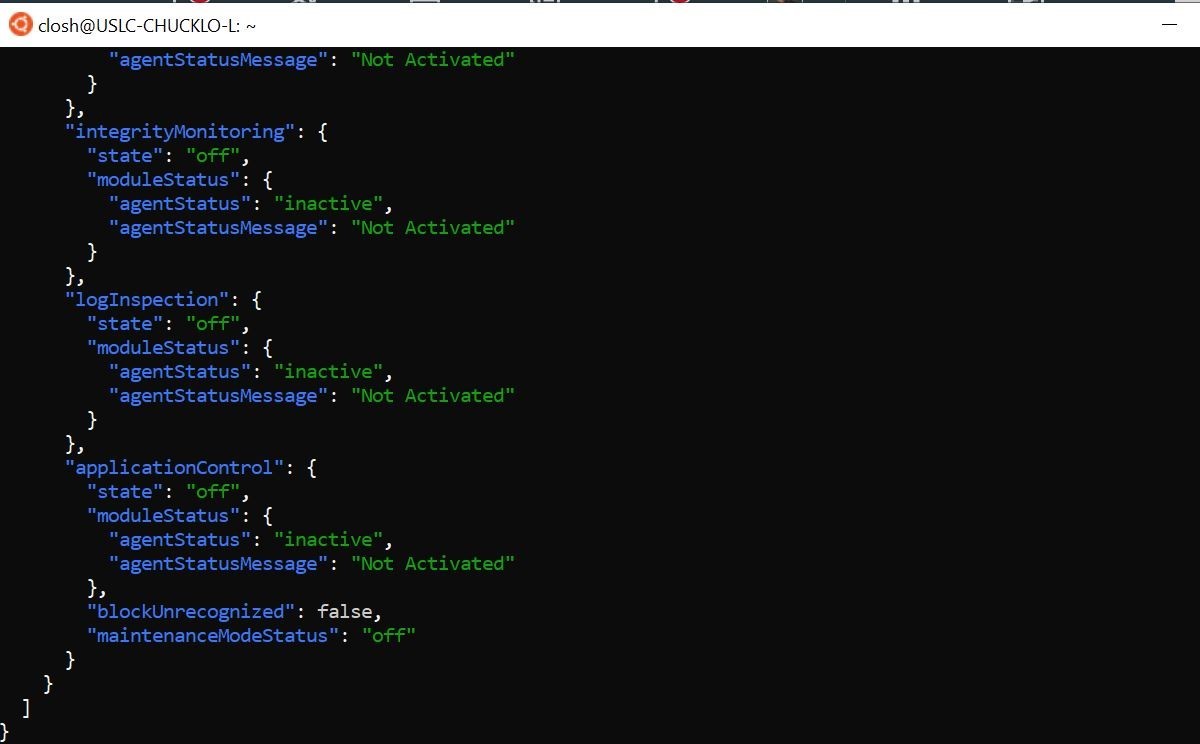
As we can see above, I type in thus and then deepsecurity and hit tab and all available CLI commands are available to me. This will in turn interact with the exposed API using my credentials. Cool! So, we now know that the autocomplete portion is working. Let’s go ahead and list out all computers associated with my Trend Micro Cloud One Workload Security Subscription.
Ok, so we can see the following command worked, and was talking properly to my Cloud One Workload Security subscription. I used the jq pipe to make the JSON returned more human readable.
Let’s go ahead and try another Trend Micro Cloud One service CLI command!
In this example, I have Trend Micro Cloud One Container Image Security running inside my Microsoft Azure Subscription.
I just want to run a quick command to get a listing of all container scans that I have in the solution in Azure and those associated results.
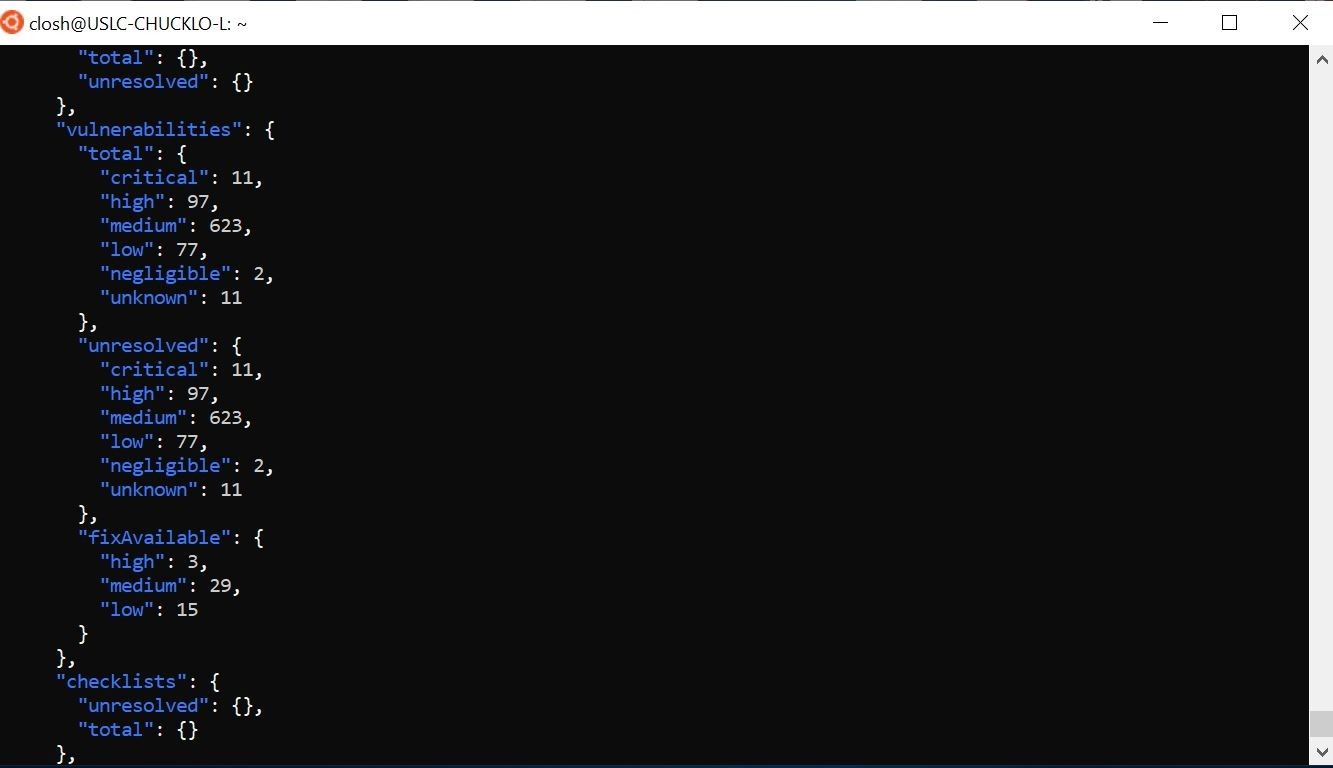
Pretty cool look at that! Shows my summary information for all the container image scans.
The last Trend Micro Cloud One service that I am going to check out is Trend Micro Cloud One Conformity.
As a test, I wanted to get an account listing of protected accounts in my Cloud One Conformity subscription.
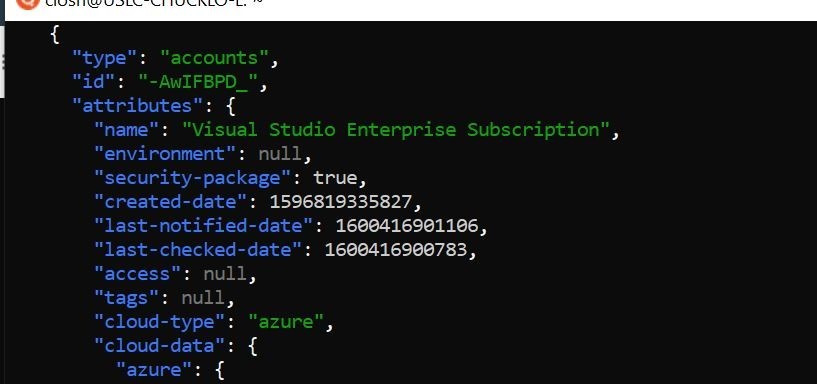
Well, That’s a good start right??
Pretty cool project and how you can get started running CLI commands against Trend Micro Cloud One services! Until, next time!
Tags
sXpIBdPeKzI9PC2p0SWMpUSM2NSxWzPyXTMLlbXmYa0R20xk
Read More HERE


