Secure and Integrate Your Azure DevOps CI/CD Pipeline Solution Engineer
Serverless Security
Explore experiments from Chuck Losh, Solution Architect, to explore how Application Security can help protect your applications at runtime as they are built, and integrate with your automated Azure DevOps CI/CD pipeline with automated testing.
Ok, let me start off by saying this was a lot of fun to experiment, learn, and test! I wanted to share this personal experience with you! Azure DevOps is a great toolset! It is very intuitive and easy to use! Trend Micro provides great runtime application security for container-based workloads with Trend Micro Cloud One Application Security. So, how do we integrate these two great technologies together, and ensure that runtime container protection is enabled? Well, I am going to show you today with some learning experiments that I set up!
First, we are going to test everything locally in our IDE with Microsoft Visual Studio Code. Once we are satisfied with those tests, we will push the code up to Azure DevOps and make some build and release pipelines. These pipelines will build our app into a container and host it inside an Azure App Service Plan/Azure Web App. Then, we will add Trend Micro Application Security to protect our application at runtime inside the container image. We will also experiment with the new Azure Container Structure Tests (Preview) in our Azure DevOps build pipeline. This will be used to run some tests that I built to ensure that the Trend Micro Cloud One Application Security library is included in our container image build.
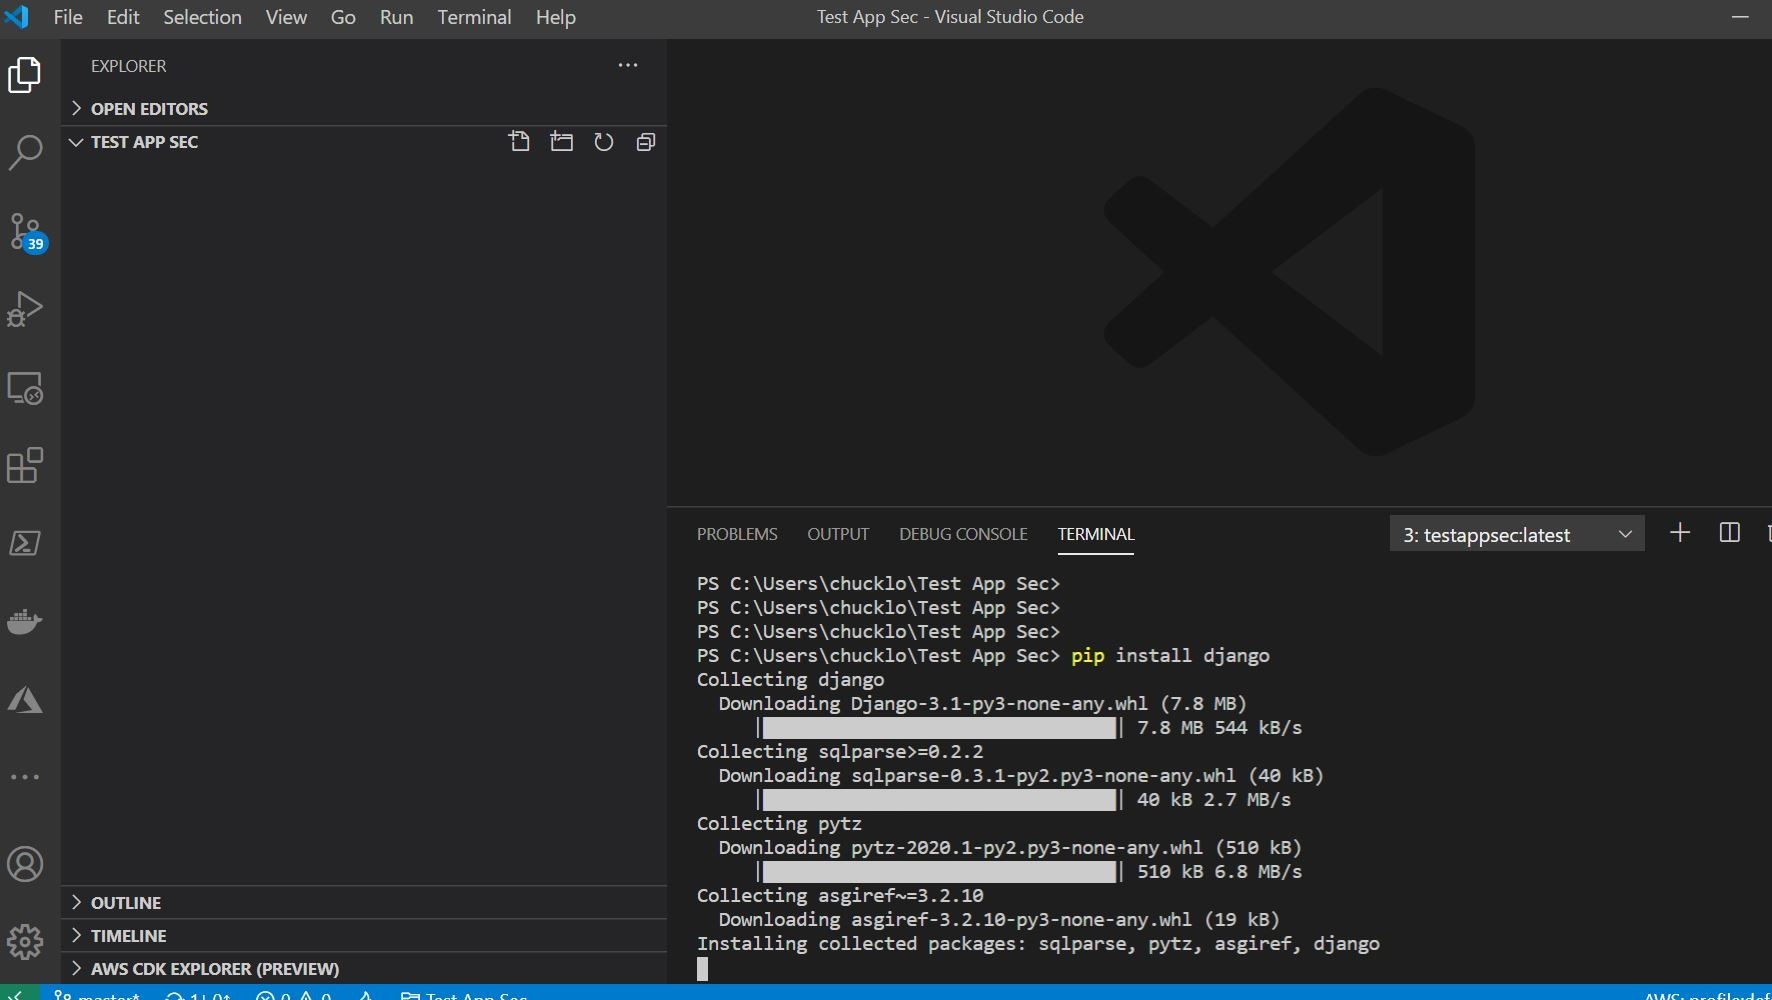
Ok, let’s get started! I am going to use a test a Django hello-world Python application.
This is shown below. Where the app environment is setup in Visual Studio Code, and the DockerFile was generated for the project by using the Add DockerFiles option with the Visual Studio Command Palette.
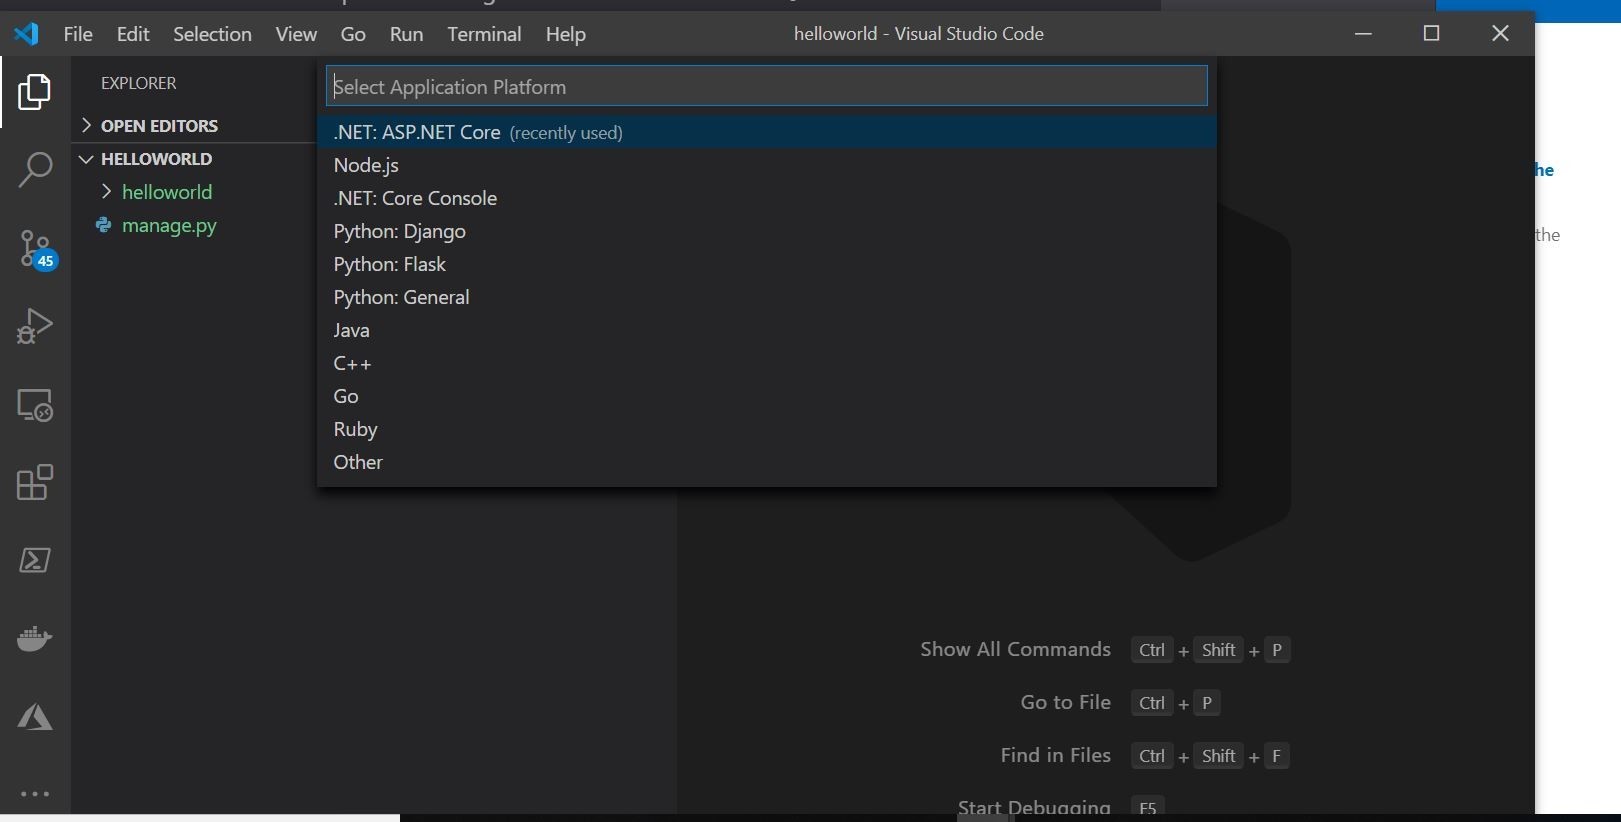
Once you do that, the auto-generated DockerFile and Python project should be pretty similar to what I have below.
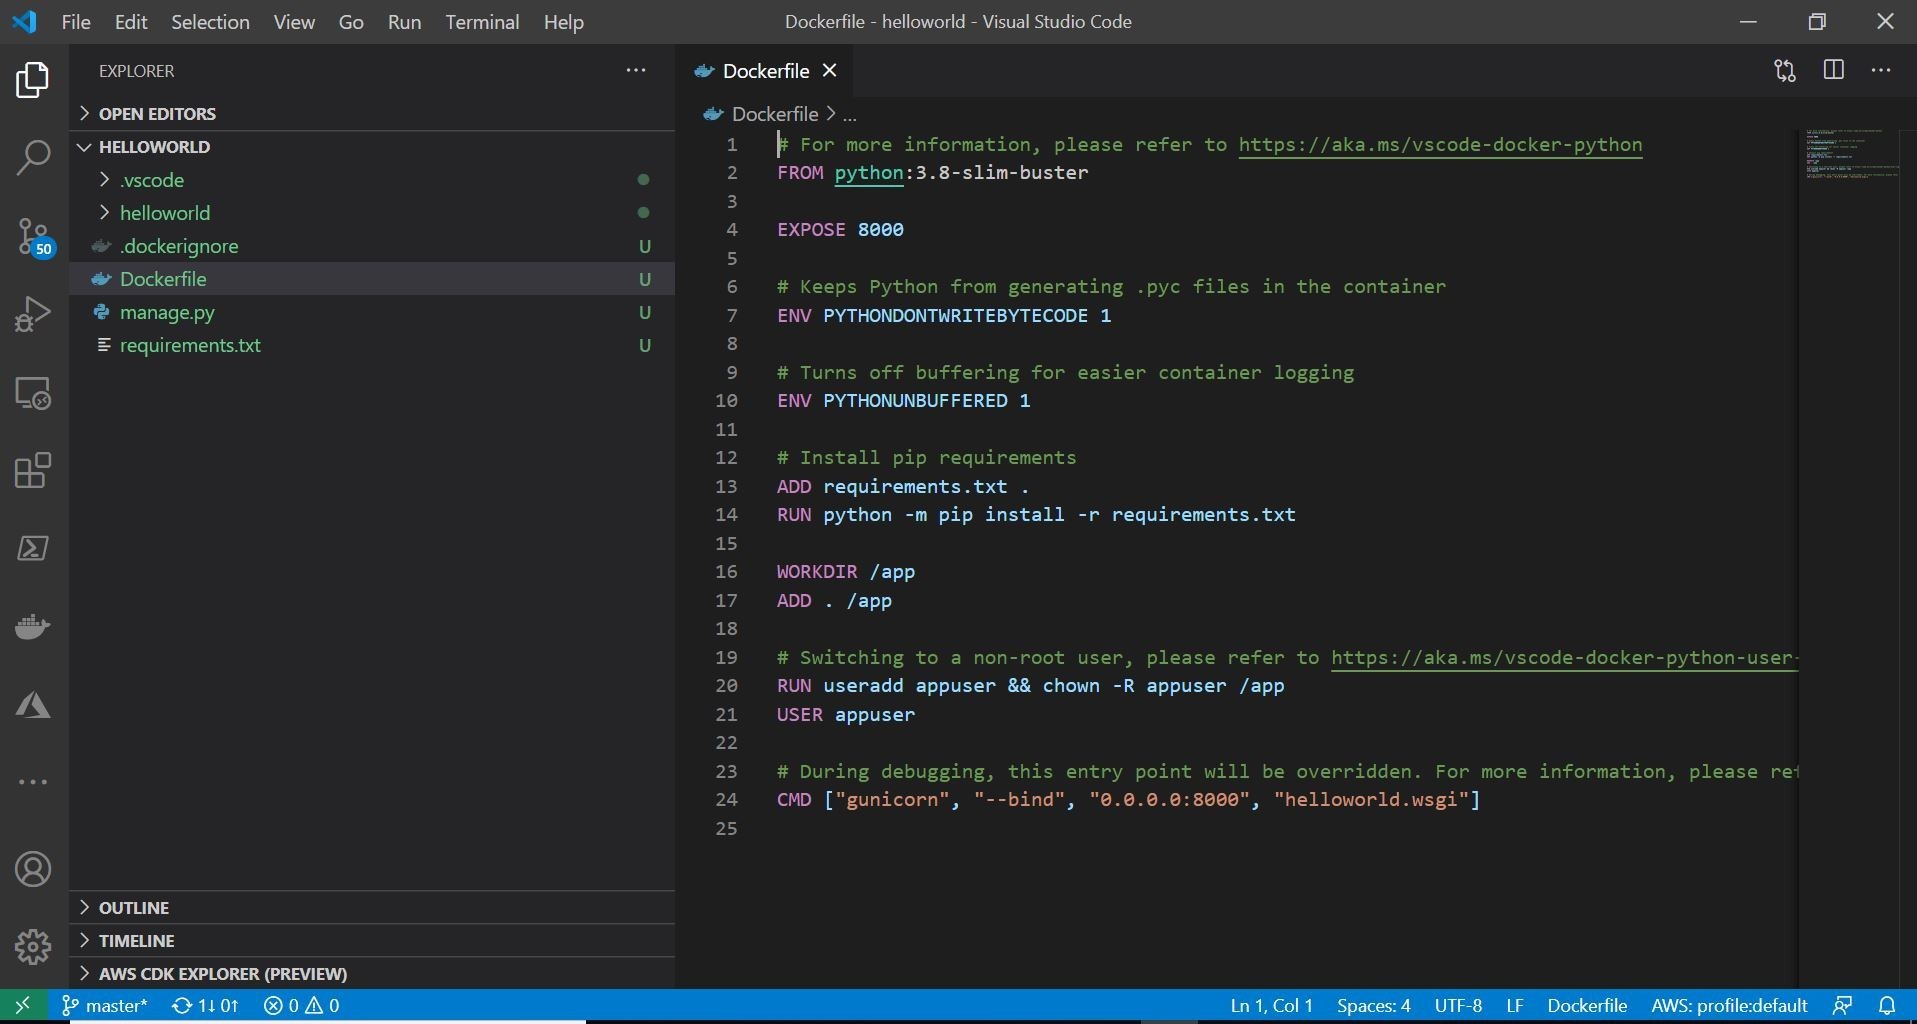
Ok, let’s go ahead and utilize the most excellent Docker extension for Visual Studio Code. Extensions in Visual Studio Code are pretty cool! Note: this is under the assumption that you have Docker CE/Desktop for Windows already running on your desktop. If you don’t I would recommend running the following choco command to install Docker via Chocolately.
The three (Visual Studio Code, Docker, Docker Visual Studio Code extension) work in tandem together! You can right-click your DockerFile and choose the build option with the extension. This will allow you to build a container image of the test project locally.
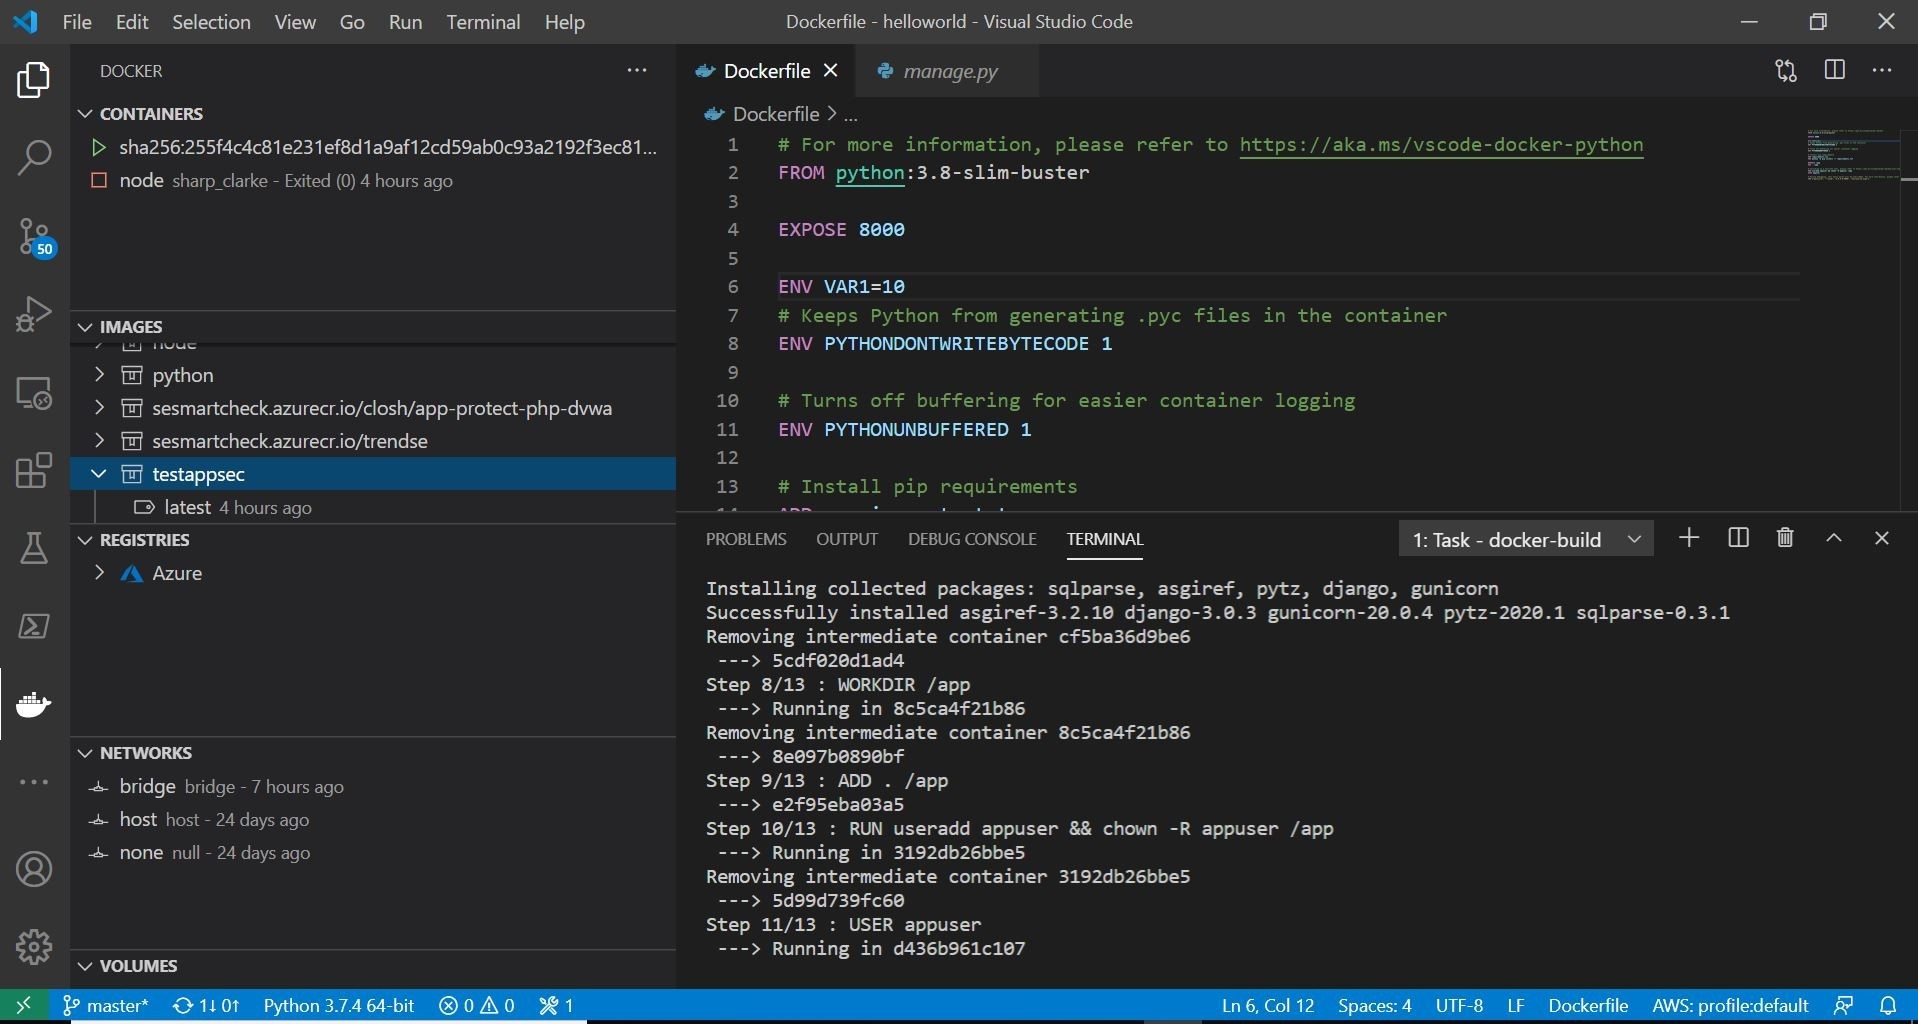
Here, you can see on the left, my test container is being built and added to my local machine container registry. On the right you can see the DockerFile being executed. Bonus alert! You can you can add/integrate your Azure Container Registry which I have done. This extension is indeed, pretty cool! Once your container has finished building, you can run your container by selecting the image that was just built and right-clicking. You should choose the option to run the container interactive. I like to choose interactive, that way I can see the run log information in the built in terminal. You should also see the running container in the upper left you can always right-click and stop at anytime.
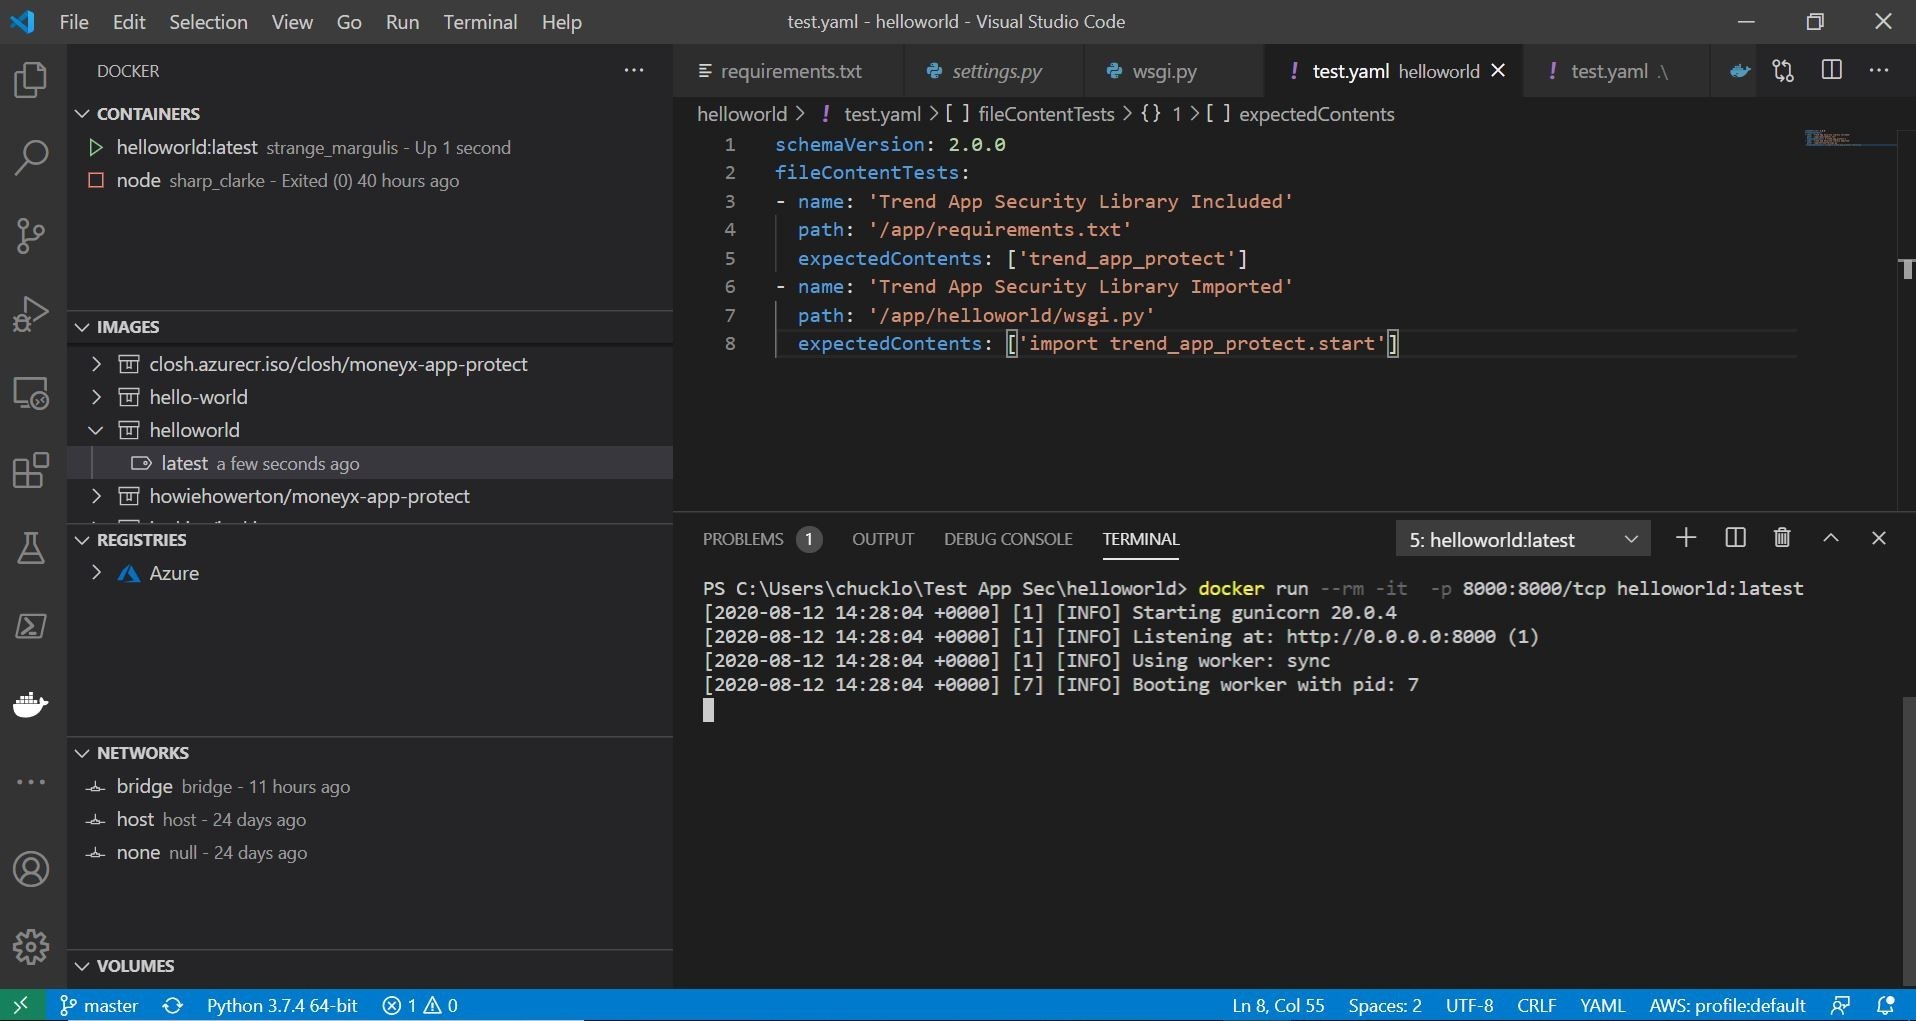
Ok, cool, from the output we have a running test container on our local system. Let’s see if we can get to the Django Python helloworld test project in a browser. From the terminal output we can see that it is running on the localhost on port 8000.
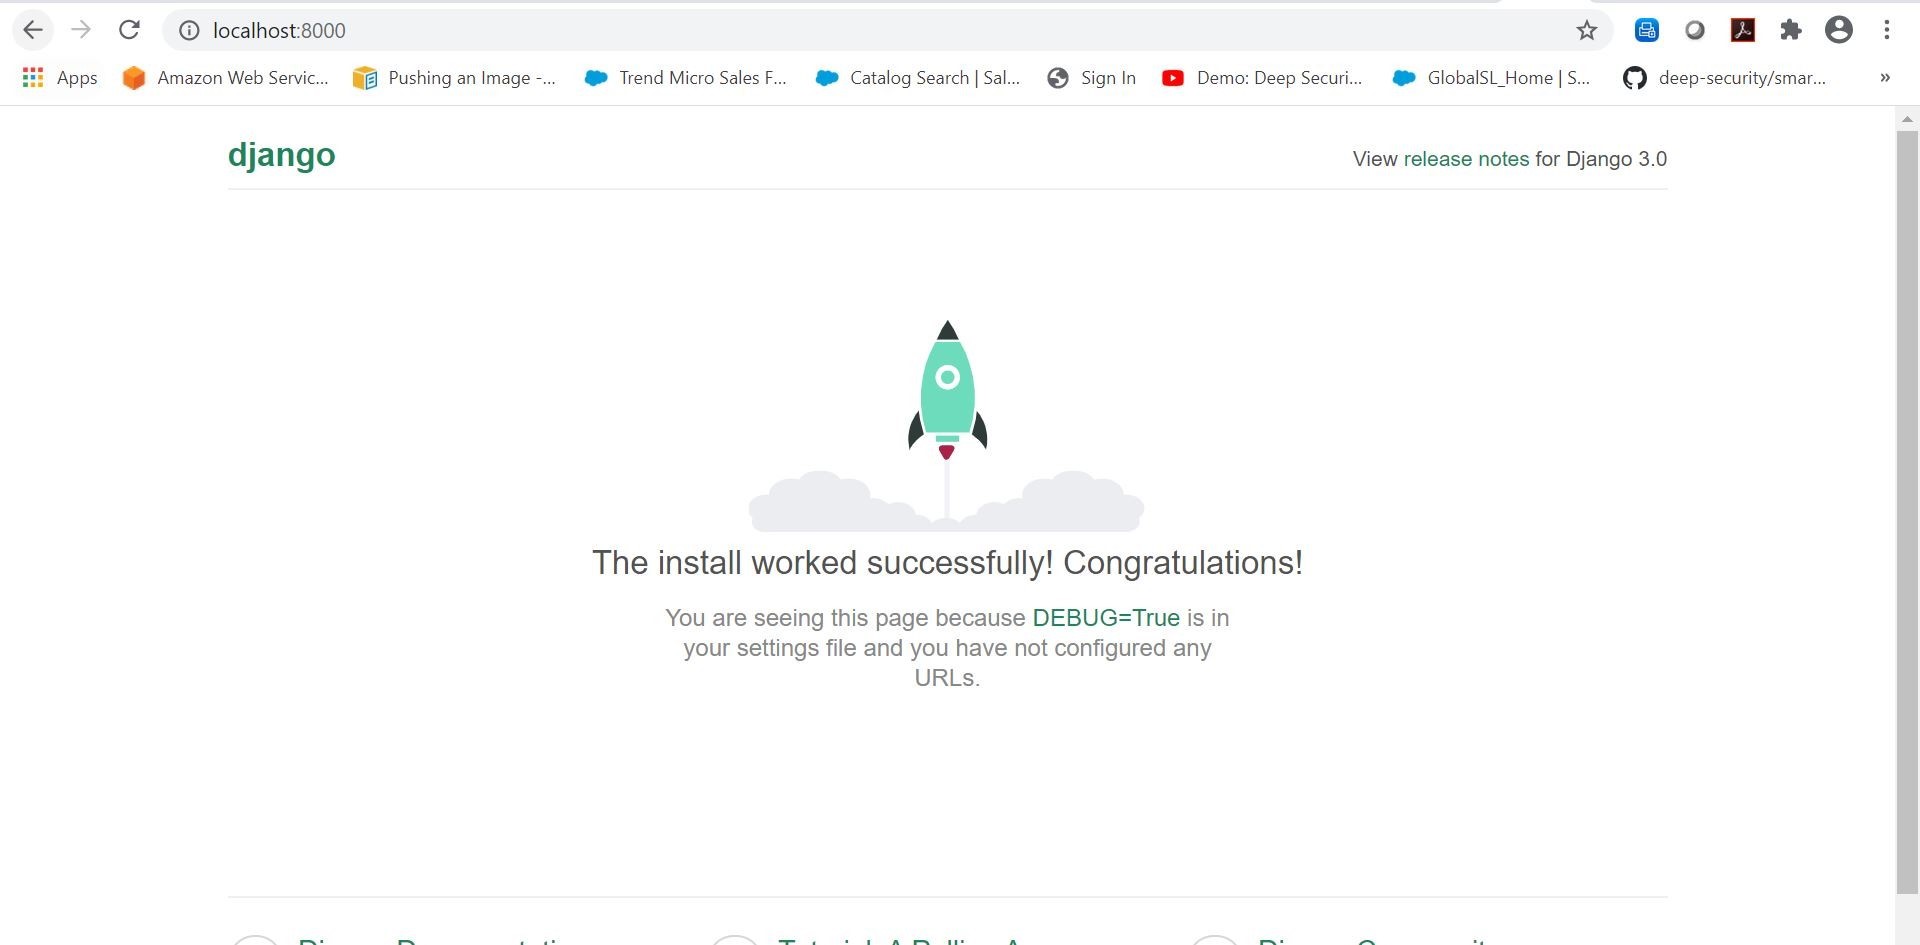
Excellent! So, now that we have this test Django python application running locally. Let’s go ahead and publish this code to a private Azure DevOps Repo in a new project.
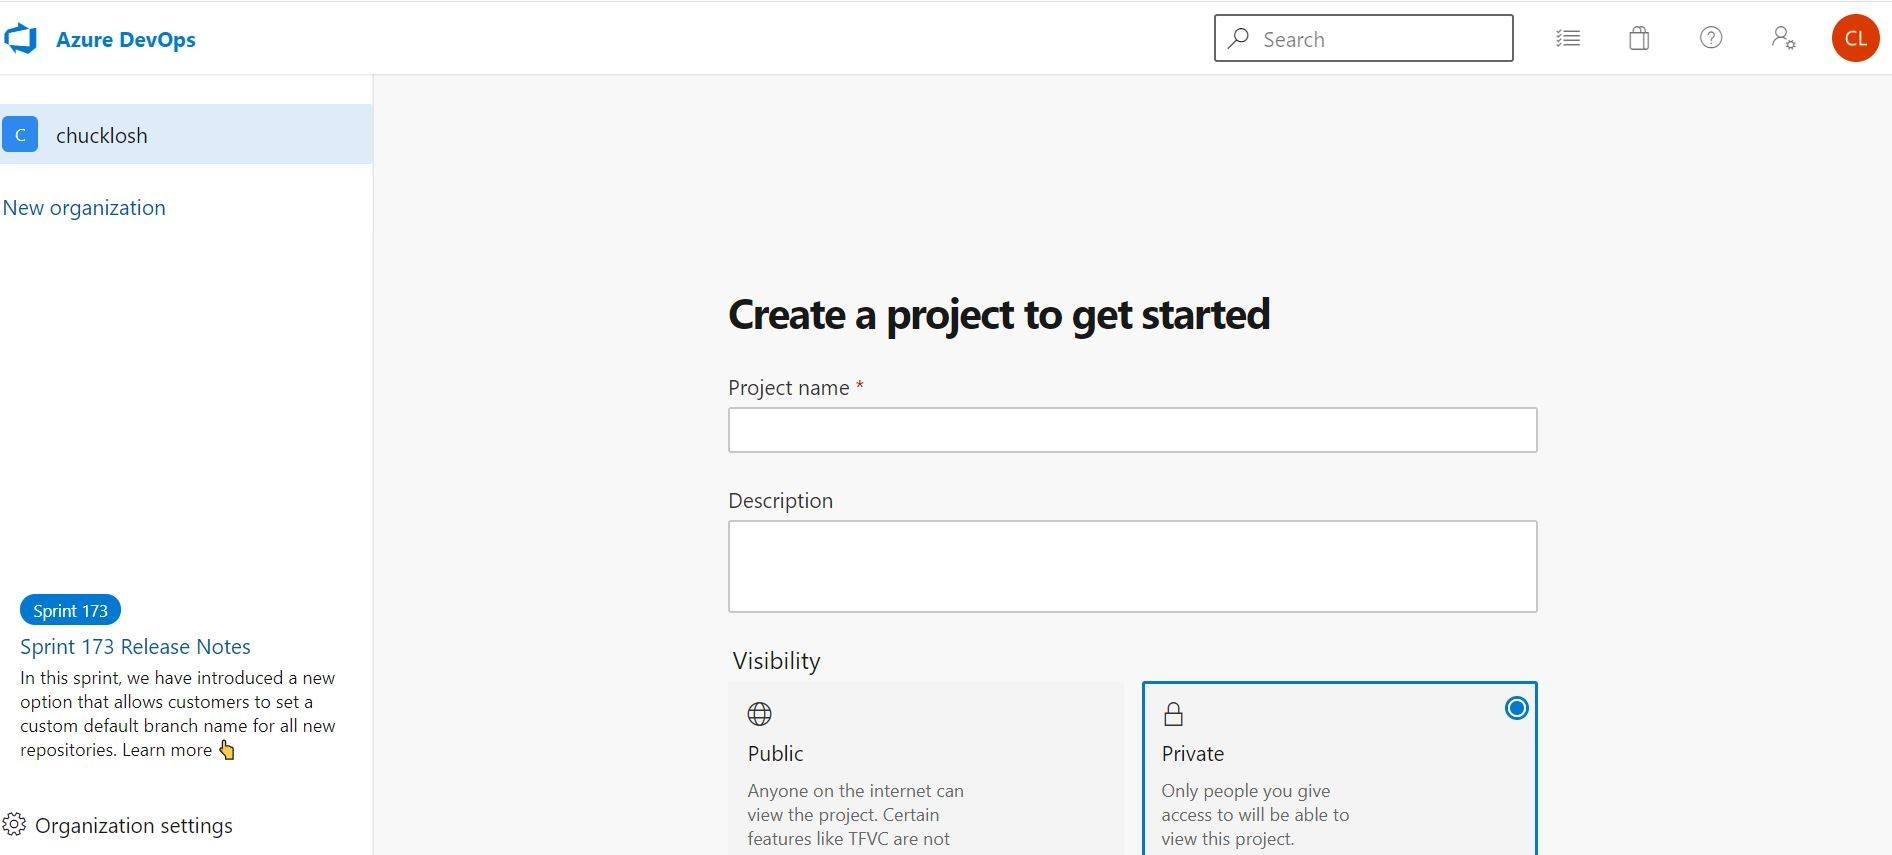
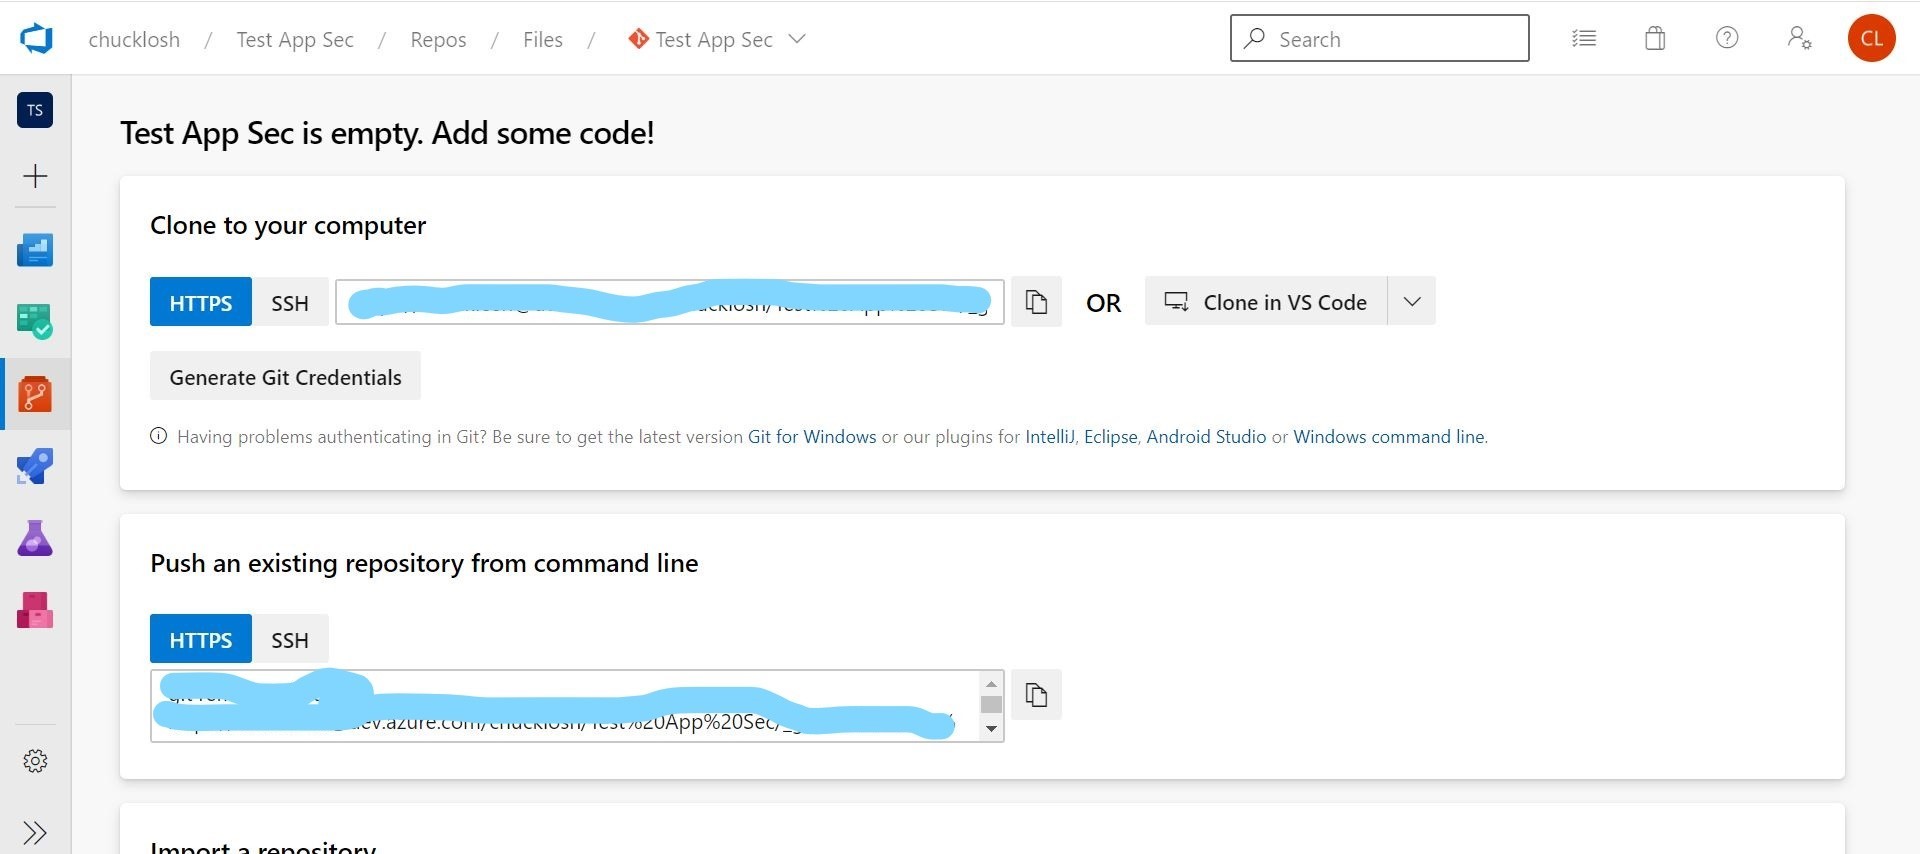
I went ahead and logged into my Azure DevOps subscription, and created a new private project called Test App Sec. I then created a new Repo and cloned it to my local system by using the Clone in VS Code option. This process is illustrated below!
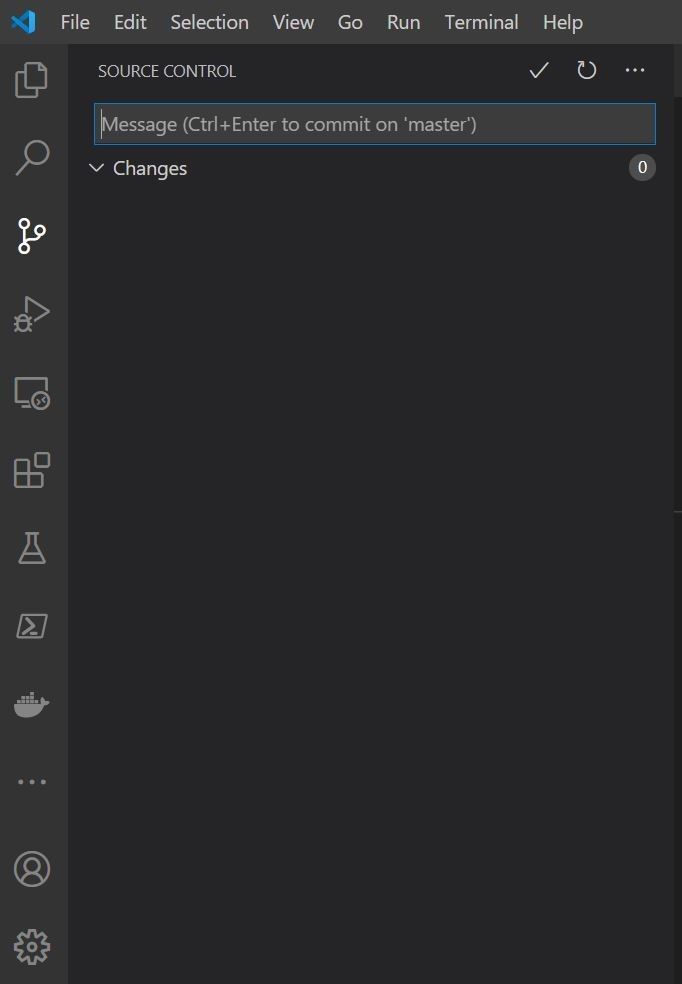
Ok, now I committed my test project to Azure DevOps using the built in source control tools built into Visual Studio Code. This is shown below.
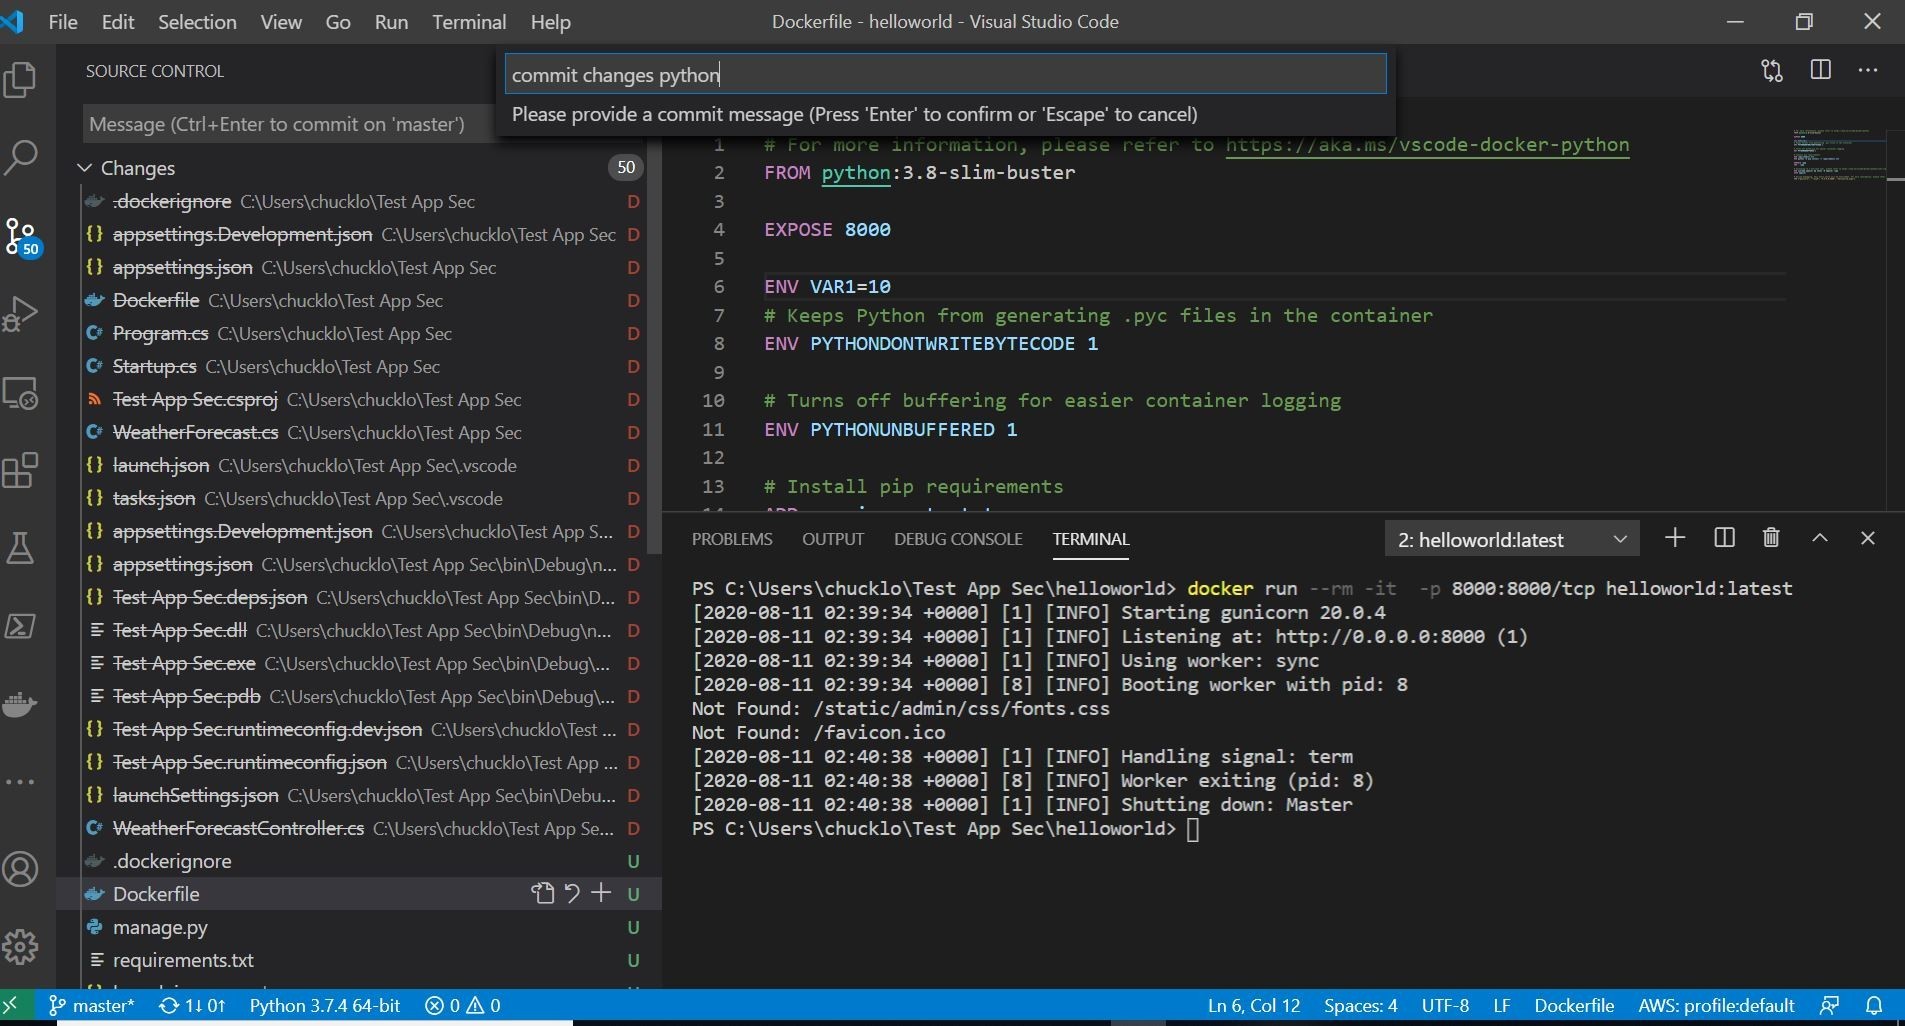
Cool, now I have my test source code checked in successfully to Azure DevOps!
Well, before we test out and add Trend Micro Application Security, let’s just go ahead and build an associated Azure DevOps Build Pipeline and Release Pipeline to Azure Web App. Sound good? Ok, sounds good to me! Let’s go!
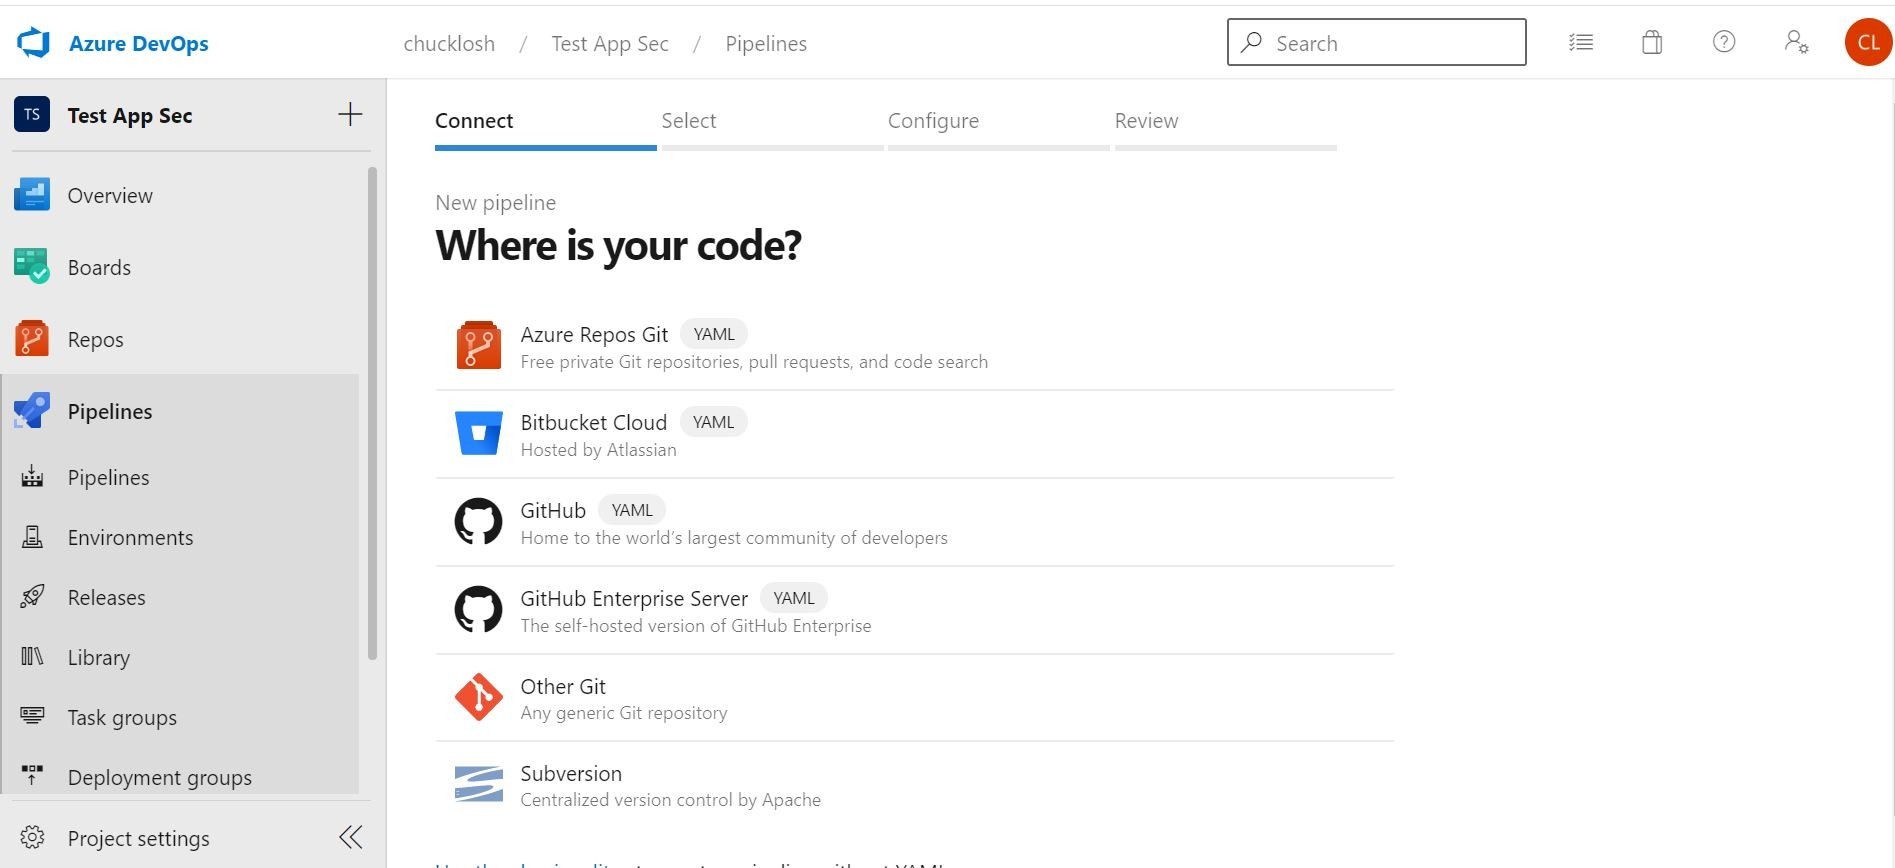
Ok, in this example pipeline. I am going to take you through the wizard for the setup. On the first Pipelines screen you are going to want to hook it up to our existing Azure Repo. So, we select the Azure Repos option.
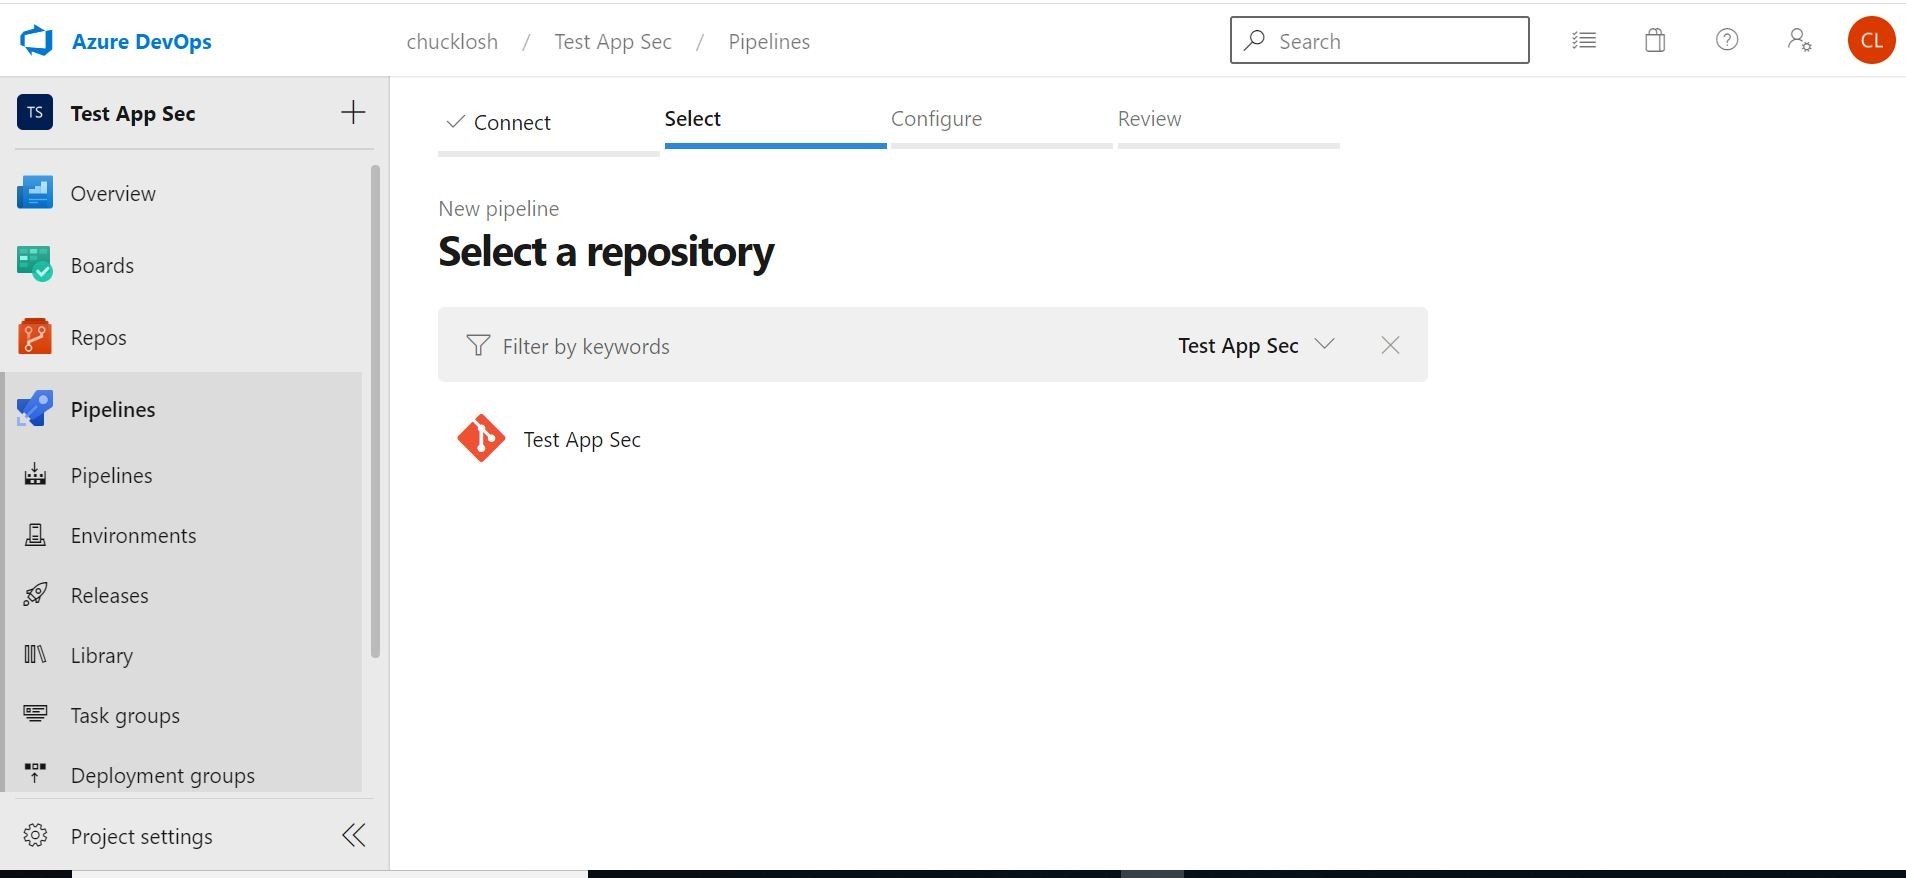
Ok, next, let’s select our Repo that we created and committed the code changes from Visual Studio Code.
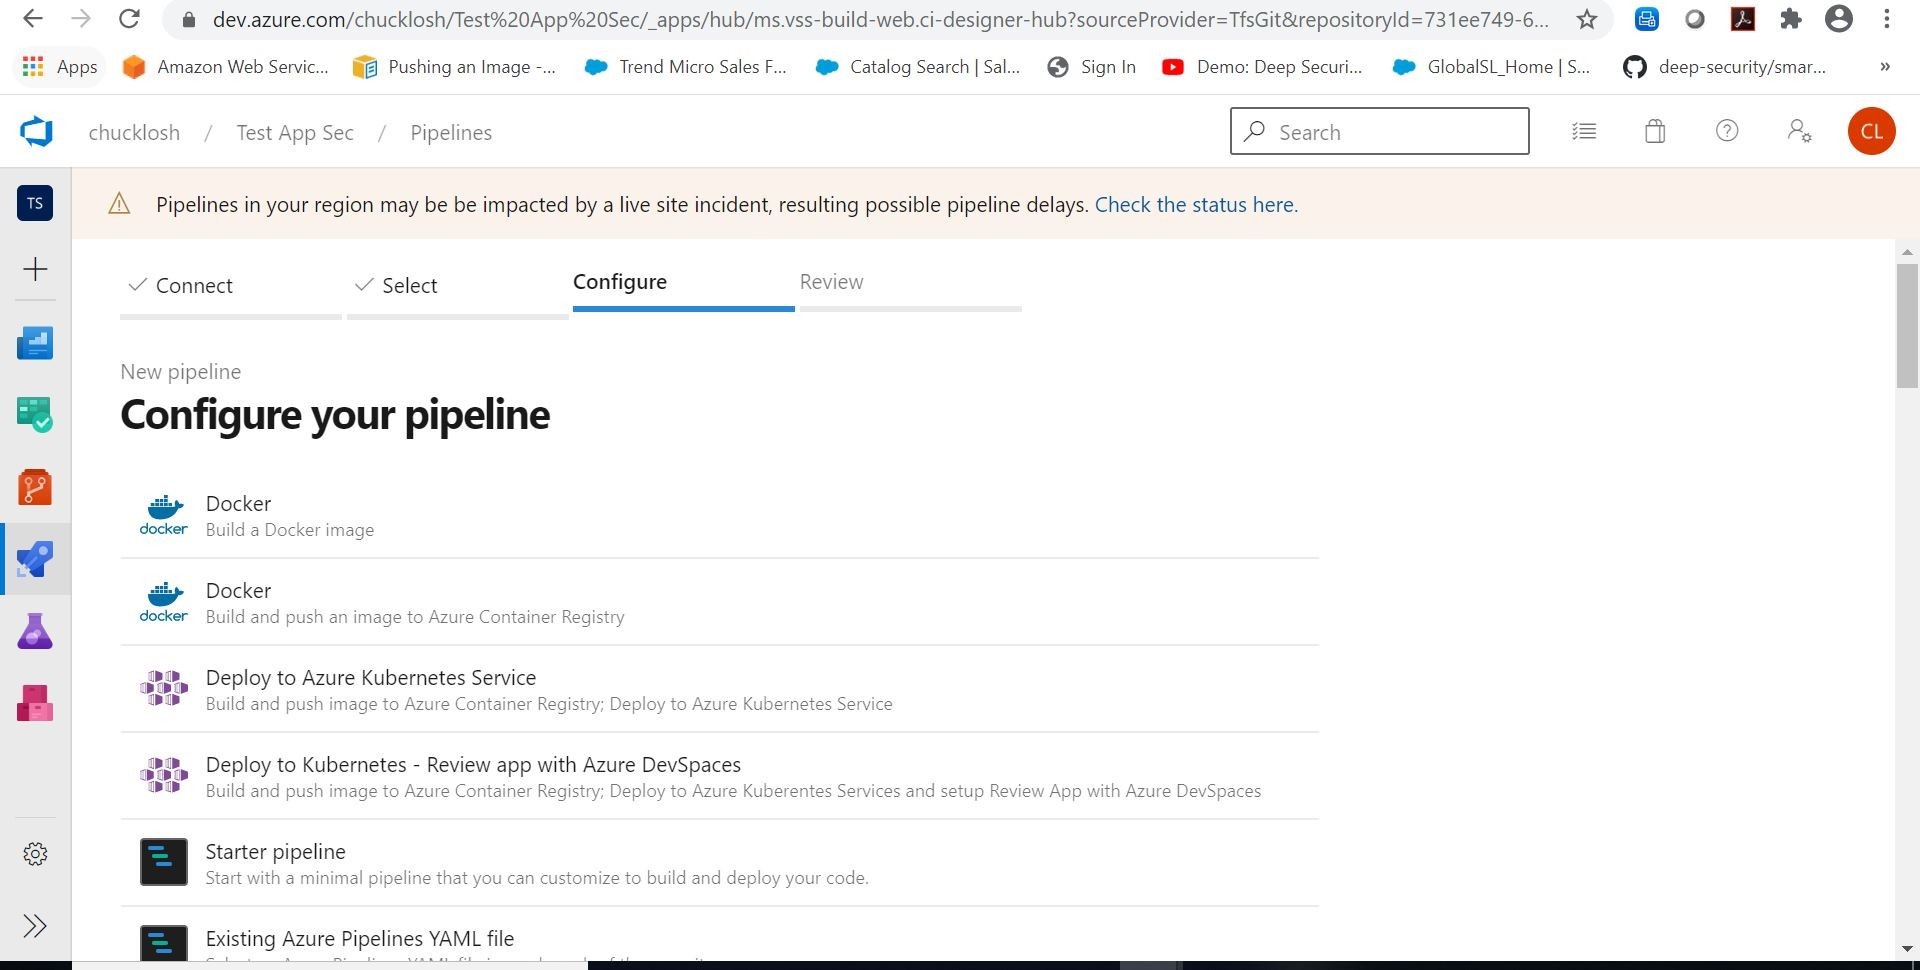
Ok, so what we are going to do is build and push an image to Azure Container Registry. Let’s choose that Docker option!
When you select that option, it is going to want to logon to your available Azure subscriptions. Choose the subscription you want to use that contains an active, or new Azure Container Registry. Choose your associated Azure Container Registry that you want to use, and put in the appropriate image name. The DockerFile should automatically pull from your source Repo as shown.
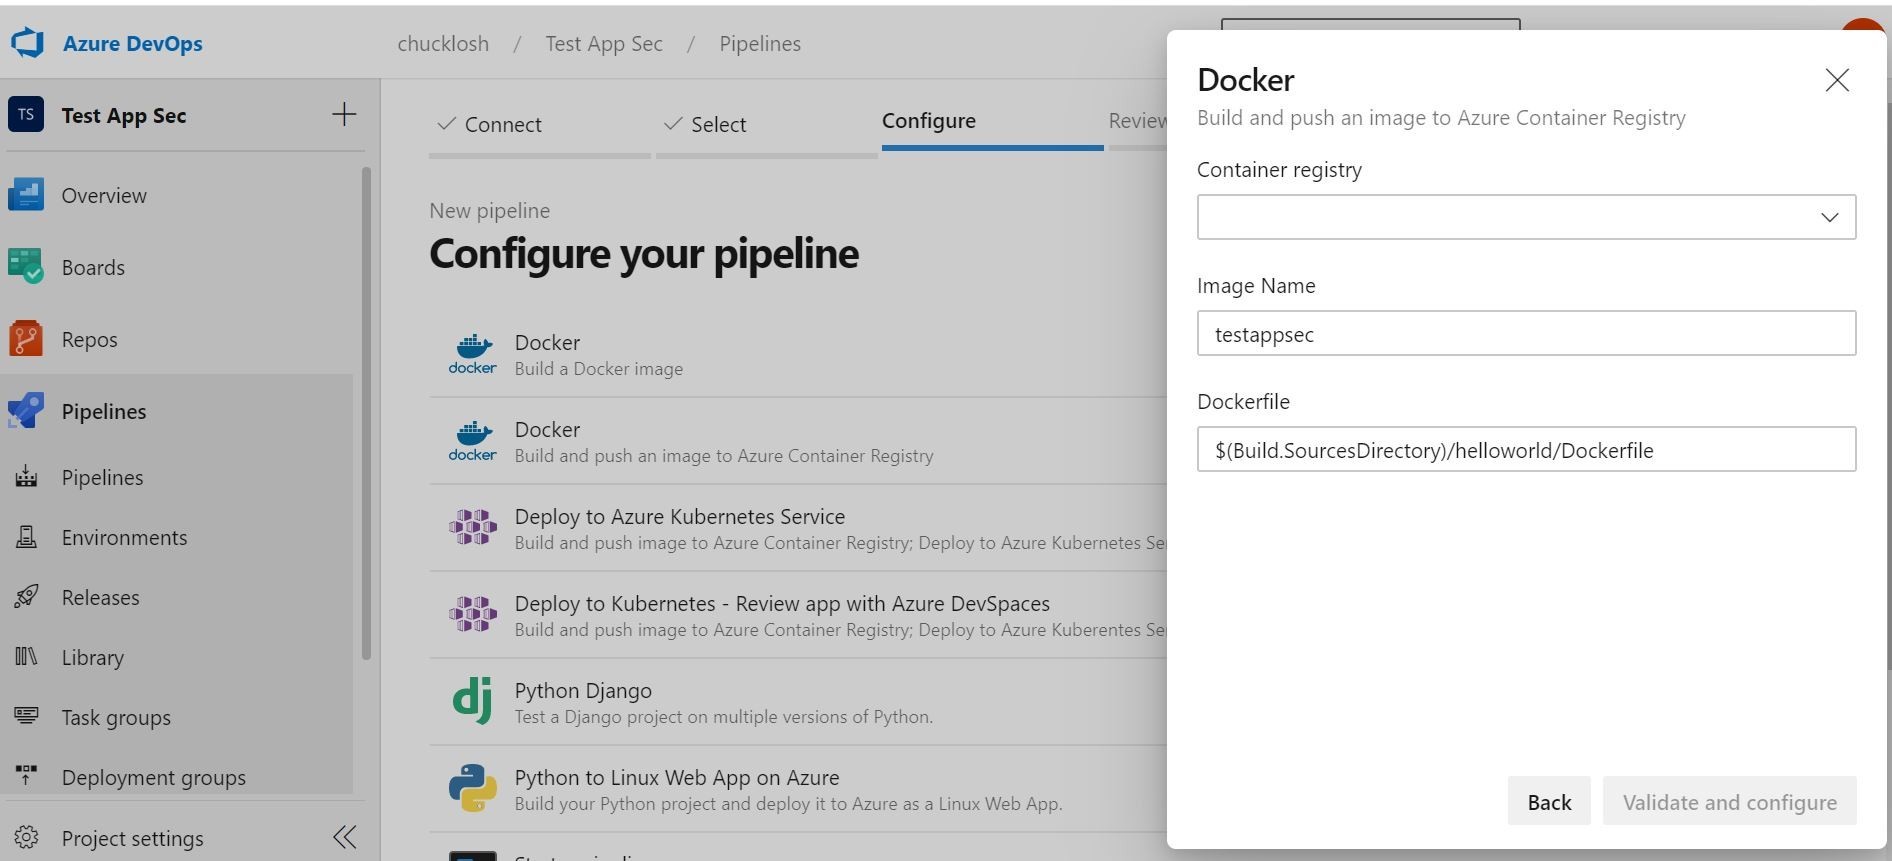
Then, click validate and configure. What will happen is it will automatically create a pipeline.yaml in your Repo for your review. You can choose to save this, or go ahead and save and run. We will go ahead and choose save and run, and see if the test image gets built and pushed to our Azure Container Registry.
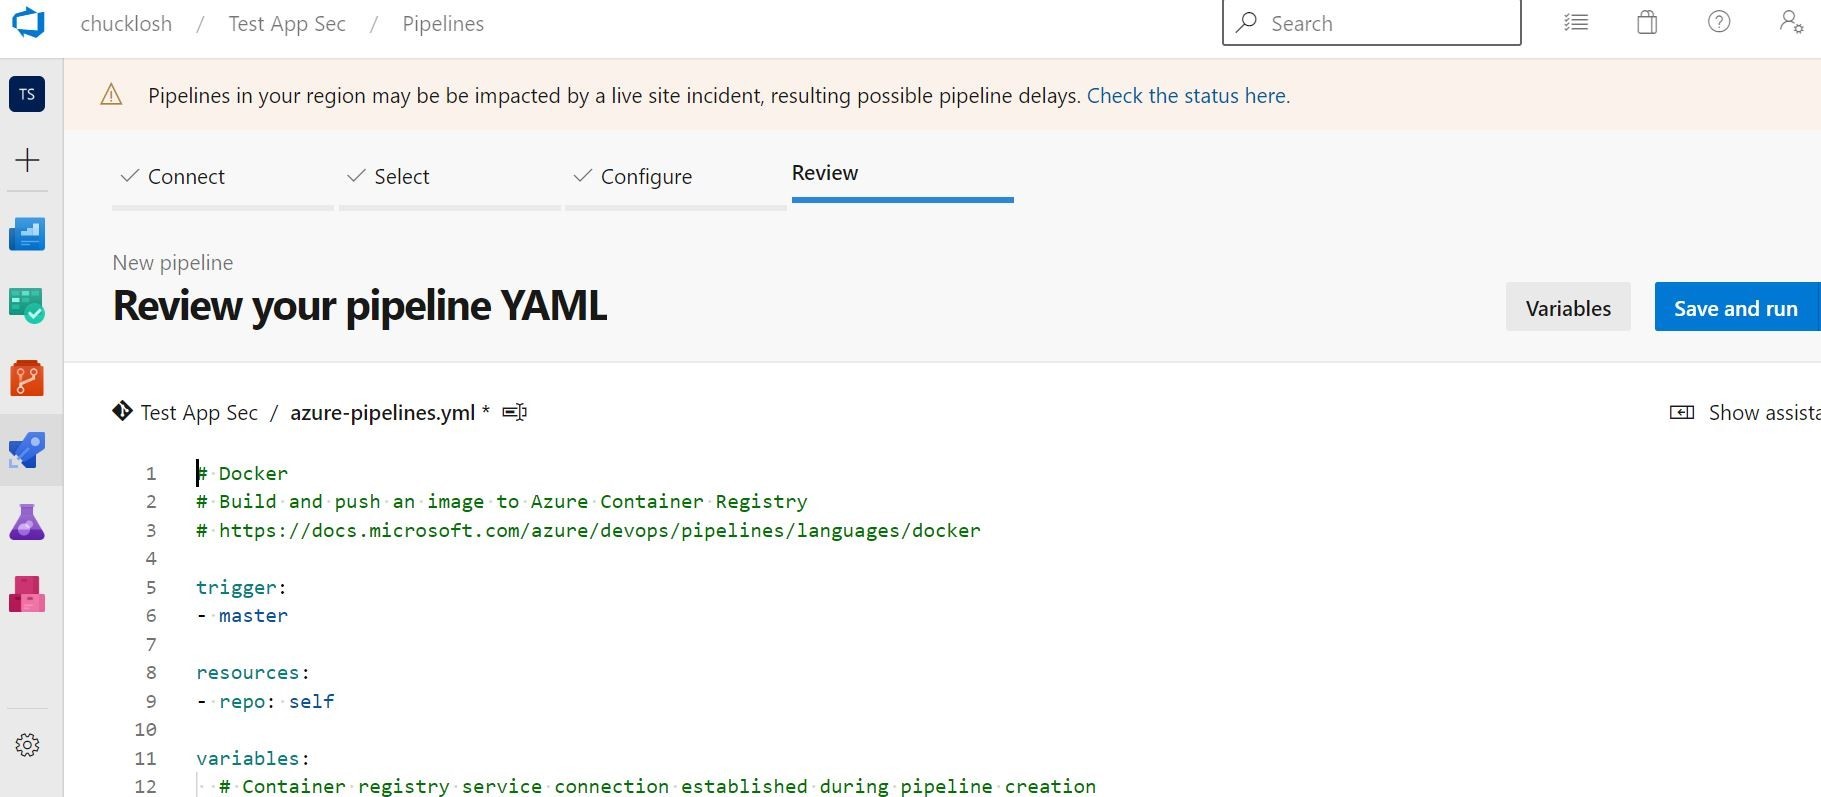
Ok, we can see that the build has kicked off, and we have our status information for the CI build pipeline.
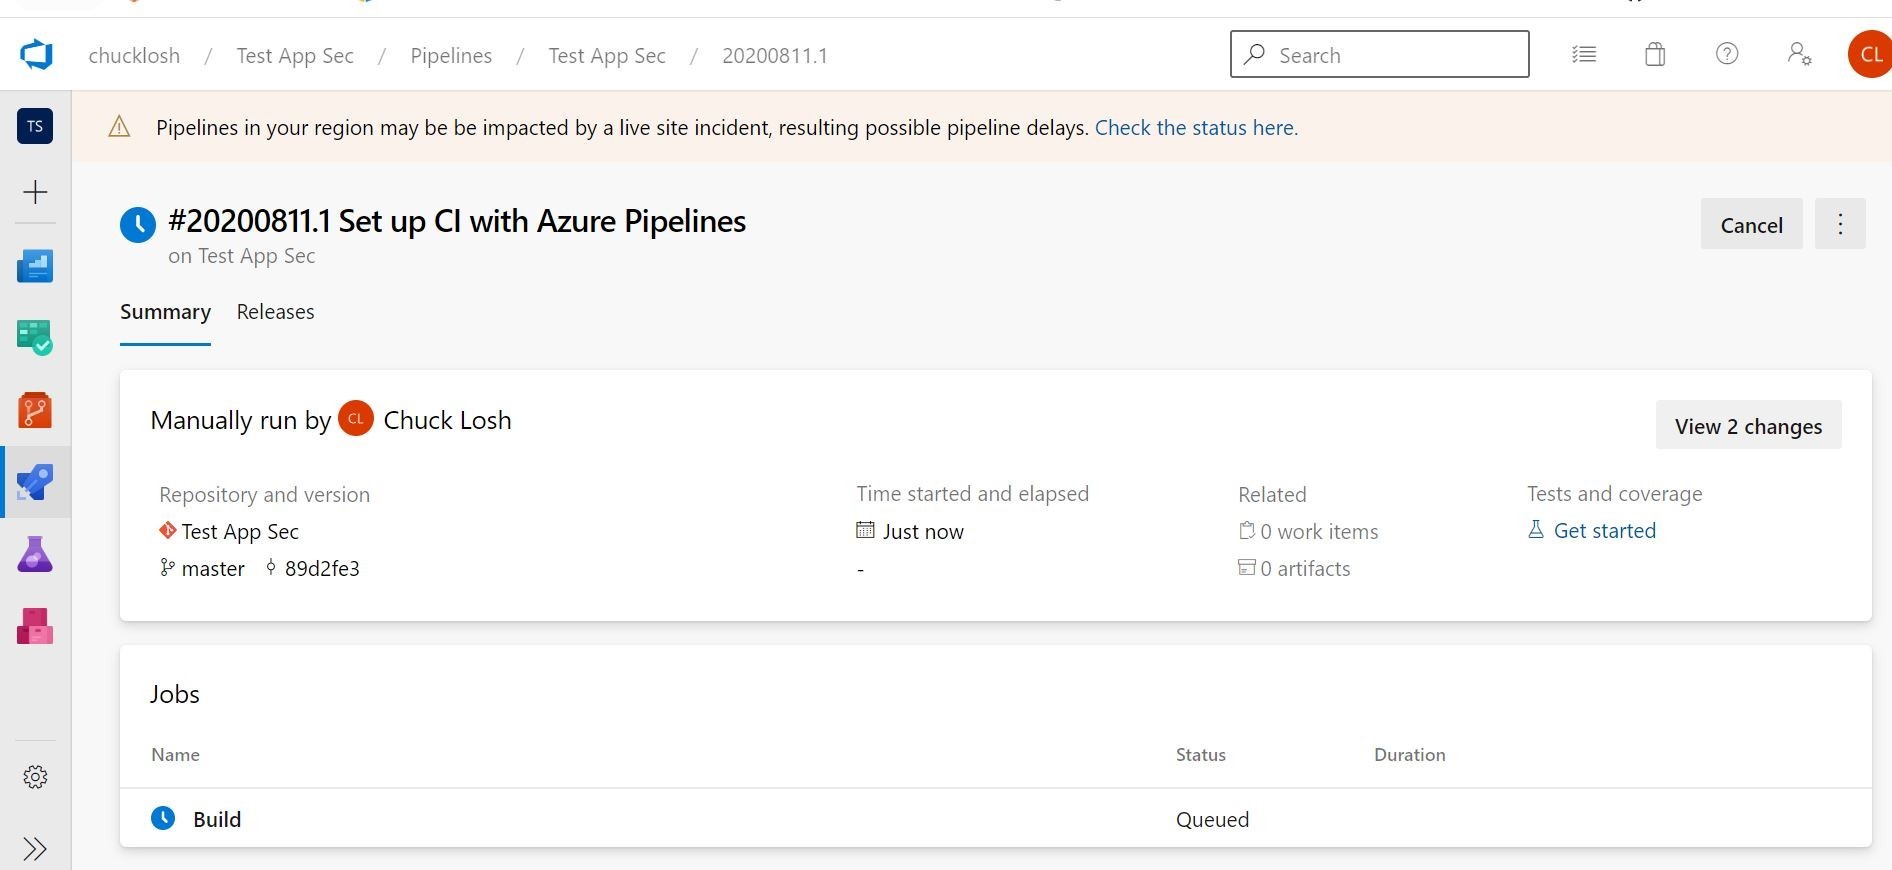
Ok, after a few minutes, it looks like we have a successful container build!
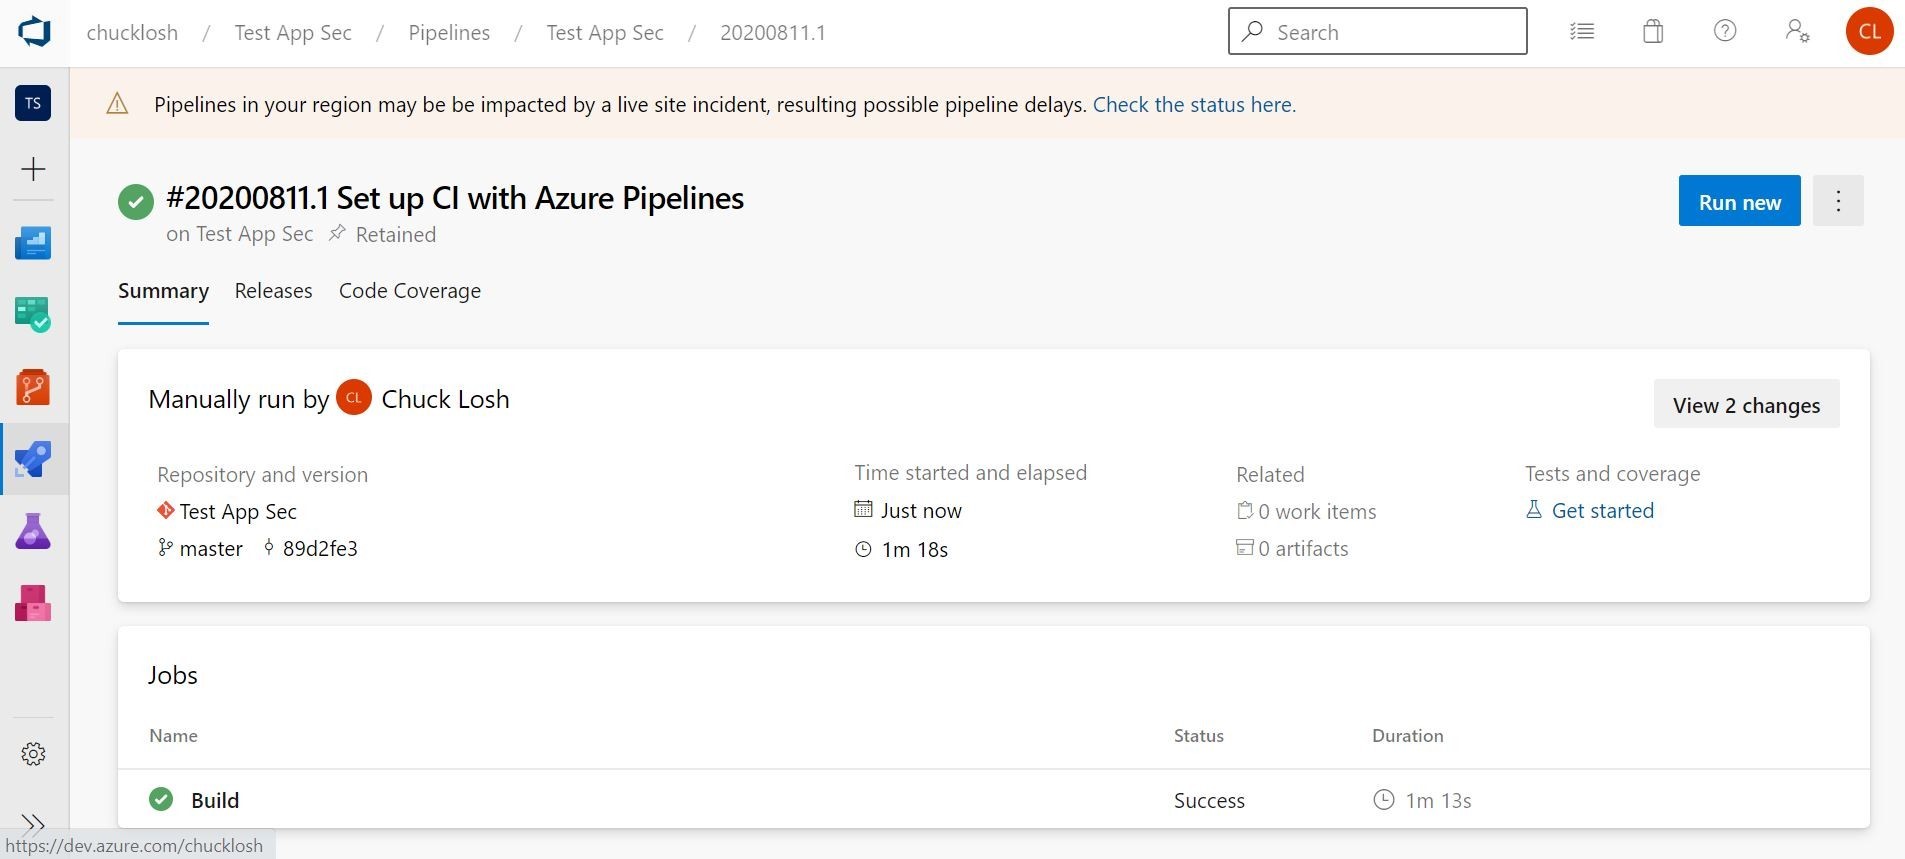
Ok, lets take a peak at our Azure Container Registry, and make sure the image arrived on the other side. Yep, looks like it created the Repo and the images on the other side. So, we are good there! Obviously, I have done a bunch of test builds, so my tags have gone up! Way up! I got carried away there!
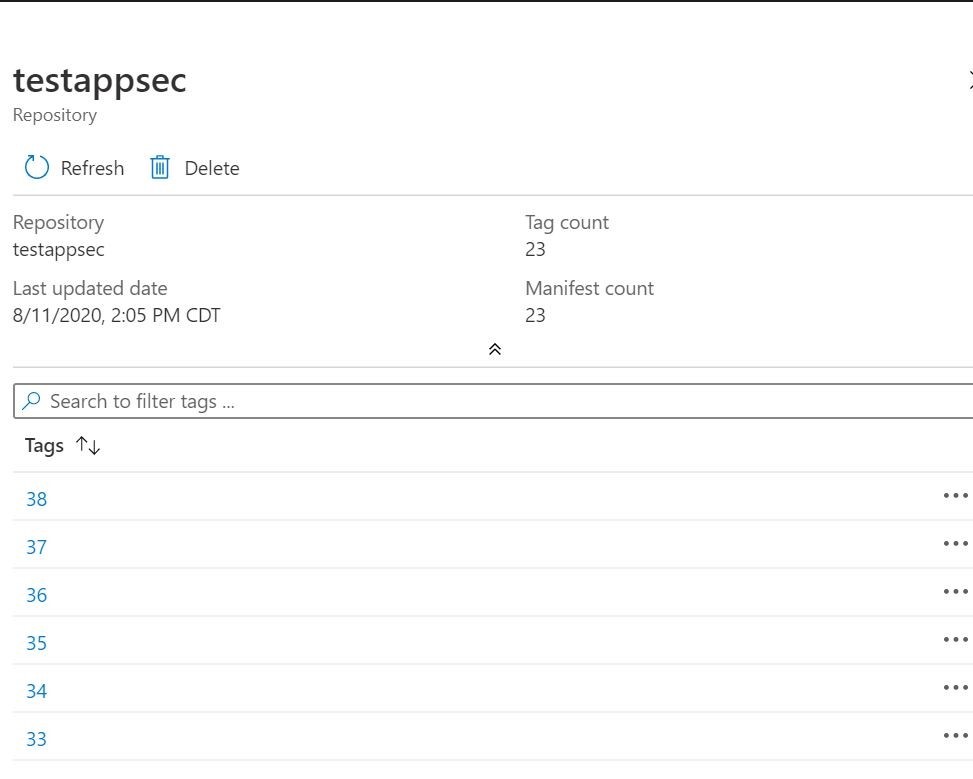
Ok, the next step is to build a release pipeline to pull the associated container image from Azure Container Registry, and serve it up inside Azure Web App/App Service Plan. Let’s go!!
Here is my completed release pipeline. You can create one in the releases section of Azure DevOps. This will complete the CI/CD cycle.
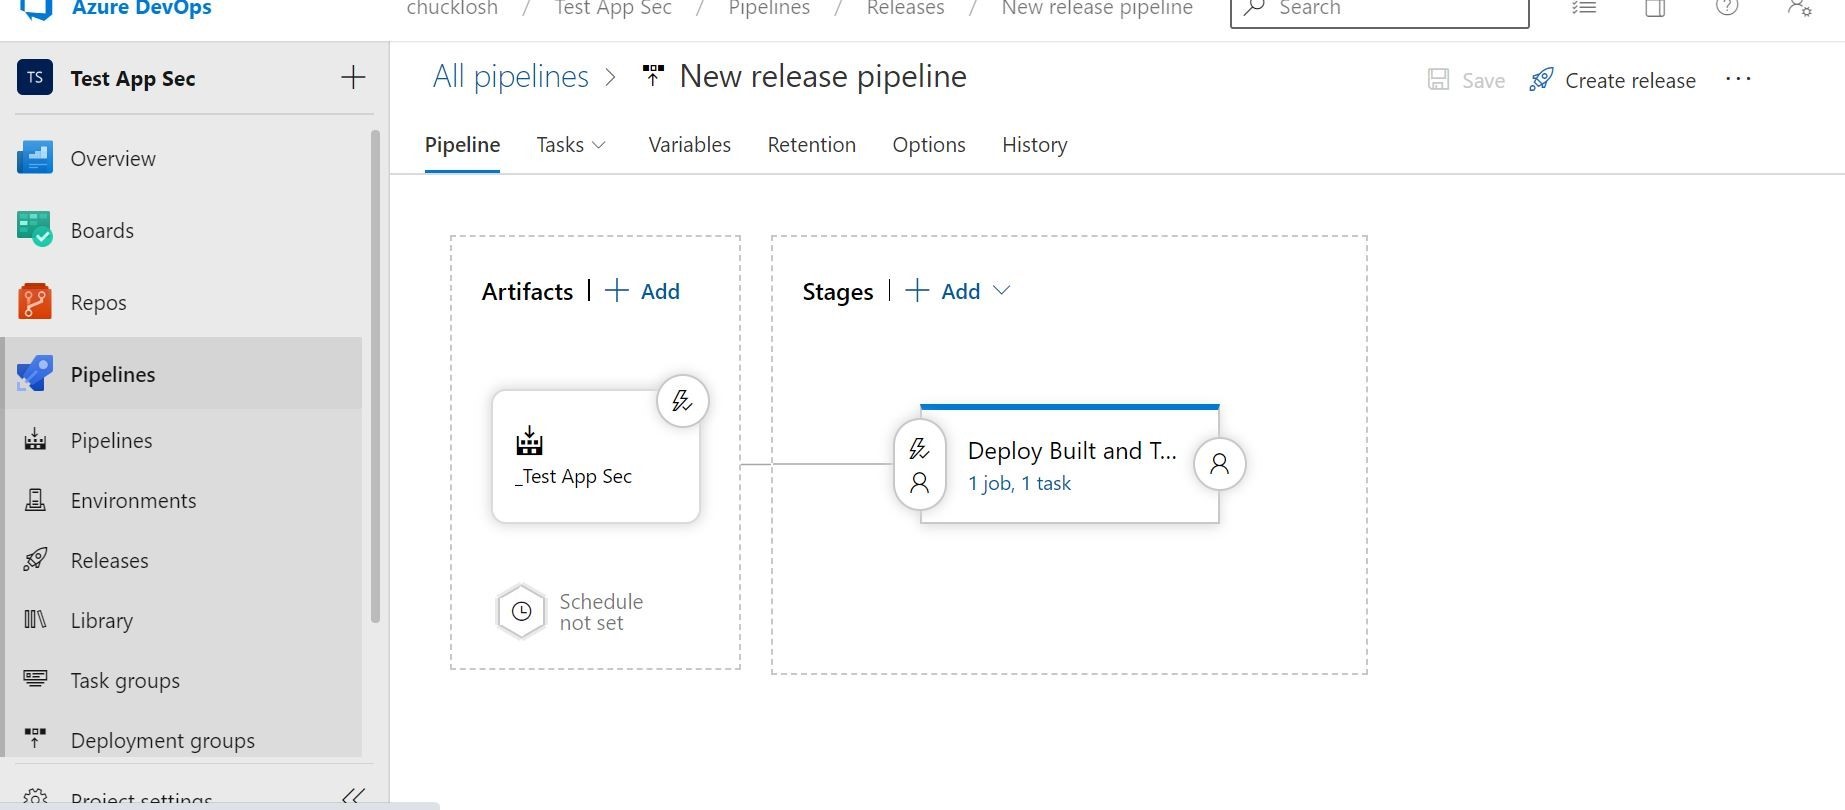
To start this, we want to start with the artifacts section shown above before our deployment stages. We are going to trigger an automated / triggered deployment based on a successful container image build of our application.
Let’s break that down!
Release (deployment) templates are going to be your friend, and they automatically come up when you start a new release pipeline. Shown below as an example.
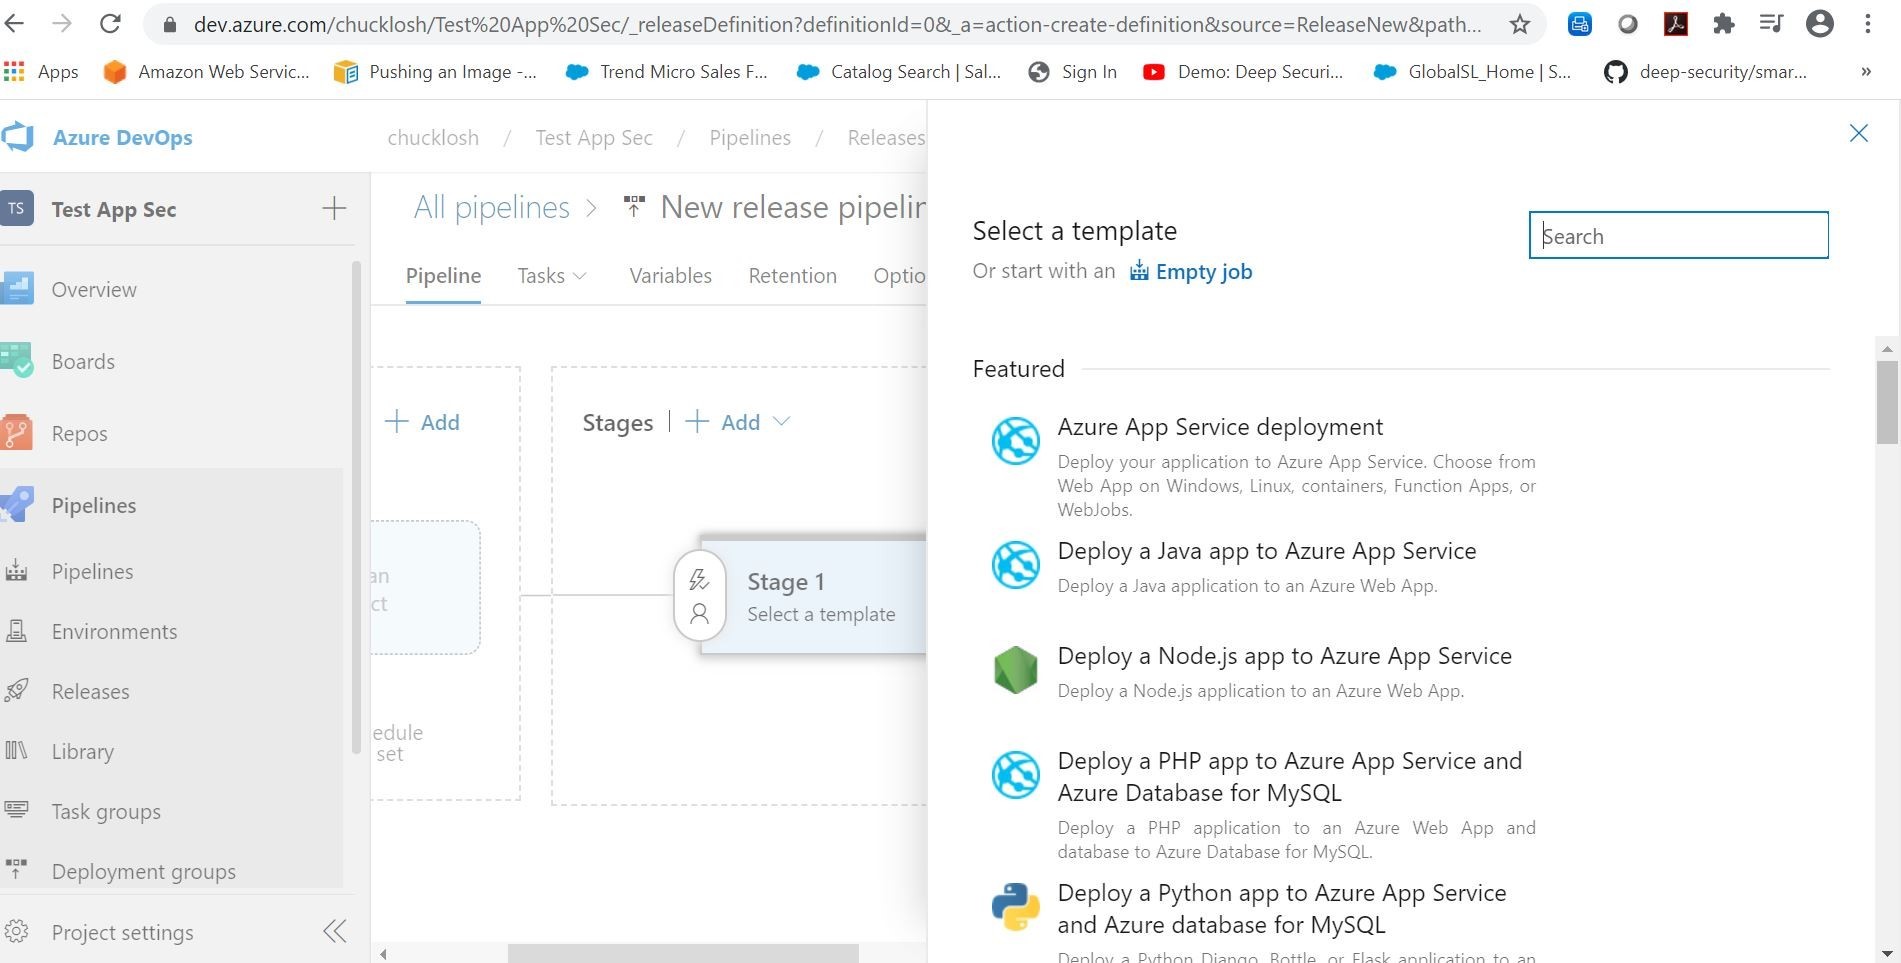
We are going to select the Azure App Service deployment template. Since we are going to deploy our built container image to Azure App Service.
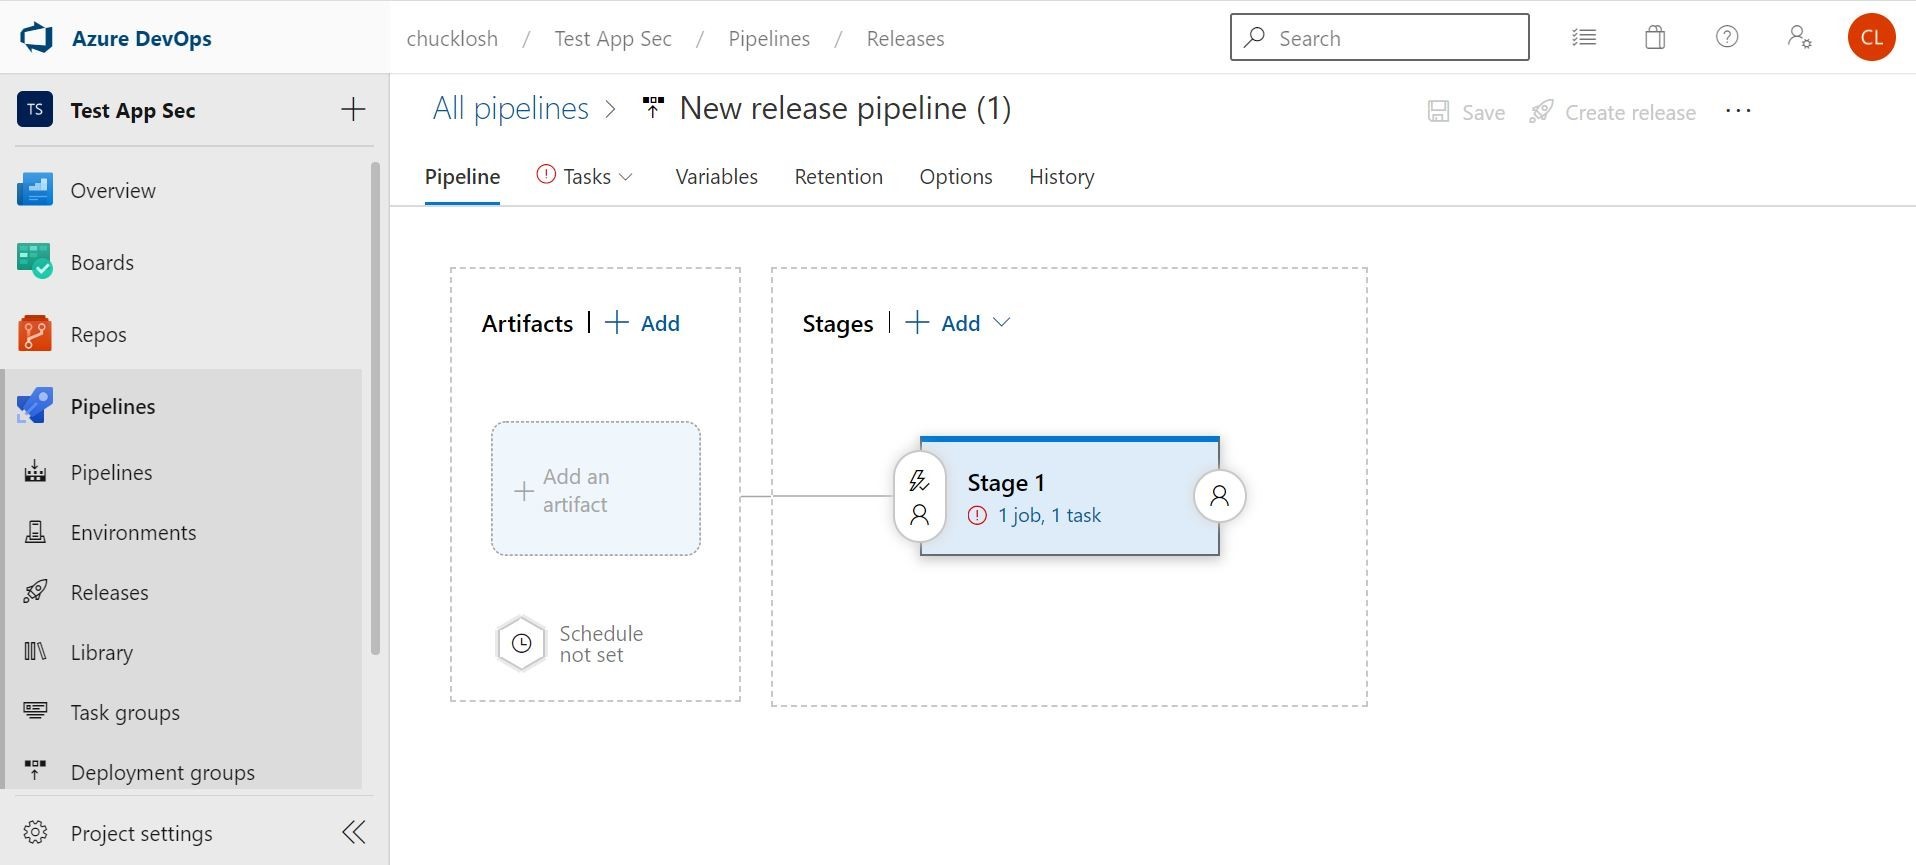
That will set the stage, so to speak! Ok, bad joke! But, yes, we can see that the stage has already been added to the pipeline, and our blank artifacts sections is ready to be configured.
Let’s click on adding an artifact, so we can select that based on a successful build from our container build pipeline.
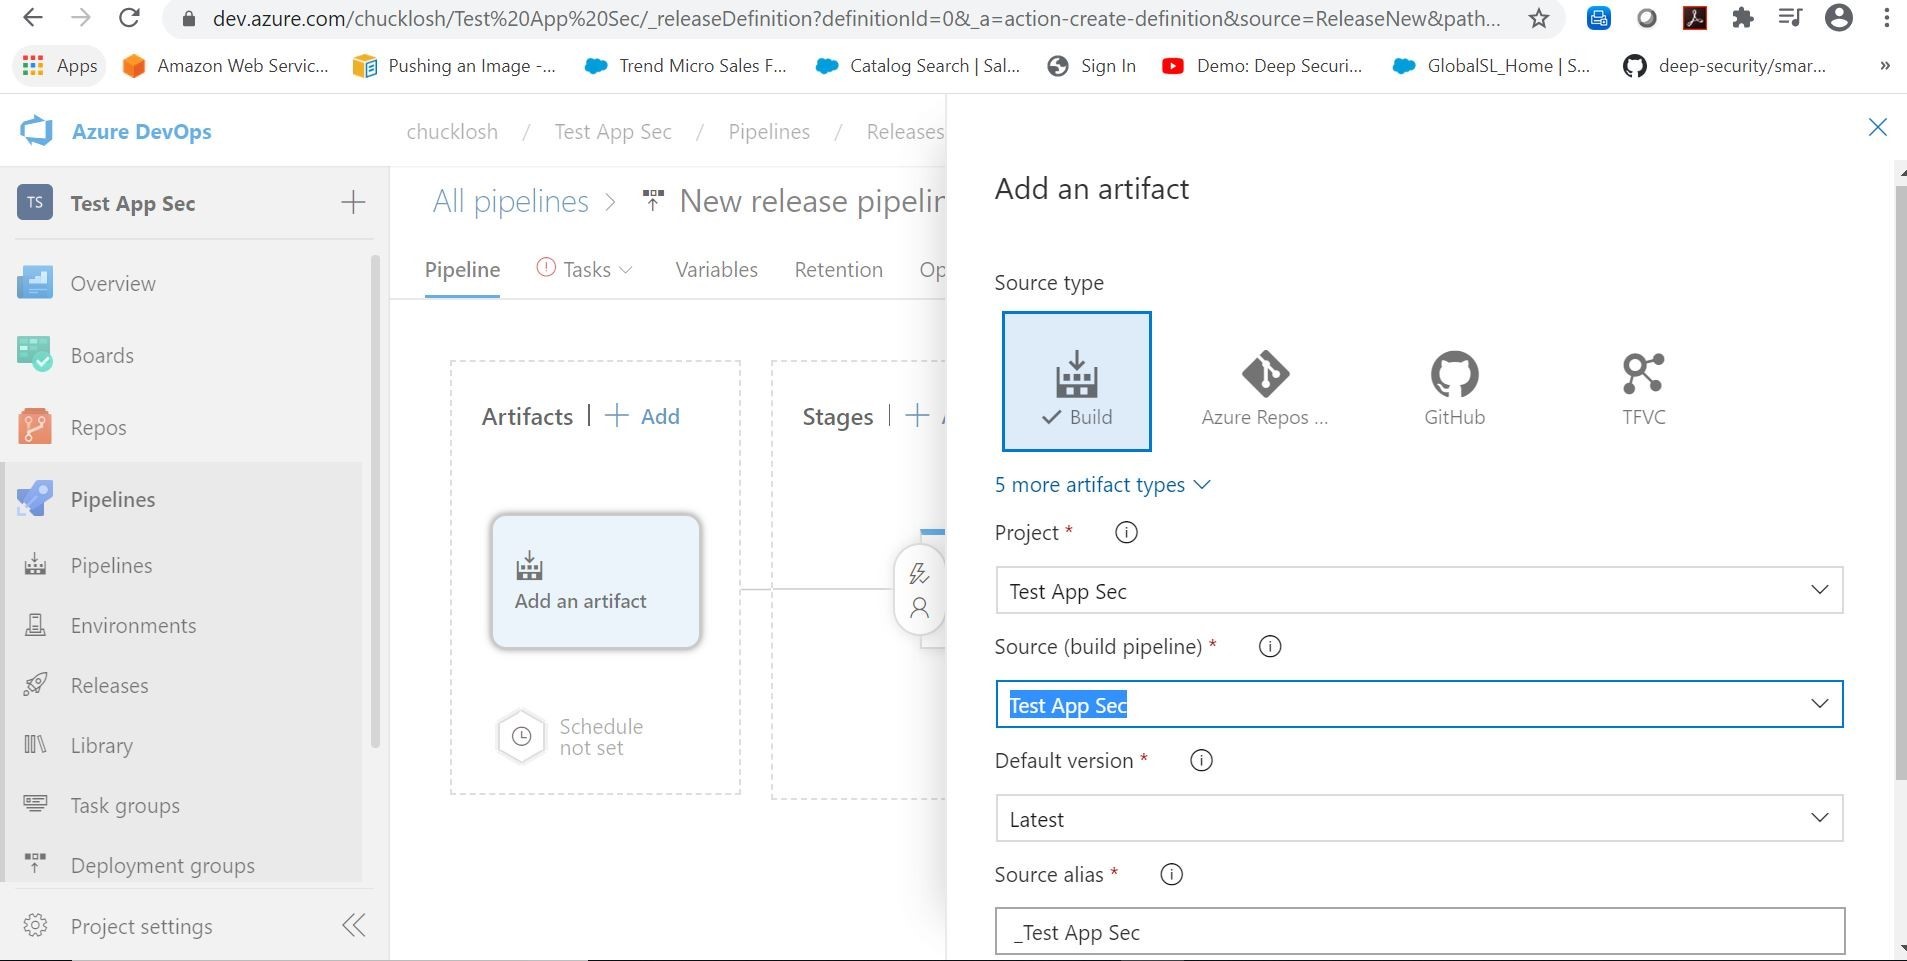
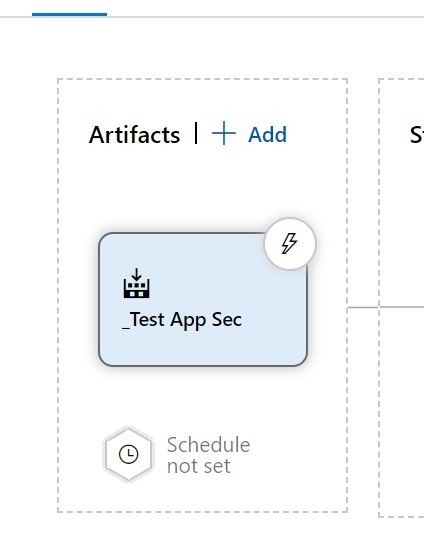
Cool! Next, we are going to hit the lighting bolt icon on the build artifact and configure the continuous deployment trigger.
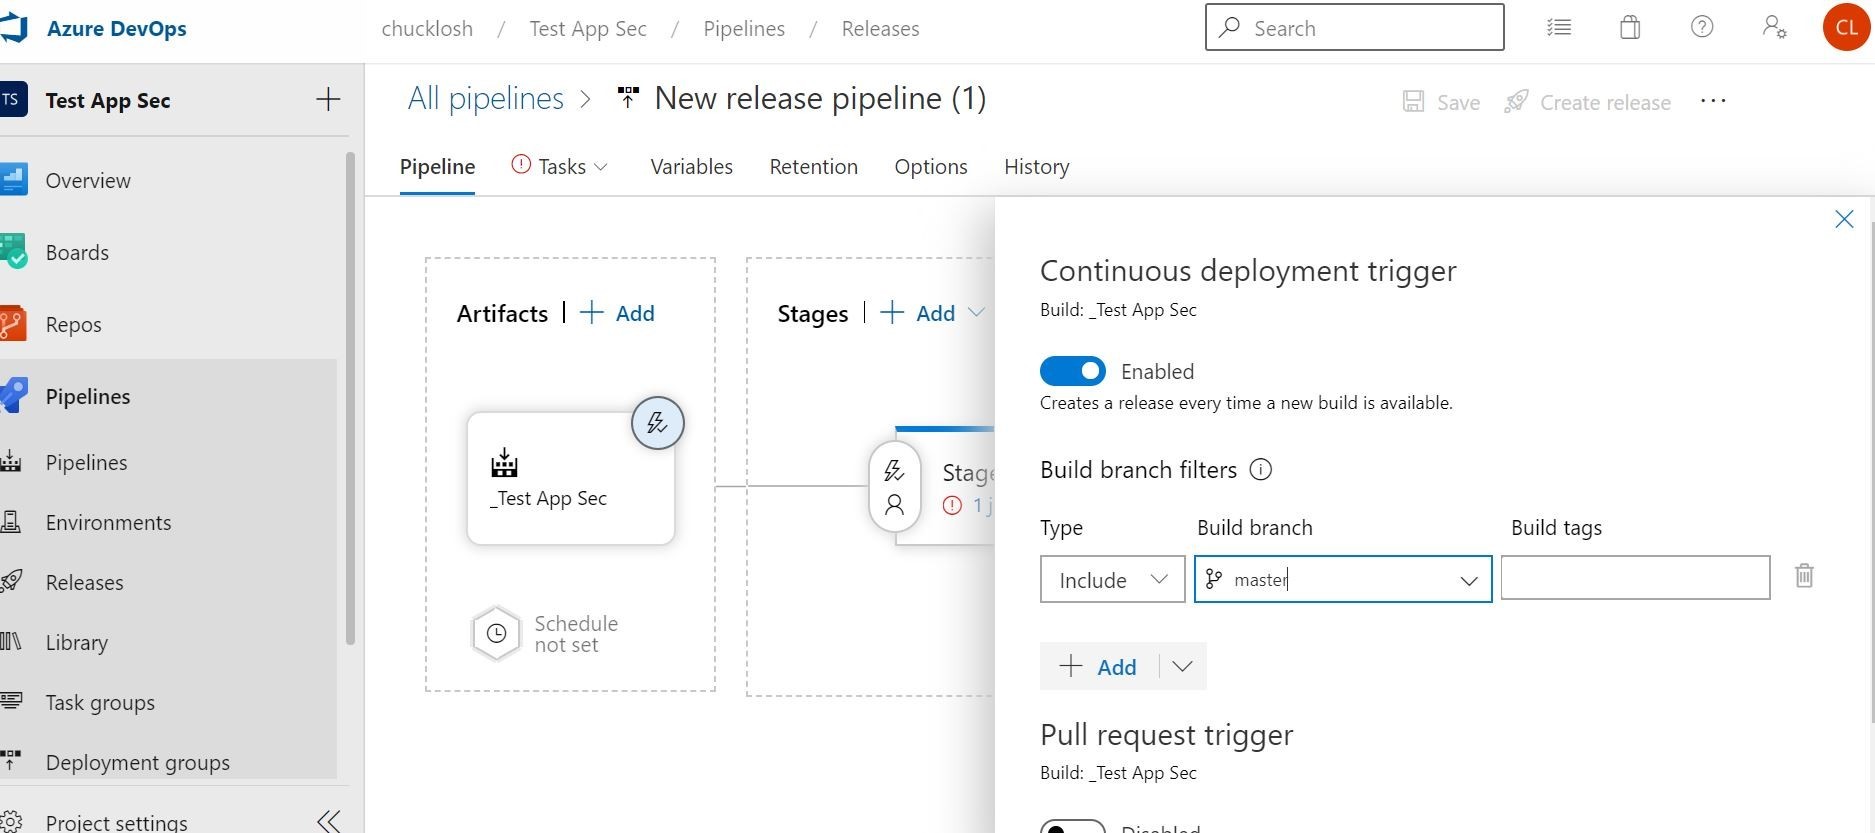
This will present your triggered events wizard. We will enable it with the slider for continuous deployment based on every time a new container build is available and set it to our master branch with the filtering option.
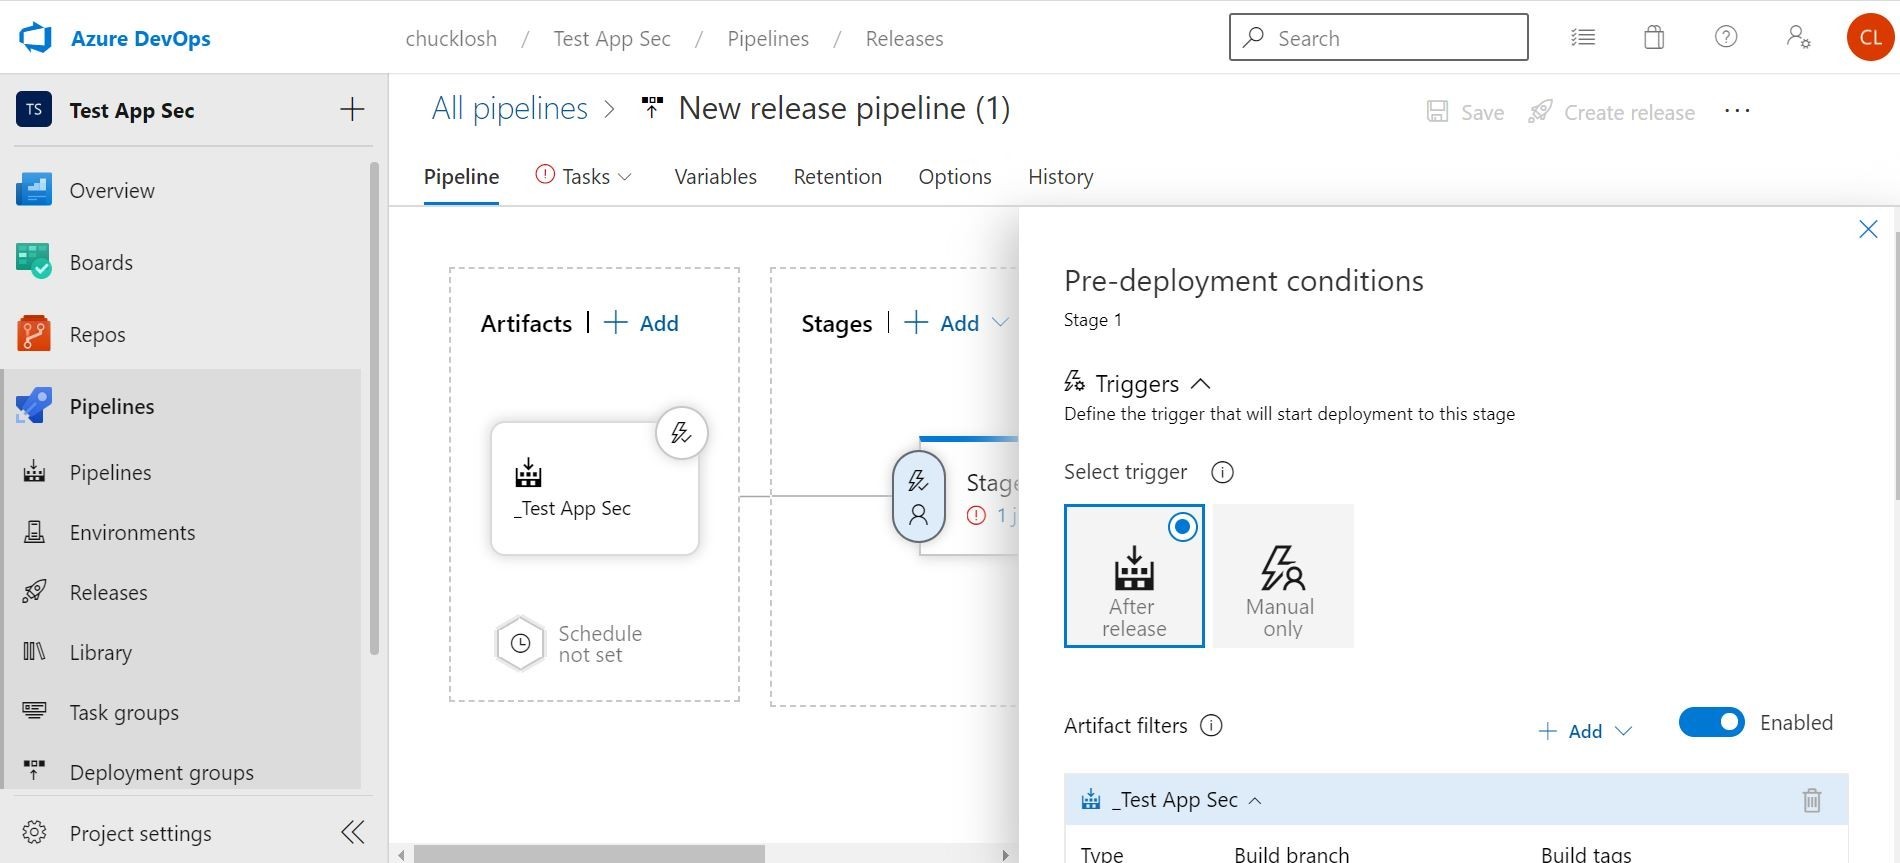
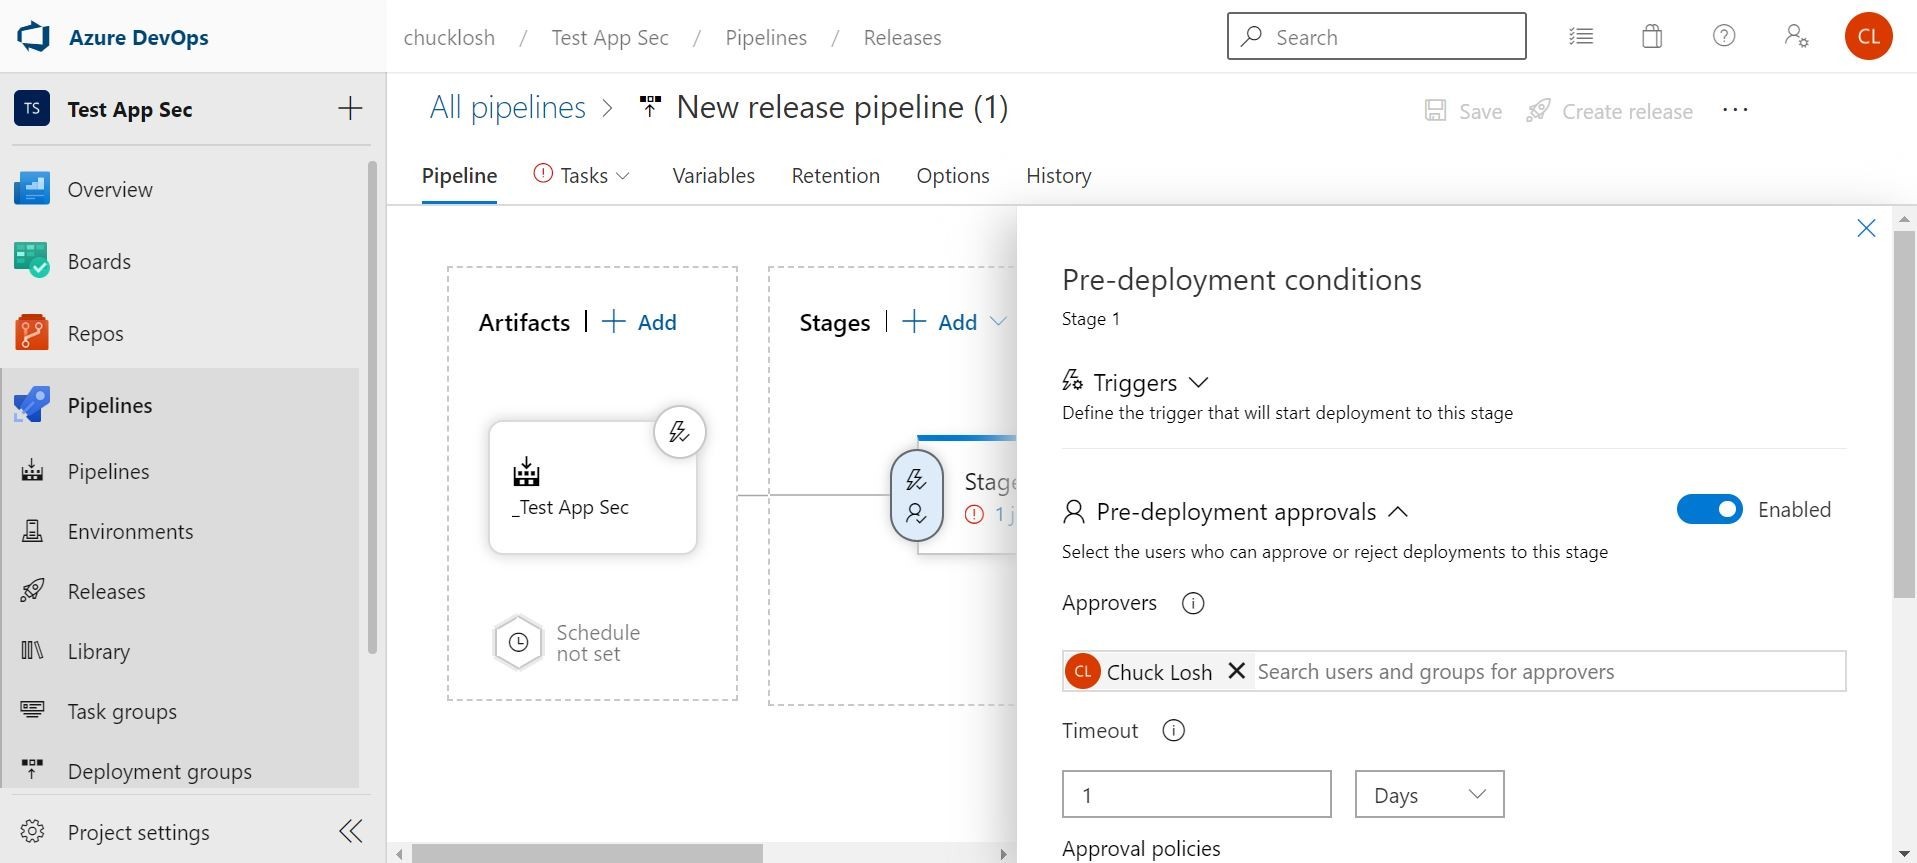
This way we don’t have to worry about setting a schedule. Let’s go over to the stages section and click the lightning bolt to check out the pre-deployment conditions/triggers. We want to make sure the after release option is checked, and the build/ref artifact is selected. This will make sure the automation is in place instead of manual. You can also do some cool things in there like add approvers and gates.
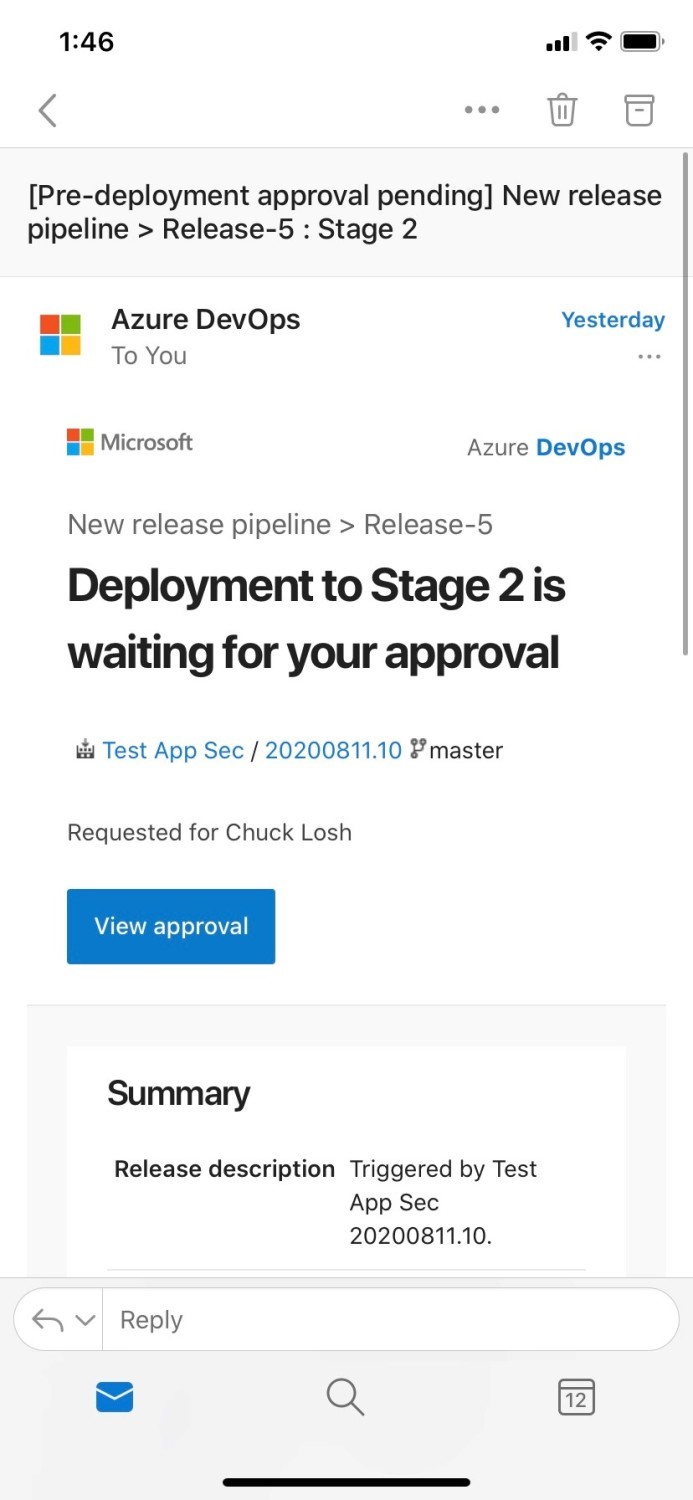
Approvers example is shown below, and you can get a nice email notification from Azure DevOps notifying you have the pending approval request, and the commits/build info will be displayed for review. Good way to add a human gate check!
Wow! This is really cool! Ok, stay on task! Speaking of tasks, that’s what we are going to configure next on the stage. Once we click “1 task/job” on the stage, we can configure the deployment to Azure App Service.
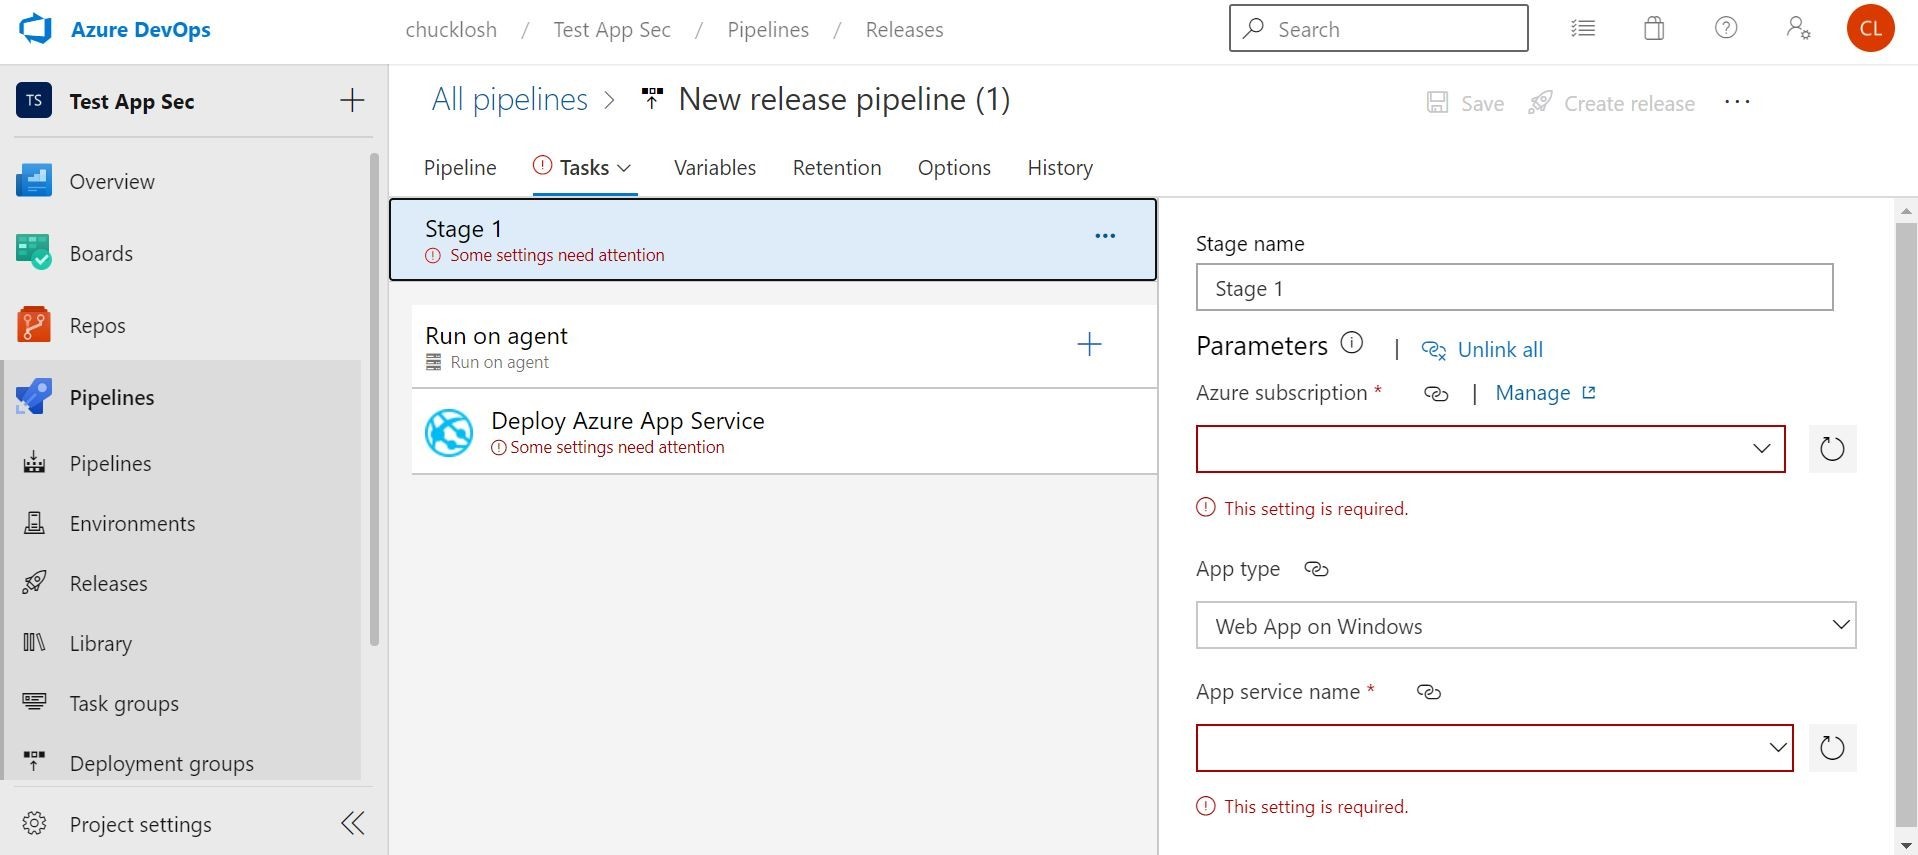
This is where you are going to select your Azure Subscription, App type, and App Service Plan. In this case, I selected the Web App for Containers, and my associated Azure Container Registry where my build image will reside to pull from.
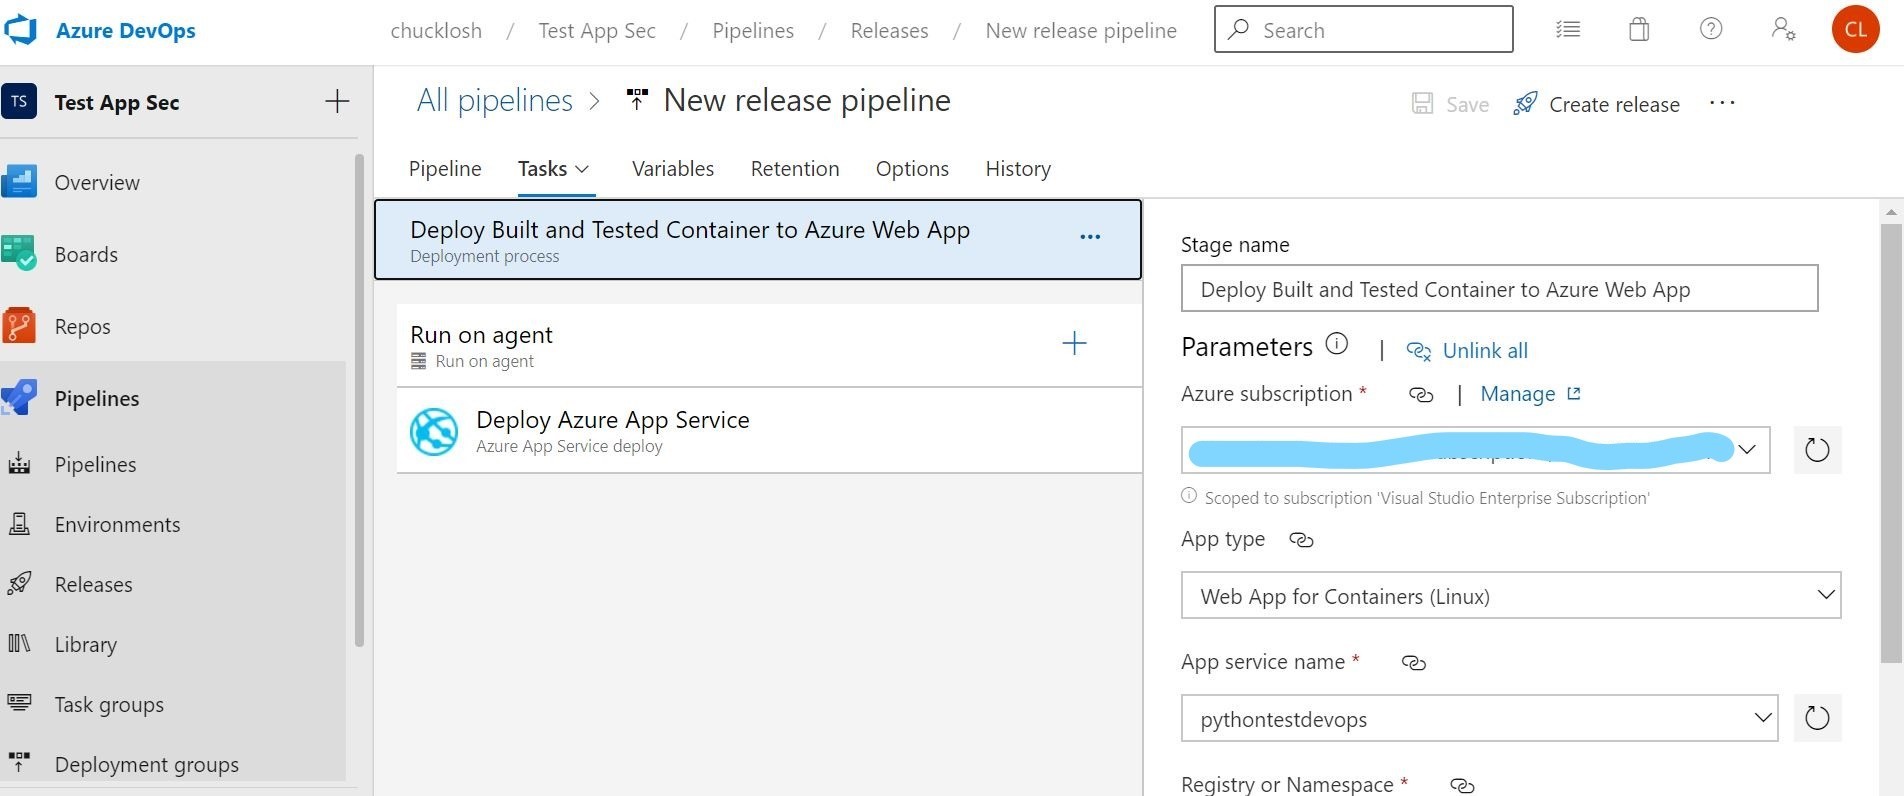
Ok, that’s it! Our automated release pipeline is done, and dependent on a successful build pipeline. I decided to take out the approvers option and just let it flow through for testing.
Let’s go ahead and trigger a test release deployment to make sure that release pipeline works!
Ok, looks like that worked as far as the release pipeline. Let’s check to see if our container based web application is out in Azure Web App.
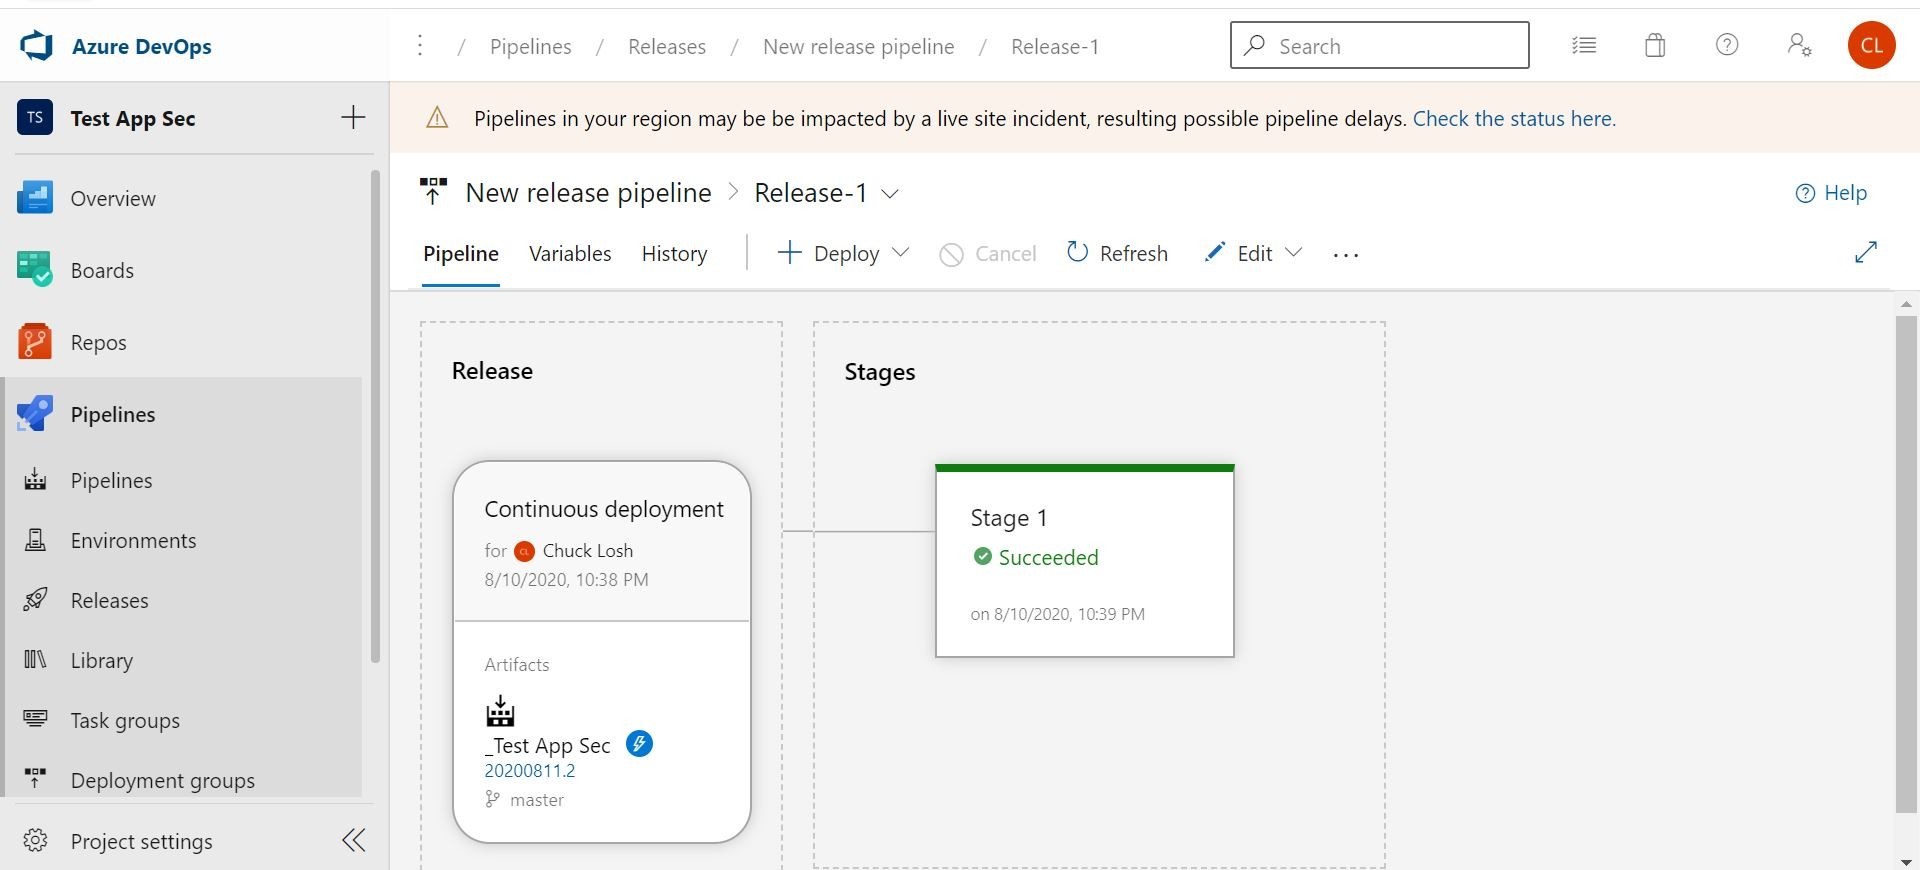
Yep it is! We can visit the site in Azure.
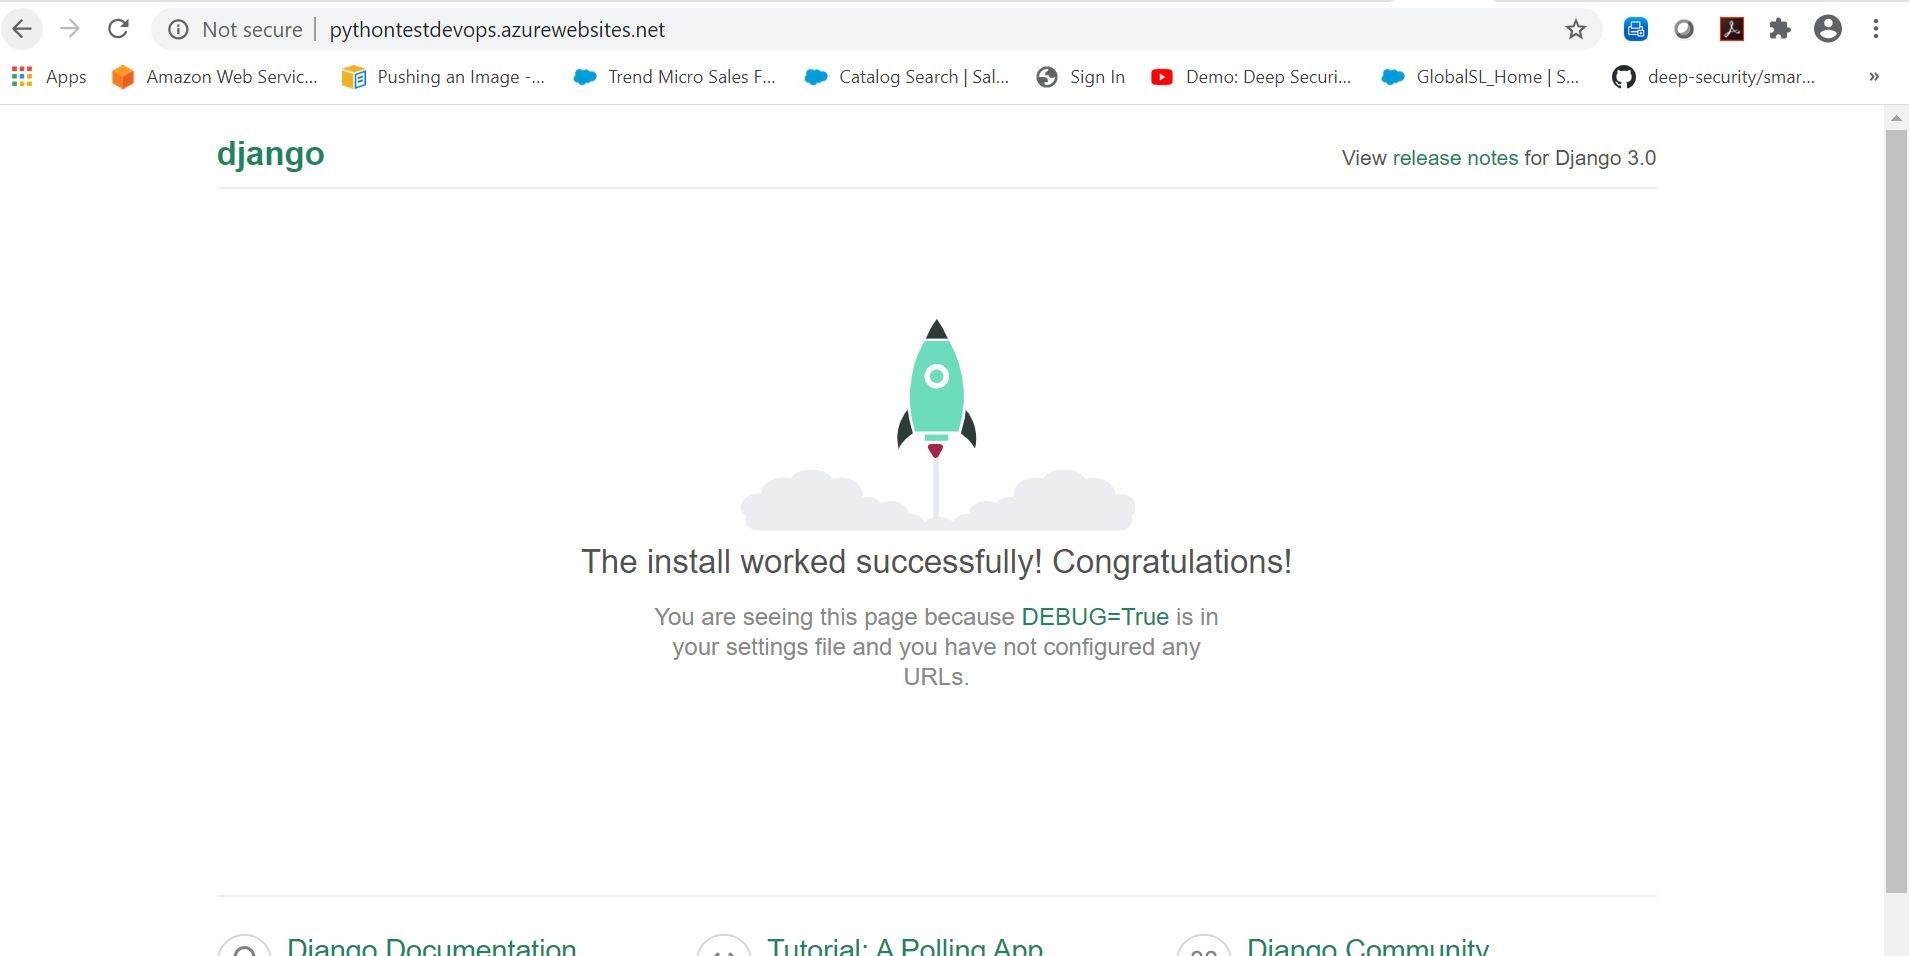

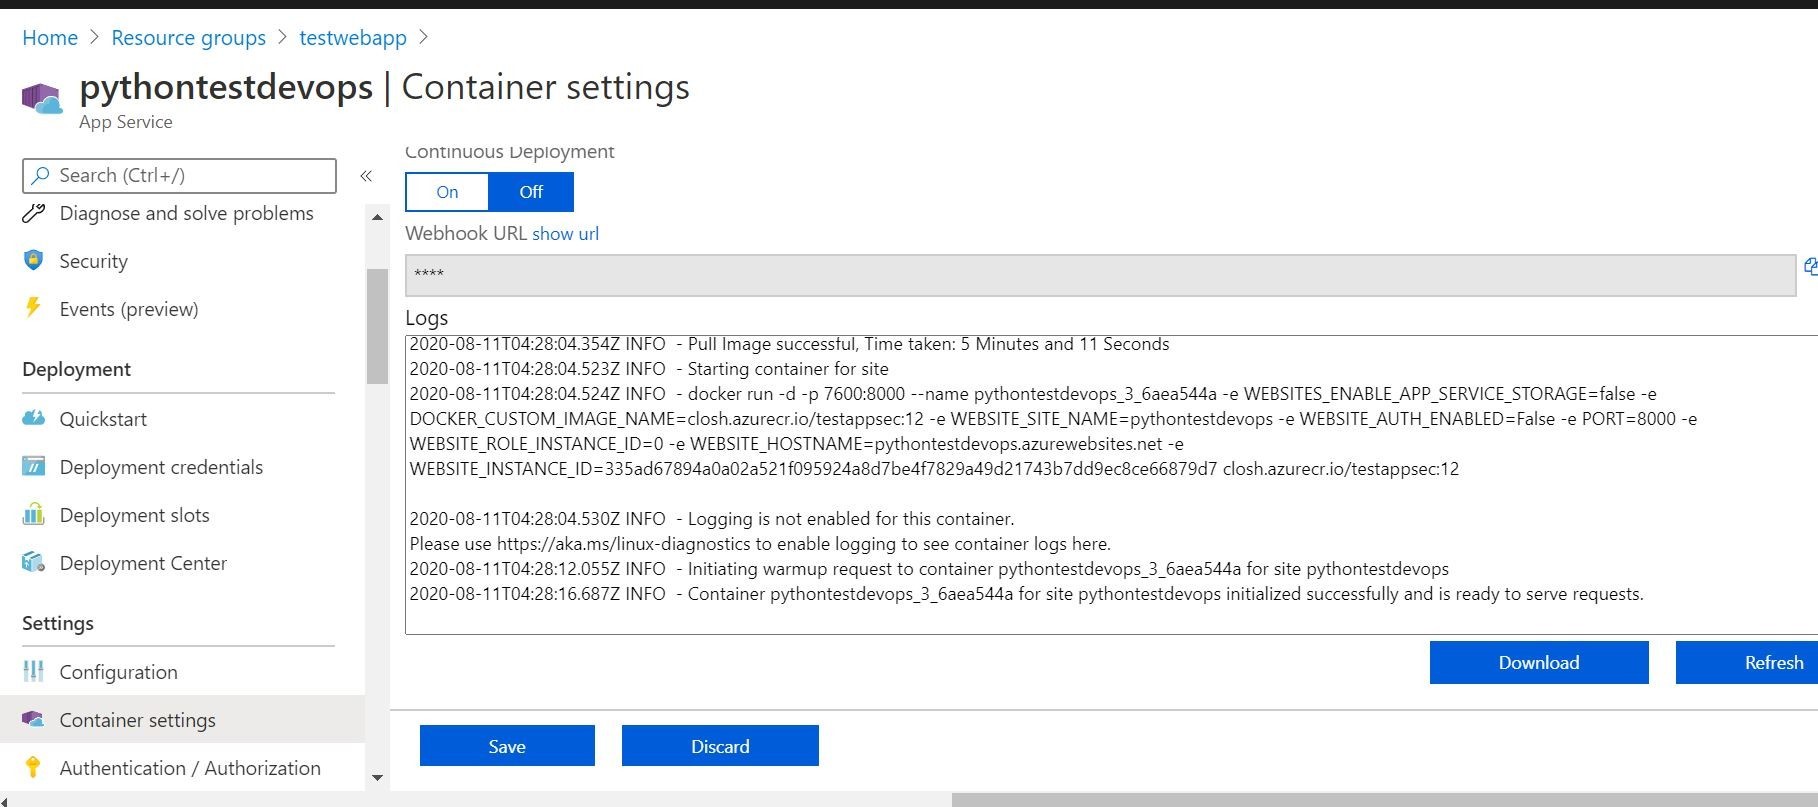
We can even see on the Azure App Service side in the Deployment Center our successful deployments log, and the container settings that its pulling the proper build/image from Azure Container Registry. Looks like everything is communicating and working!
Ok, now we have our build and release pipelines working! I think it’s time that we are going to deploy Trend Micro Cloud One Application Security! This will provide an additional layer of runtime security for the container based application.
First, in our source code locally, we are going to add the changes through our Visual Studio Code integration. We will test locally to make sure Trend Micro Cloud One Application Security is working!
After a successful local test, we will issue a Visual Studio Code commit/push to Azure DevOps. This should automatically trigger a successful CI/CD build/release pipeline.
To do that for Python, we need do a couple of things to add it (Trend Micro Cloud One Application Security) to the container image.
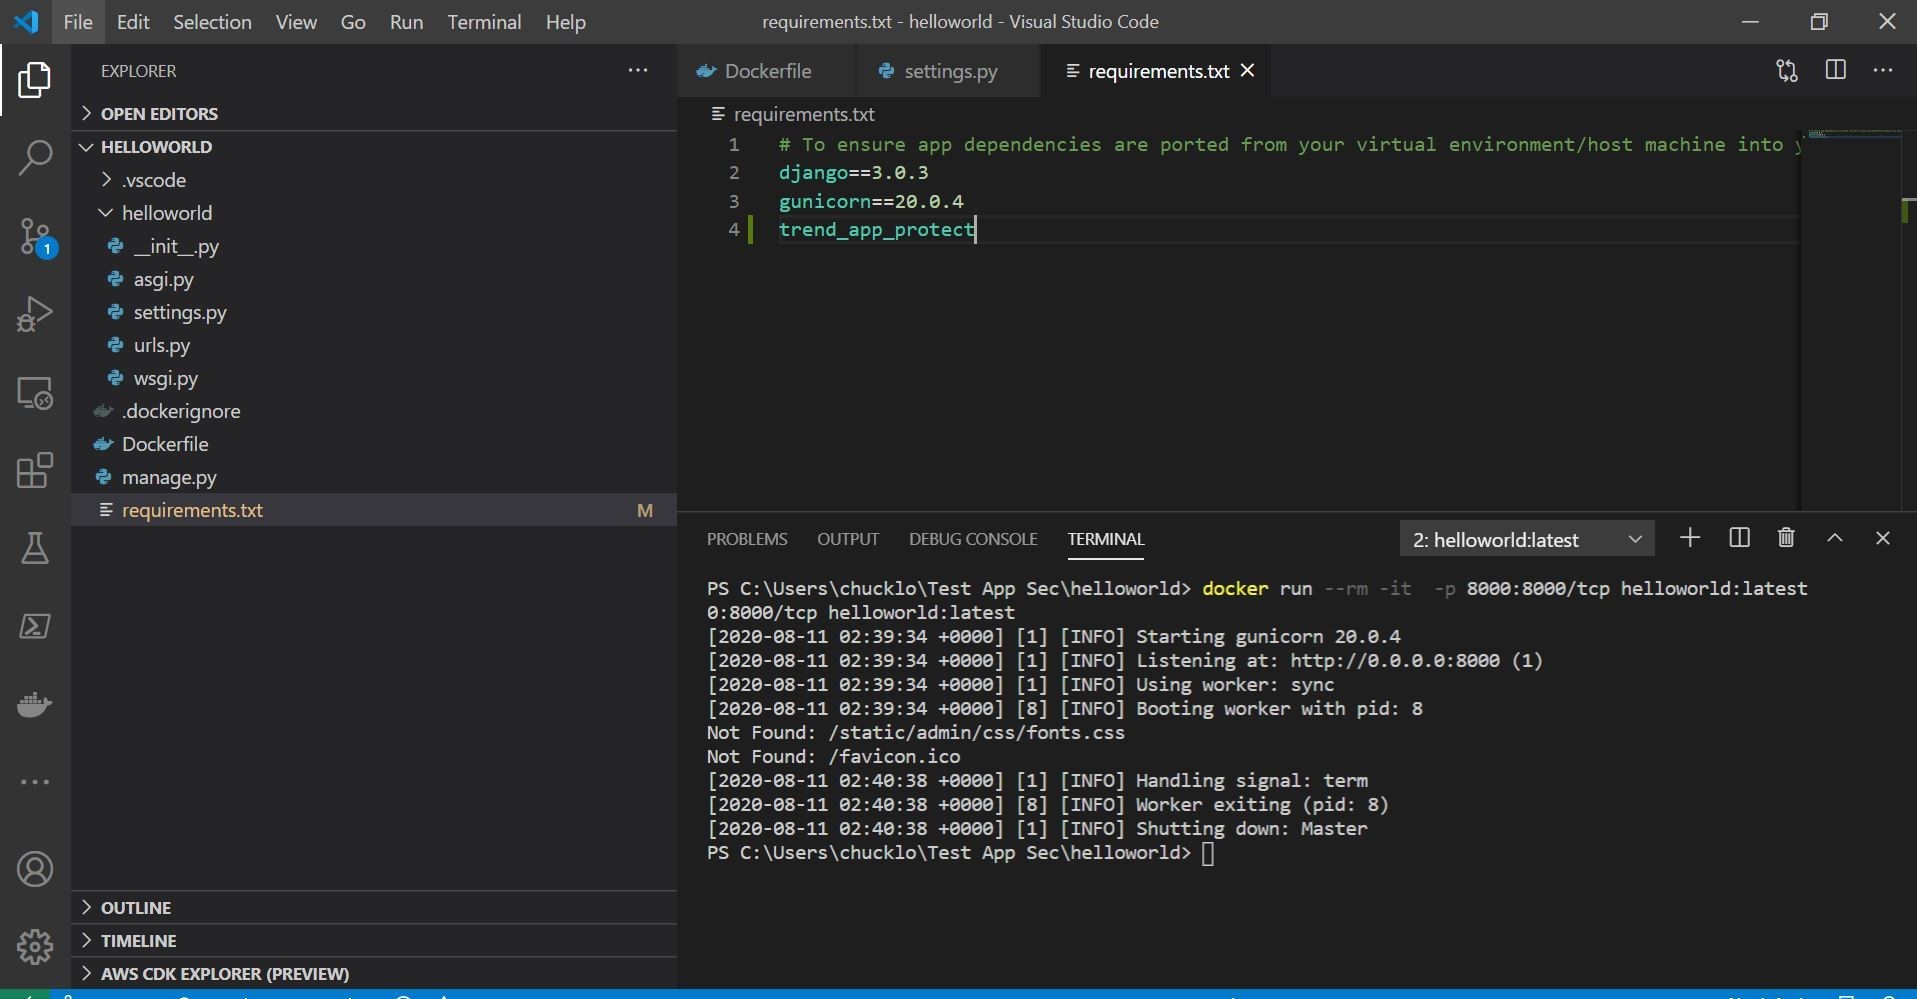
First, we will need to add the Trend Micro Cloud One Application Security security library to our requirements.txt. That is shown here.
Next, we need to add one line to wsgi.py to import/use the installed security library. That is shown here.

Lastly, we will need to invoke some startup environment variables, so that when the app/container starts up it will call home and register to your Trend Micro Cloud One Application Security console. Those can be generated right in your Trend Micro Cloud One Application Security console by creating a new group. The console is shown here below for illustrative purposes. By hitting Create New Group, you will obtain the key and secret values to plug in as required environment variables. You can see my group is SA PYTHON TEST.
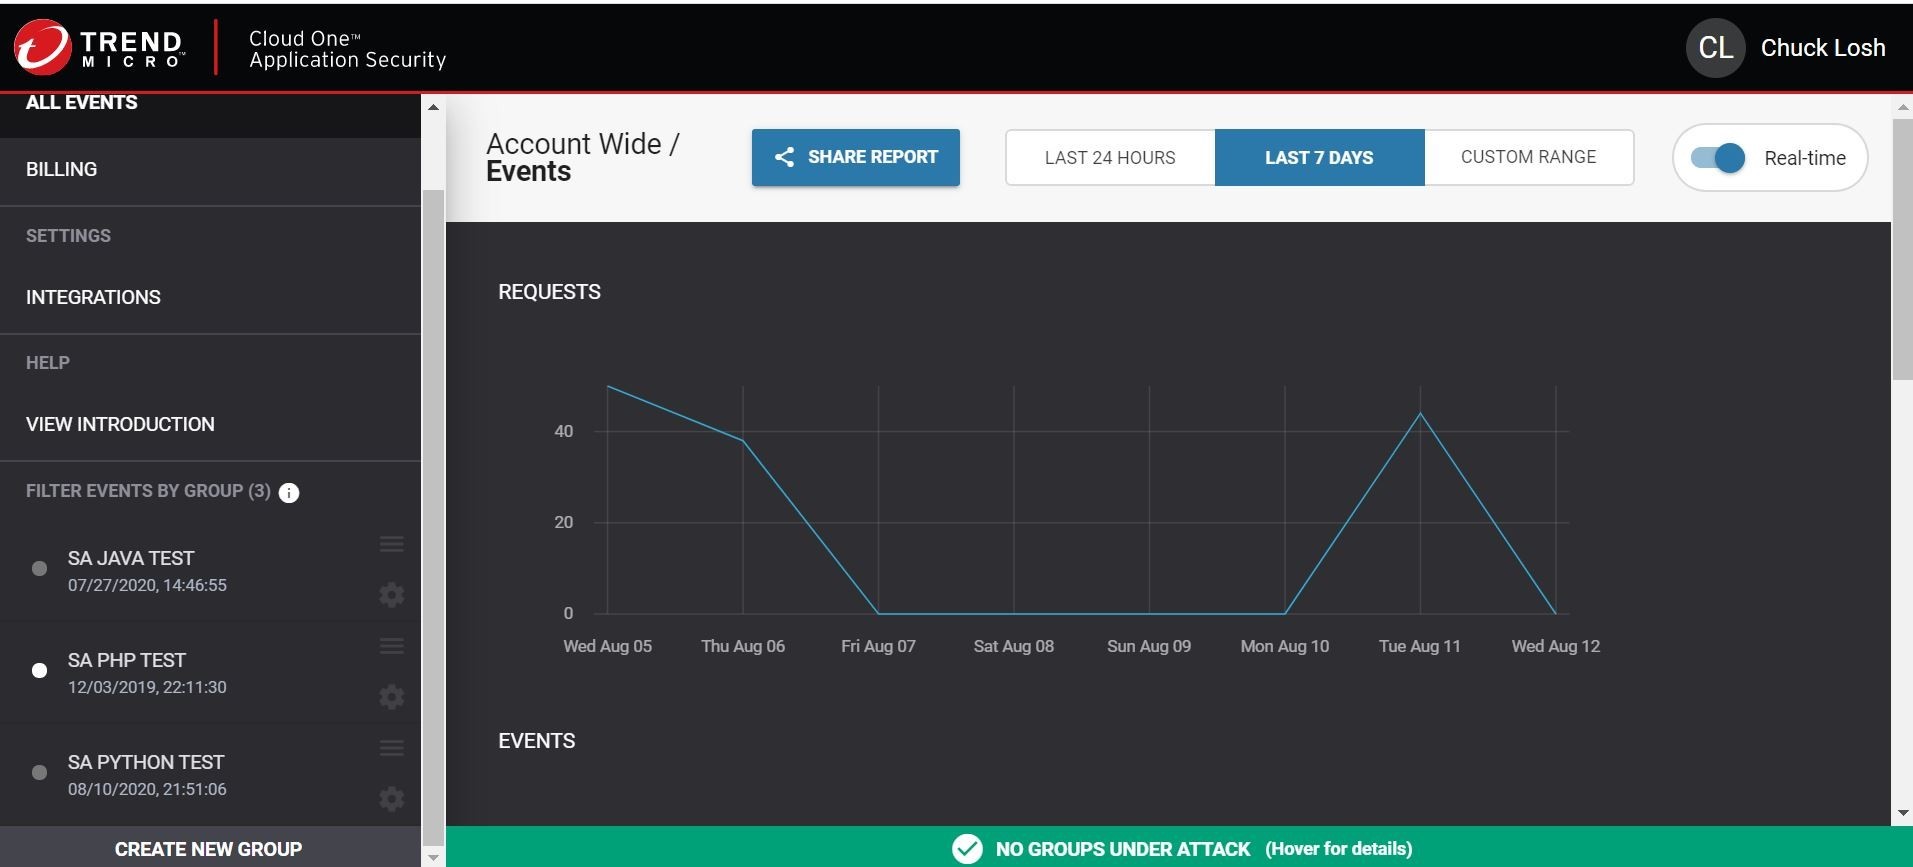
Ok, lets see if this all works locally!

Ok, well the container is running locally! I checked the Trend Micro Cloud One Application Security Console, and I get a green light that the application agent is now connected to the console under the Python group I created. I can also ssh the container locally with the Docker exec command, and I see that the trend_app_protect.log file says that the agent is connected and agent is ready! Huzzah!
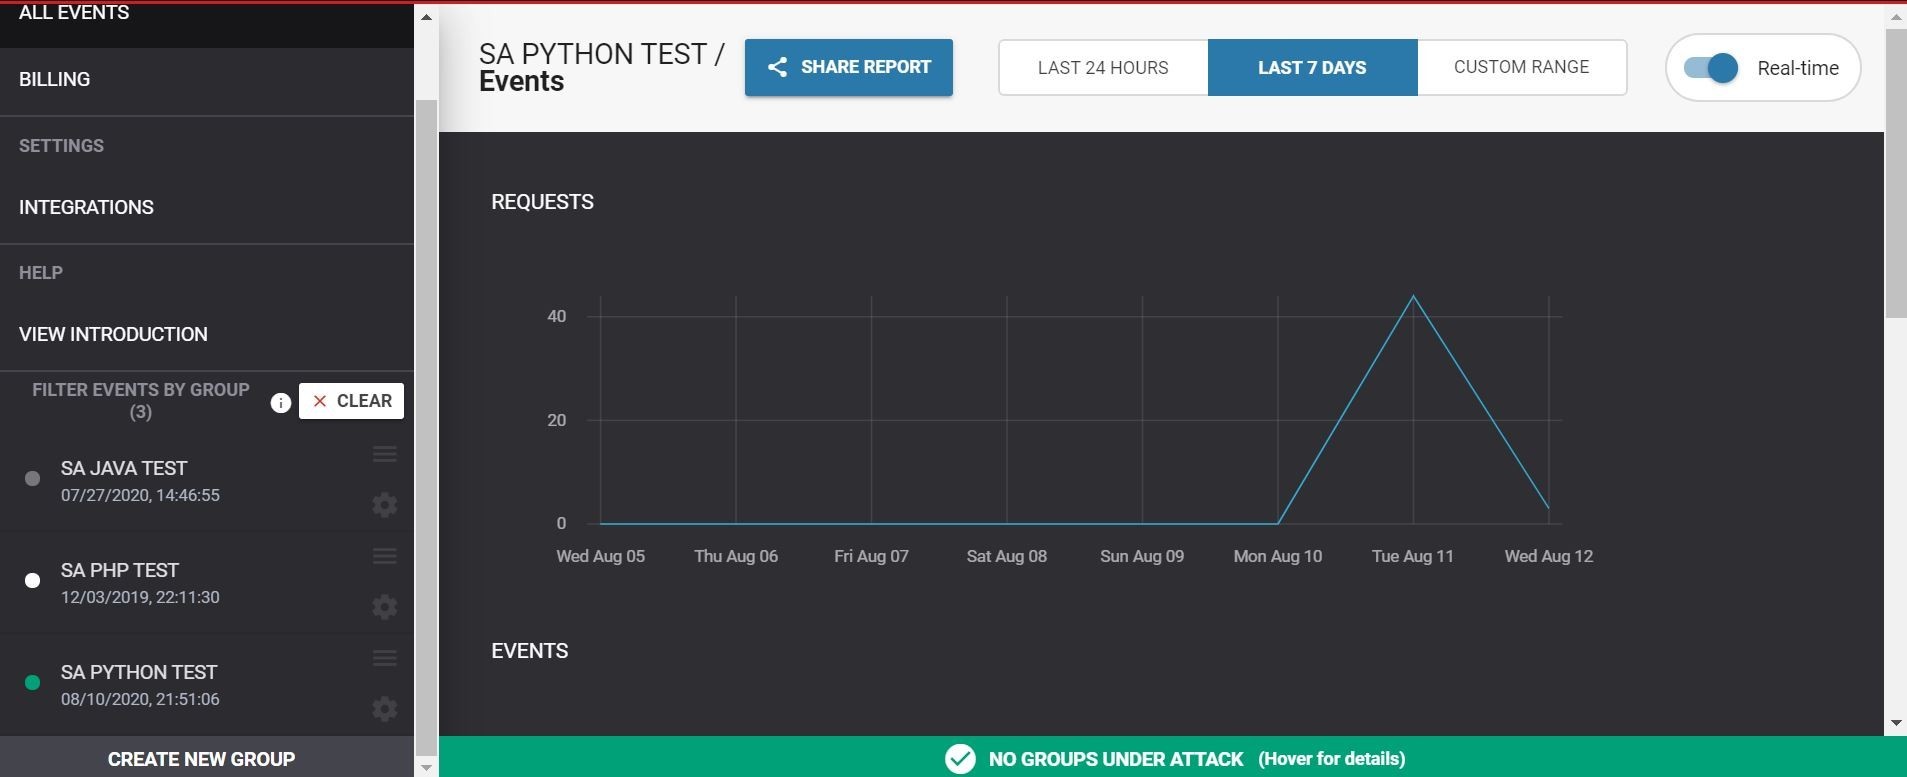

Ok, so let’s run a quick test with a test malicous curl script to test whether the protection is enabled.
Huh, that’s strange it returned results! That shouldn’t happen. Oh!! I need to turn on the respective protection module in the policy. Silly me! My mistake! My fault!
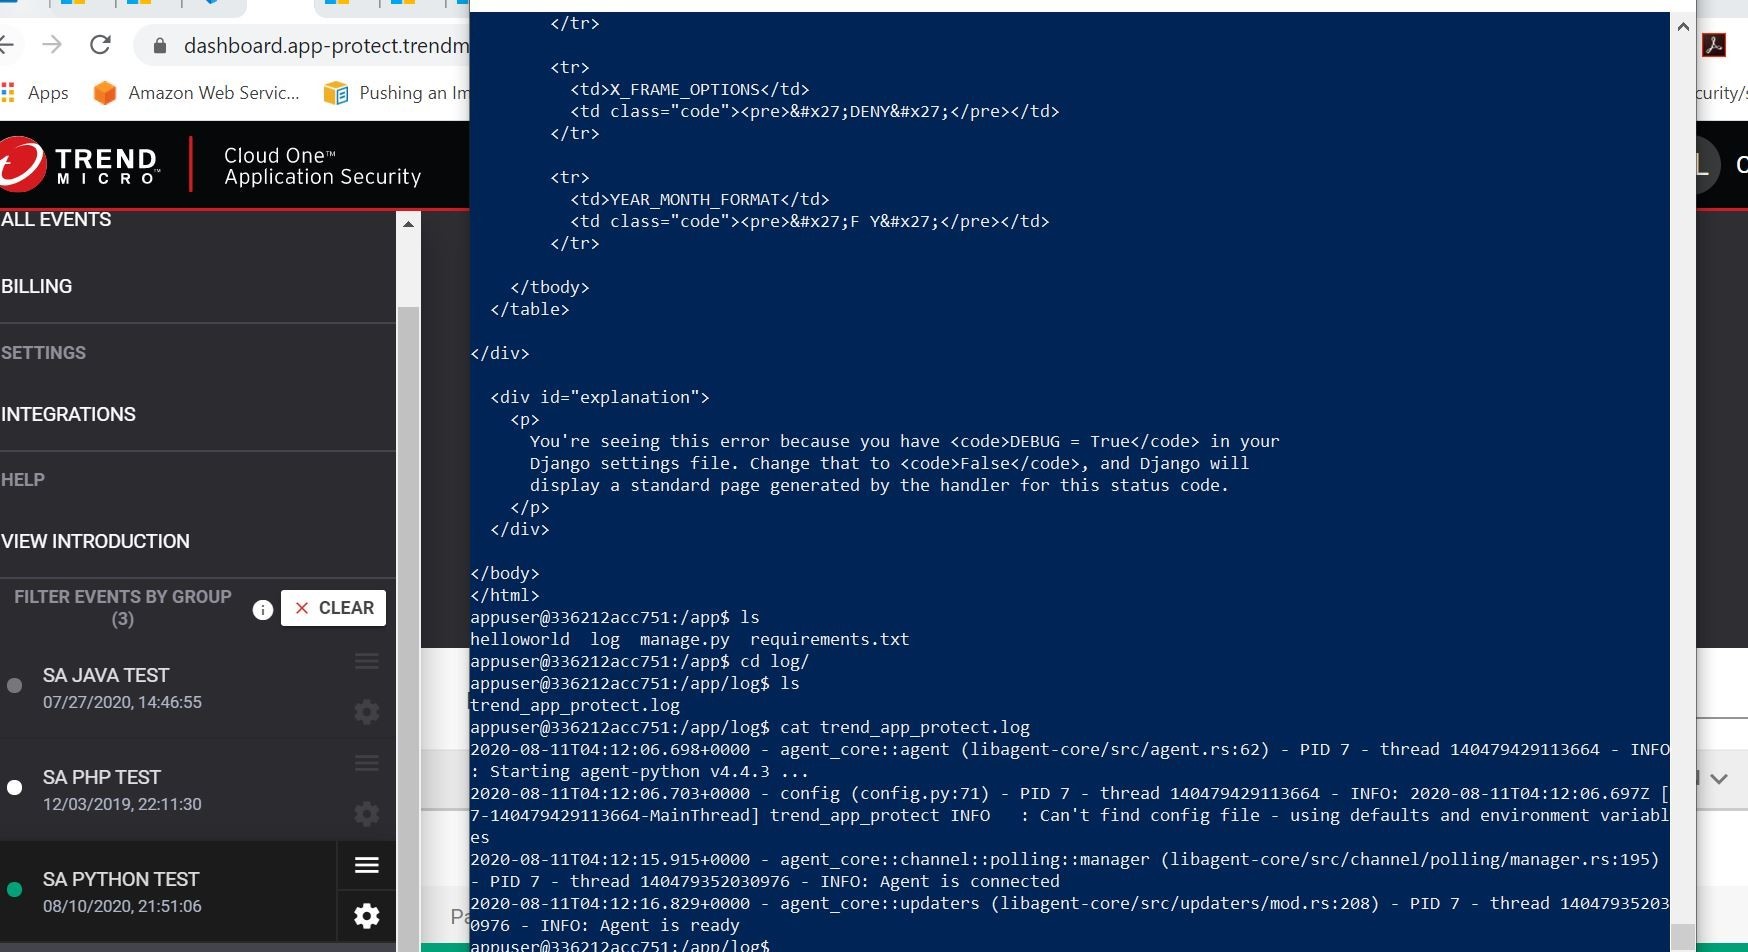
Ok, now I have all the protection modules turned on for that Python application group in order to provide real-time protection to the application that registers to this group.
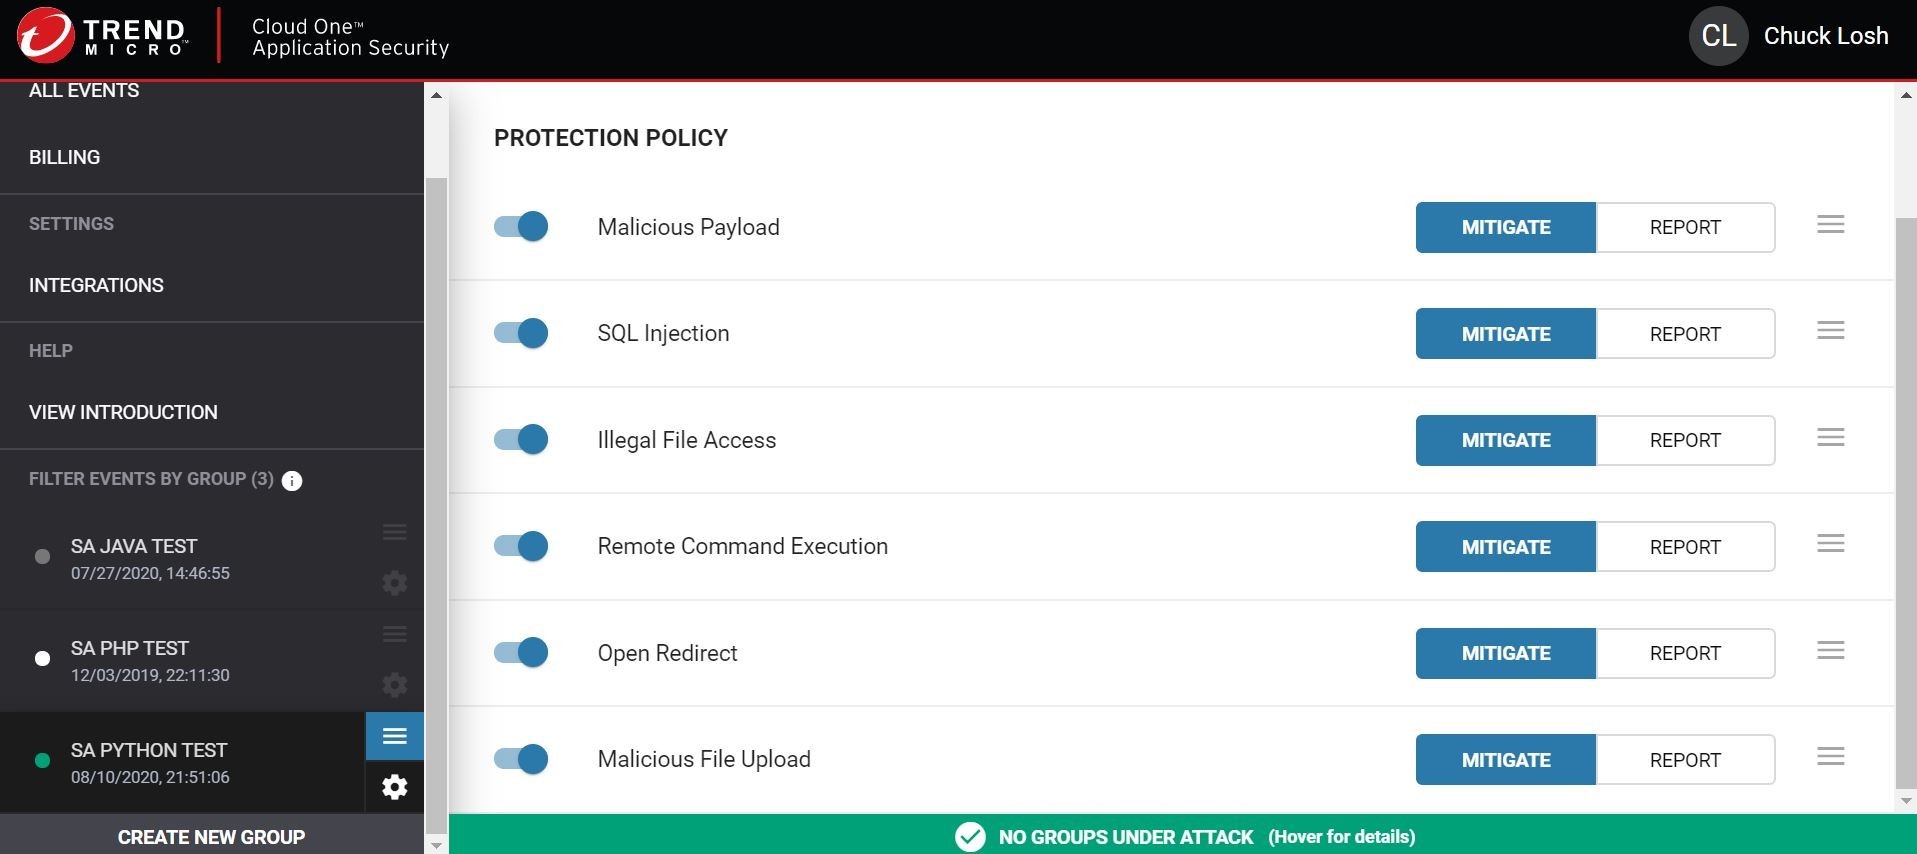
Alrighty then, let’s run that local test again! Shall we?
Ok, that time the block worked as expected! The return value was 403/blocked. Let’s check out the console.

Huzzah! The attempt shows blocked! I have the date/time stamp information, and the green app connection status light has now turned to red!
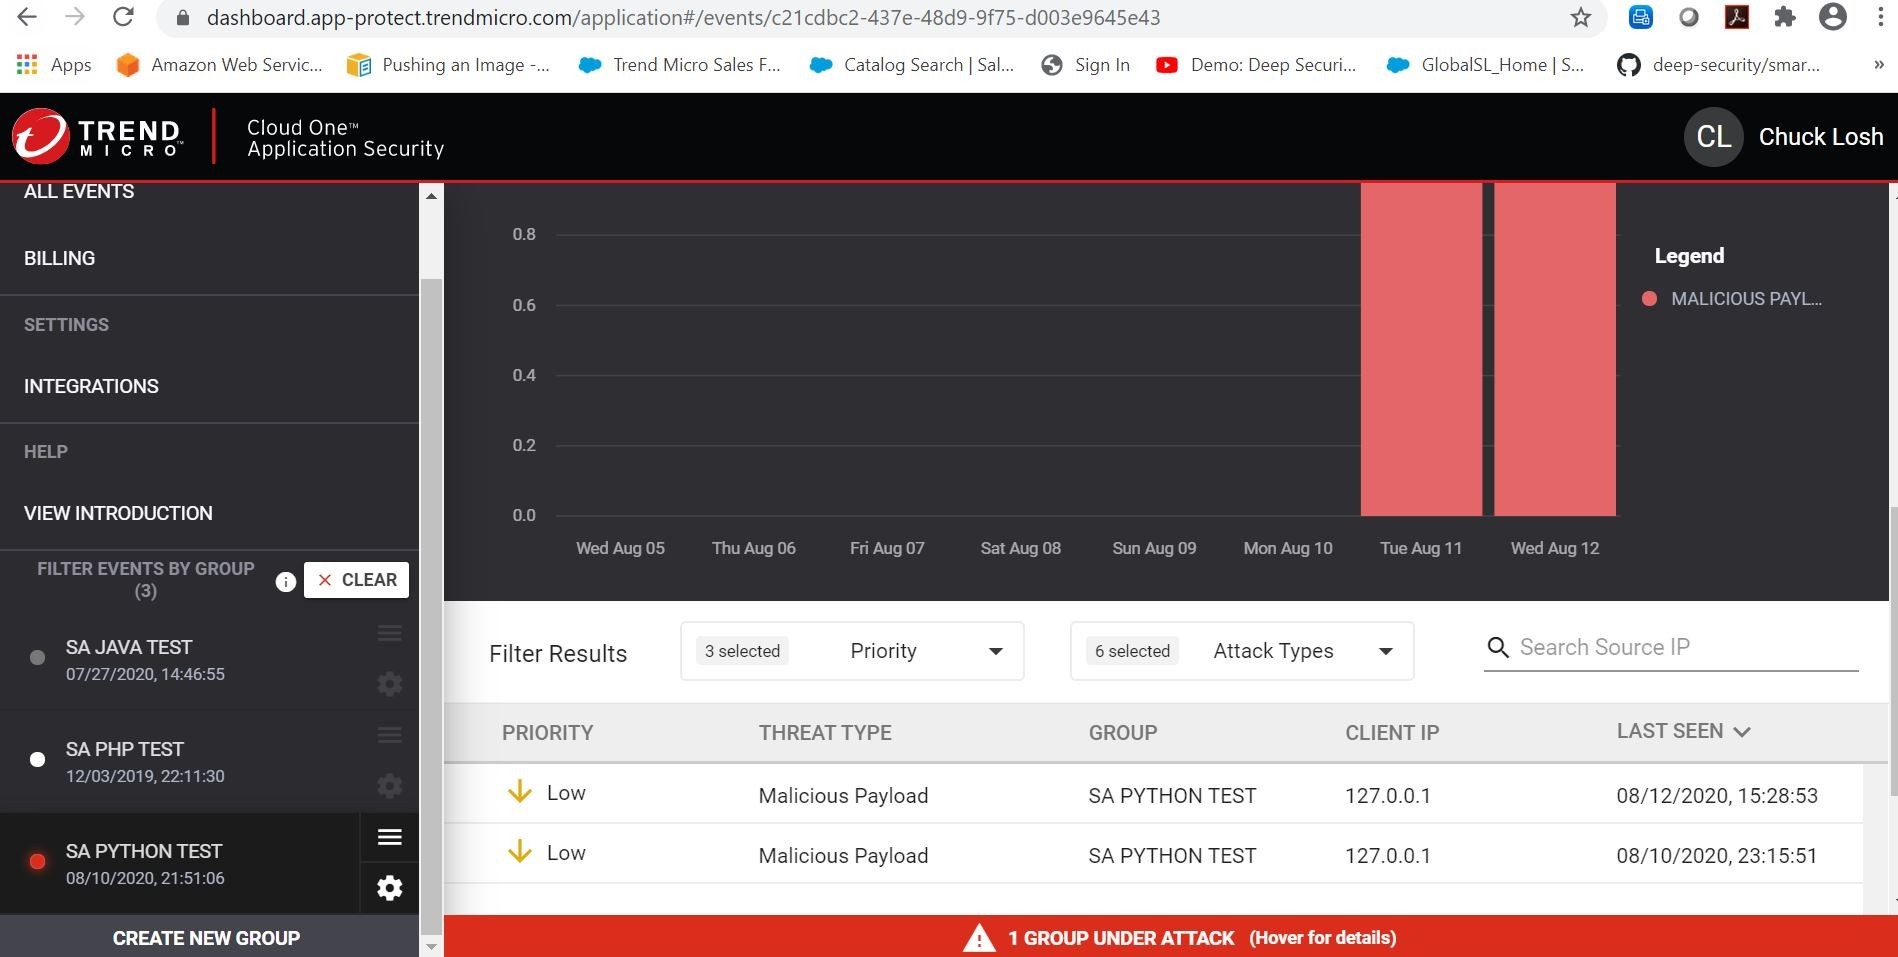
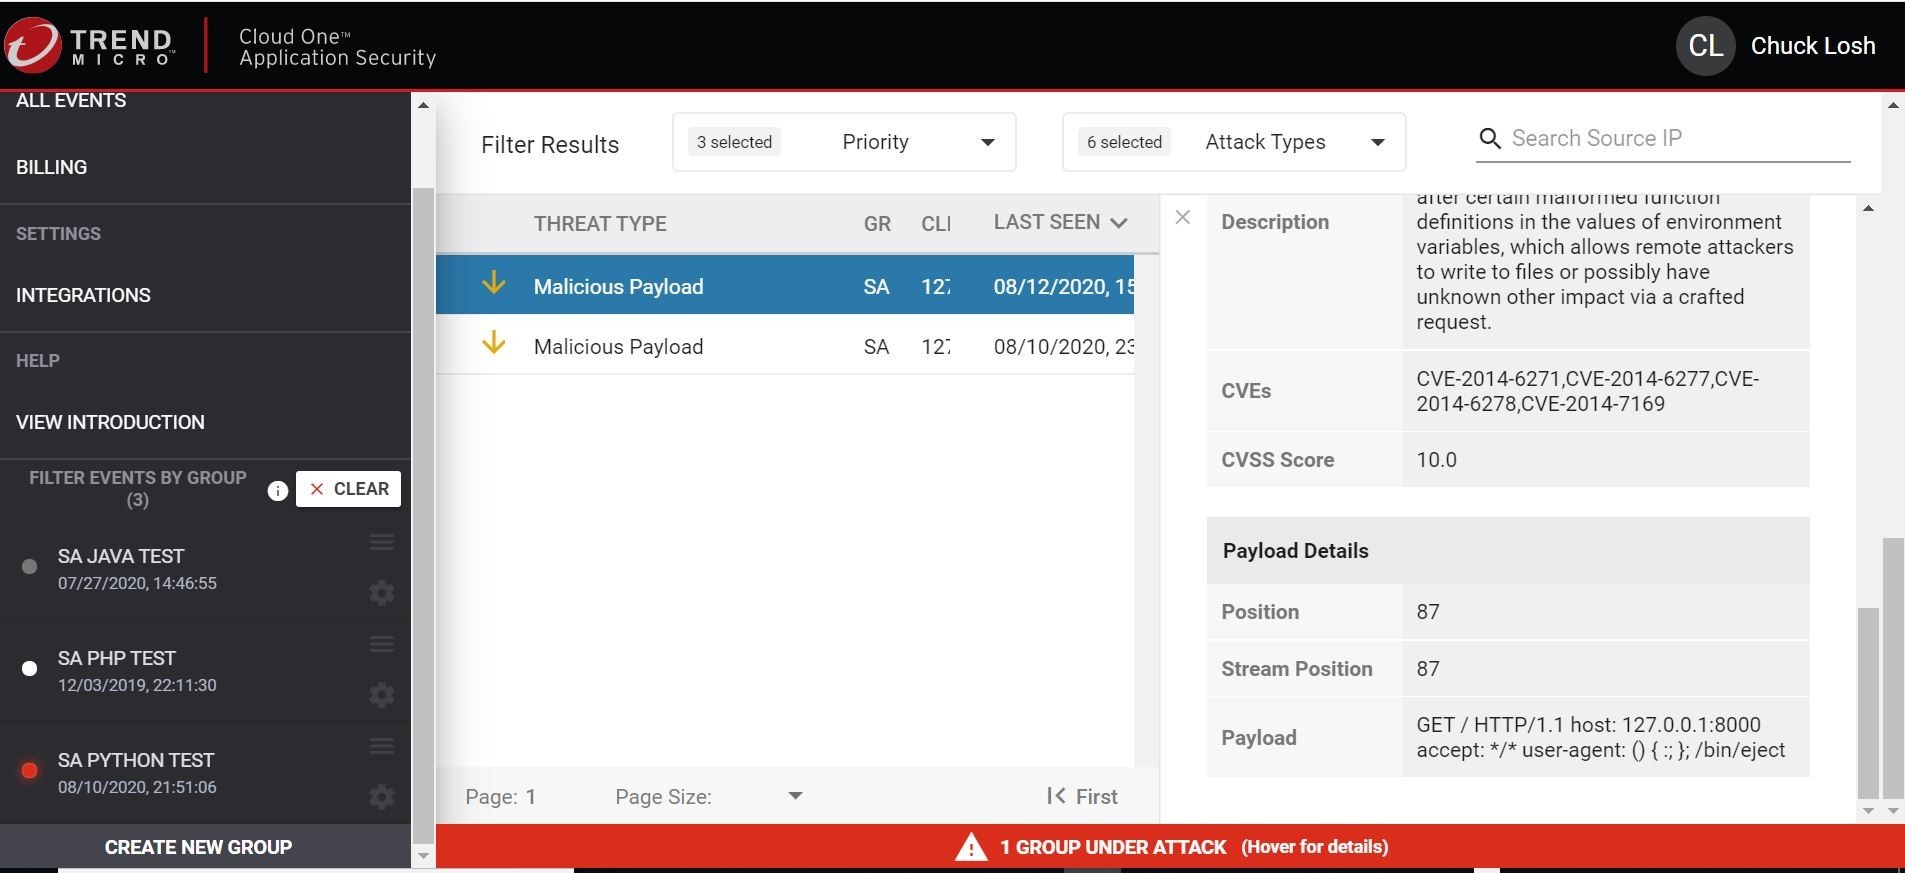
On the details of the malicious payload event, we can see that it was blocked in real-time! Even the data of the test malicious payload that I executed is shown. Pretty cool!
Ok, so looks like all local tests are working as intended, and our test application still loads normally in our local browser!
Let’s go ahead and do a commit of our changes, and kick off a new Azure DevOps CI/CD build. That way we can introduce Trend Micro Cloud One Application Security to our pipelines, and test production application in Azure Web App.
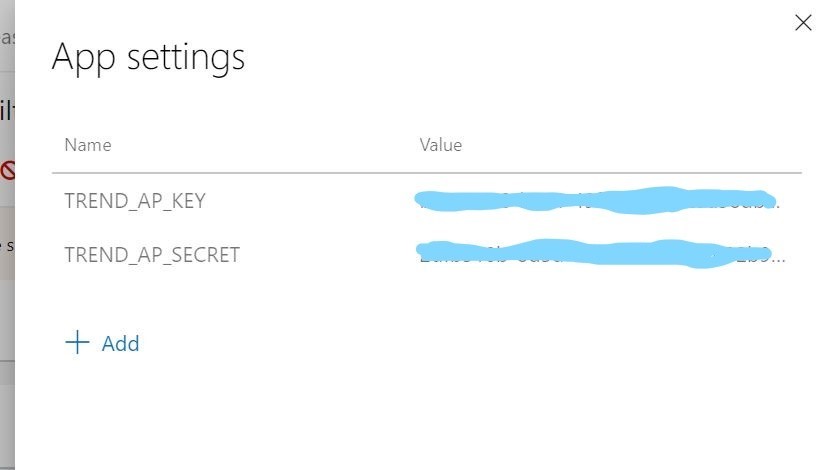
Ok, so those environment variables for your Trend Micro Cloud One Application Security! We are going to make sure that they exist inside our Azure App Service plan. That way when the container is launched, it will call in those values to the Application Security Agent.
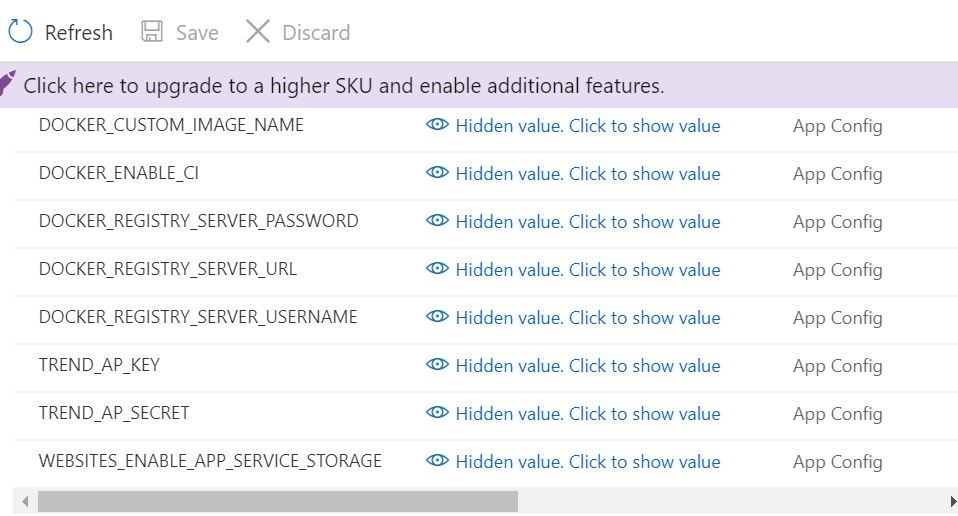
You can also set them in your release pipeline in Azure DevOps if you wish. That is what I did. You can do that here. That way when the release is triggered you will be sure they are stored in the associated Azure App Service plan as environment variables above.
So, I ran a commit and push inside Visual Studio Code, and this automatically kicked off a new build pipeline. How exciting!
You can see the automatic build based on commit/push!
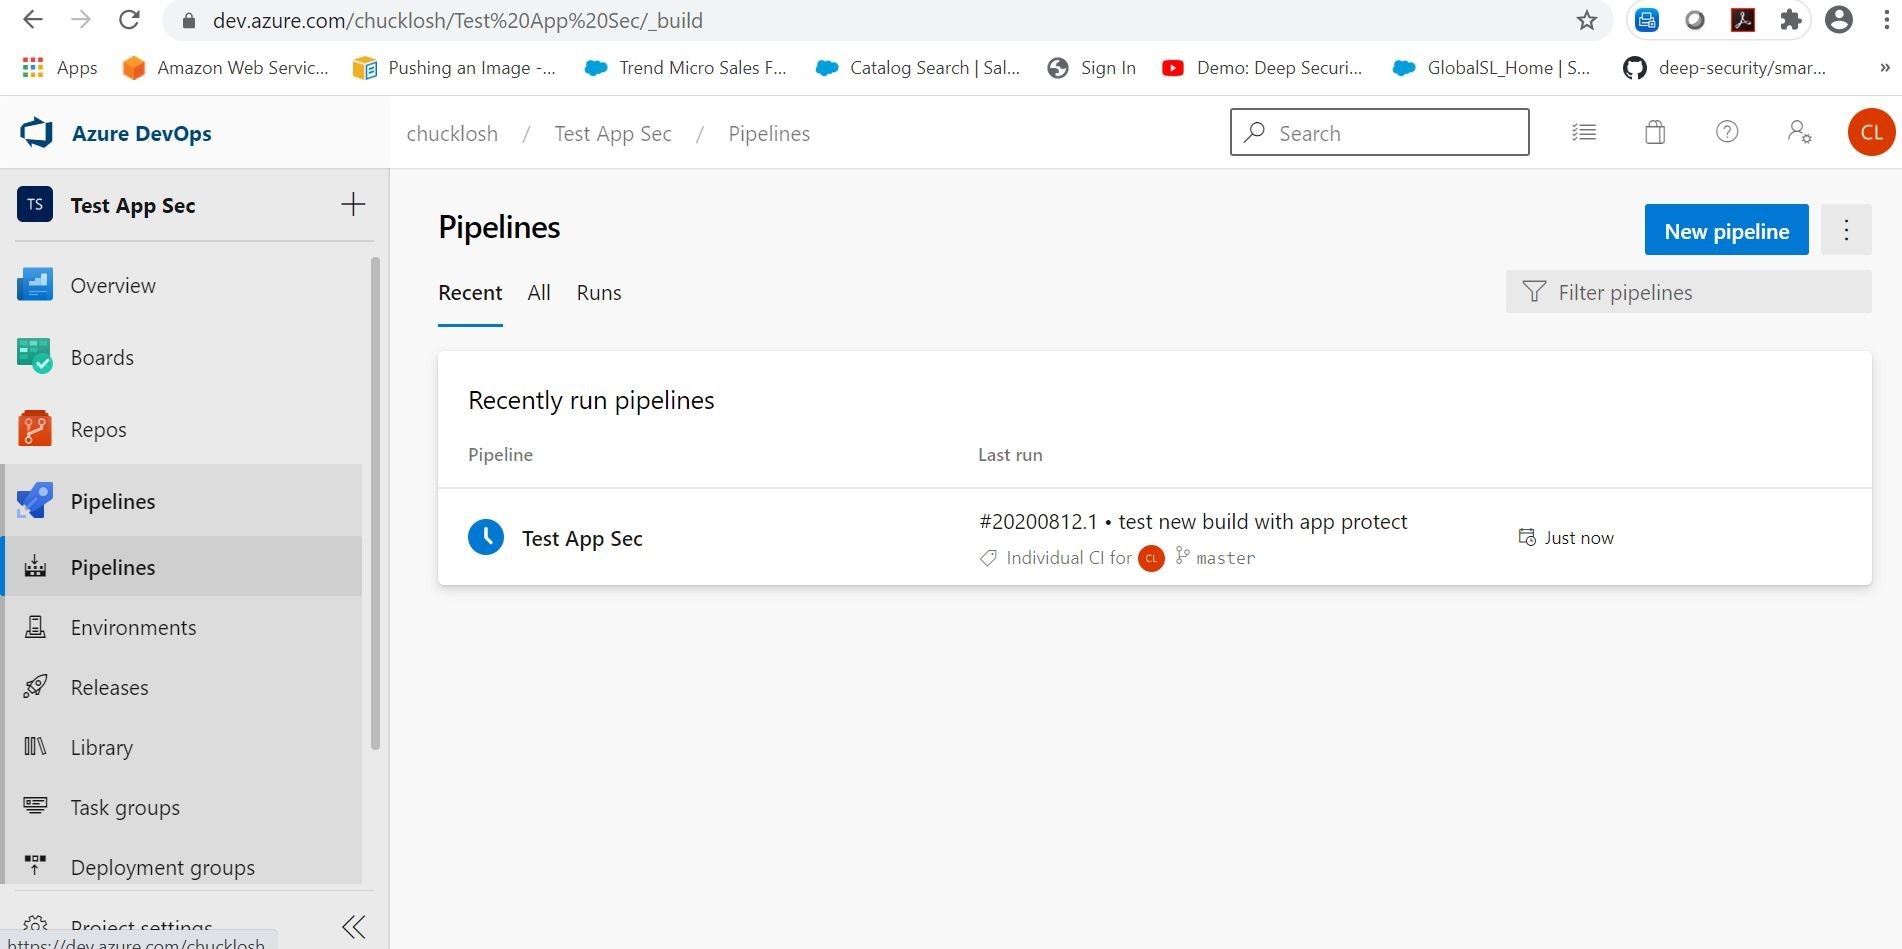
The build was successful! Which in turn, the build automatically kicked off a new CD release/deployment pipeline.
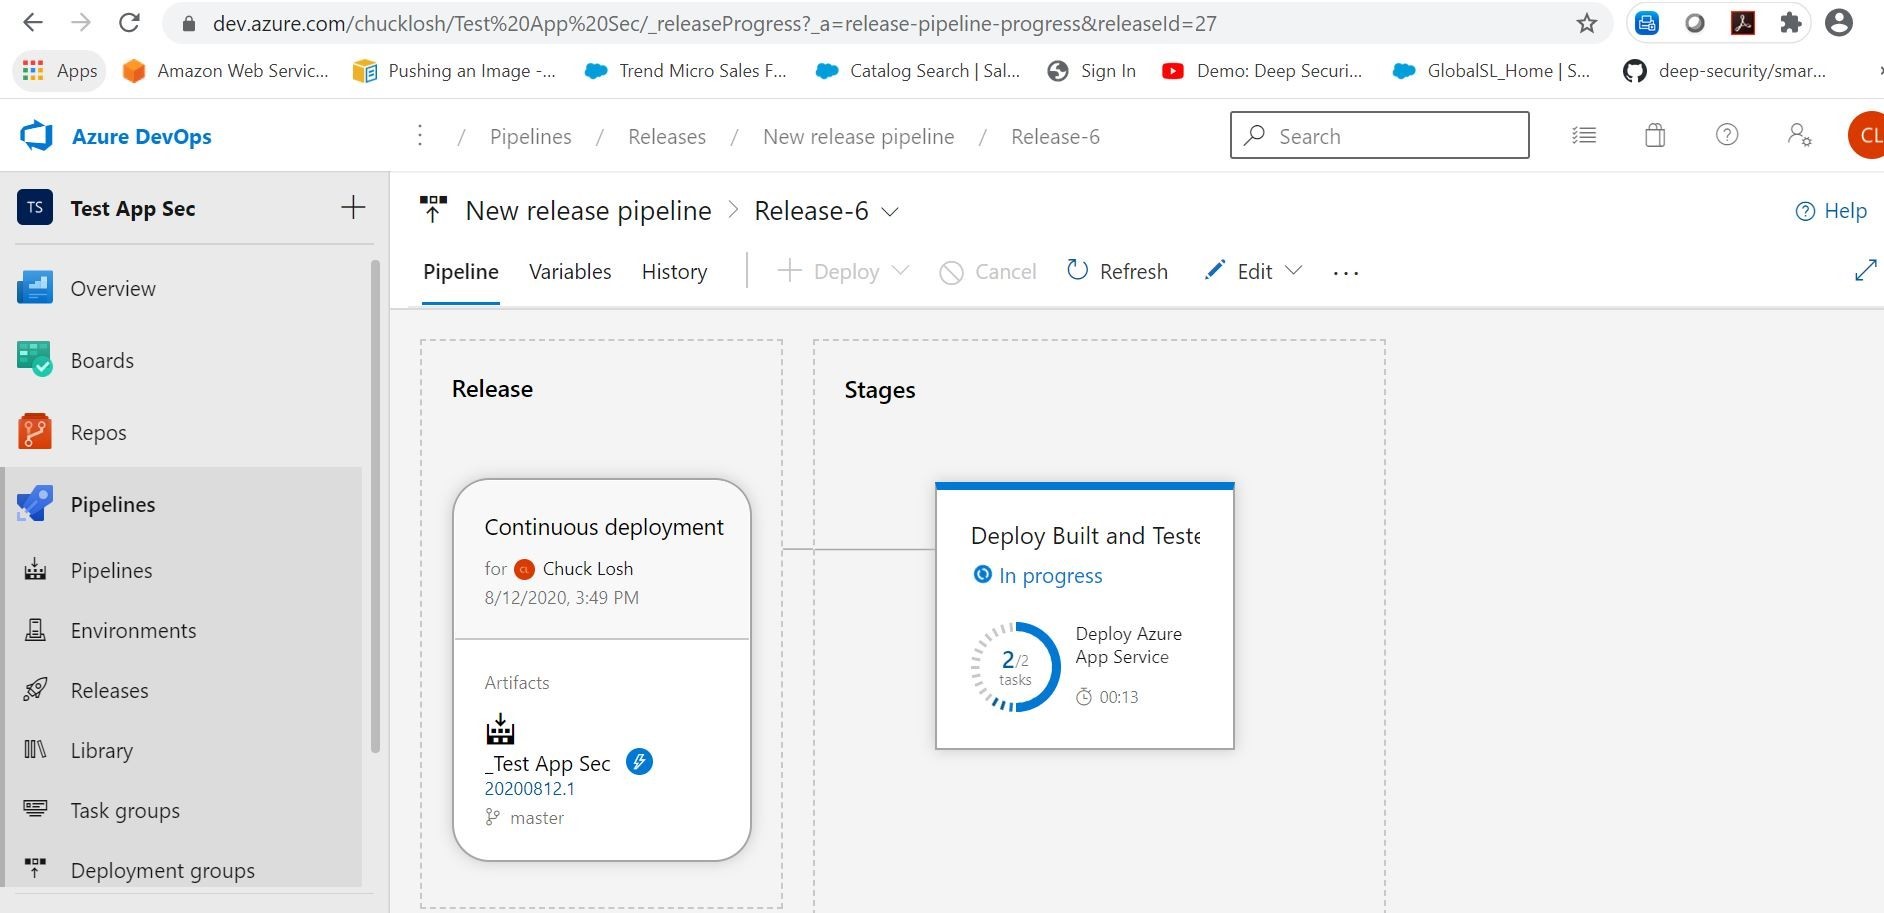
Cool! Our updated release was successful with application protection, and successfully deployed to Azure!
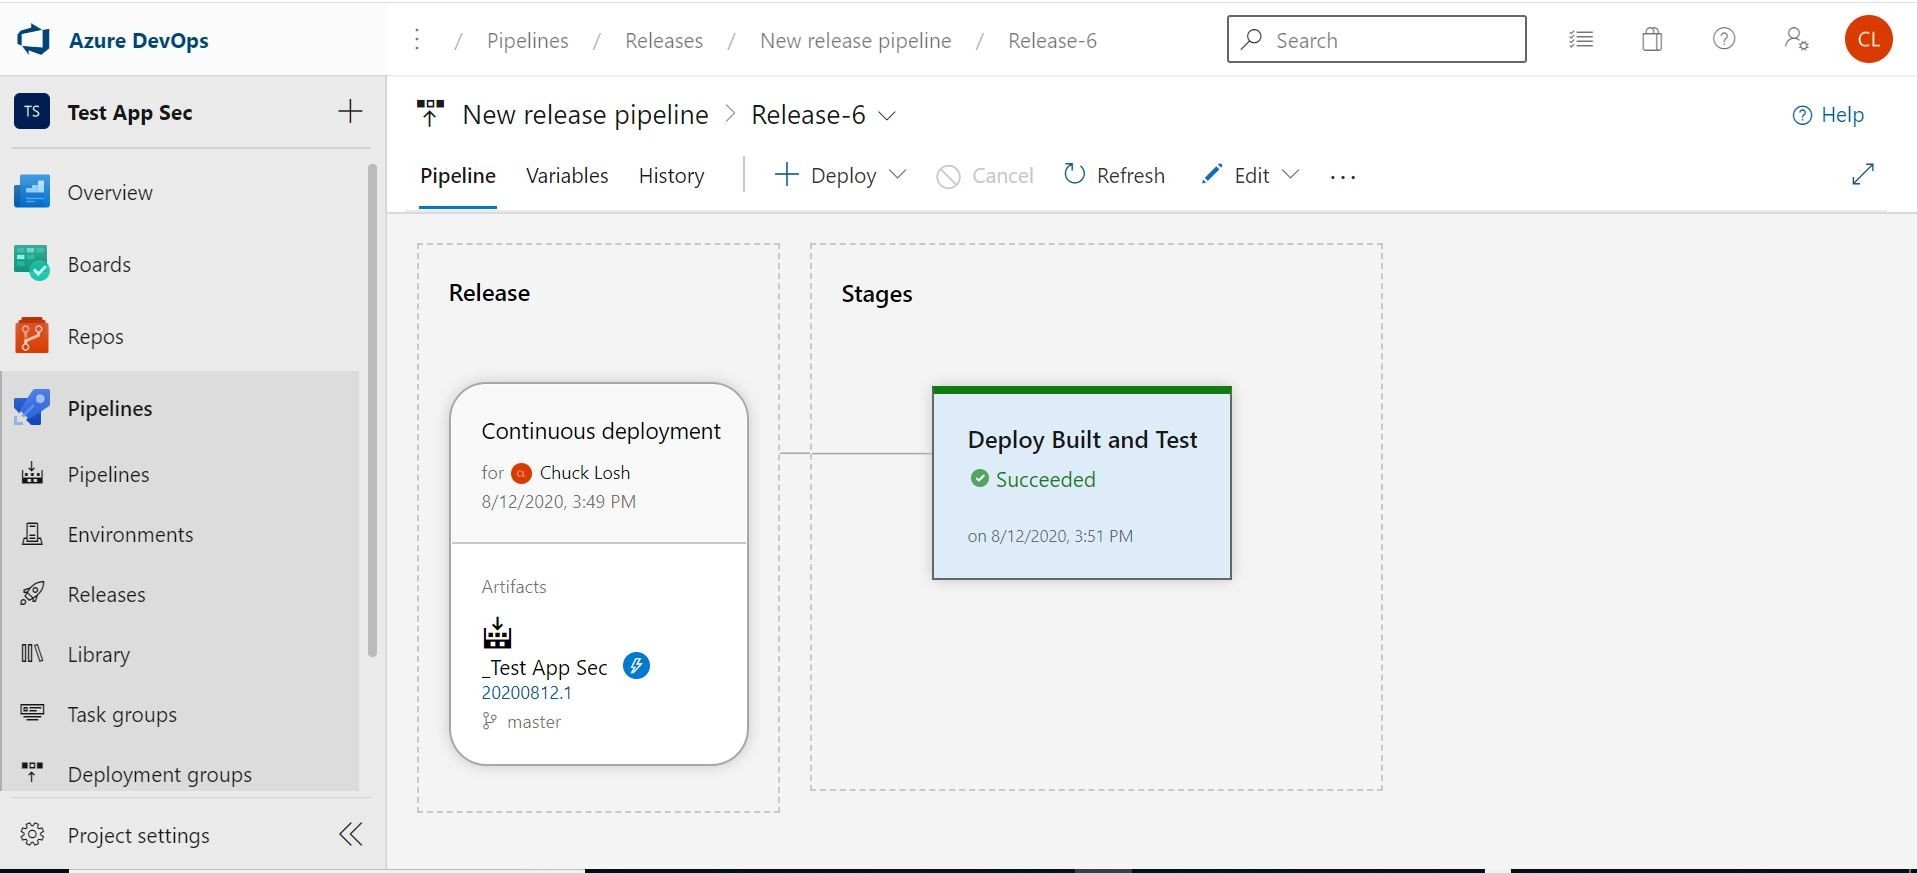
Our application now has been successfully updated with Trend Micro Application Security Protection!
Let’s check the Trend Micro Cloud One Application Security console and see if it has called home.
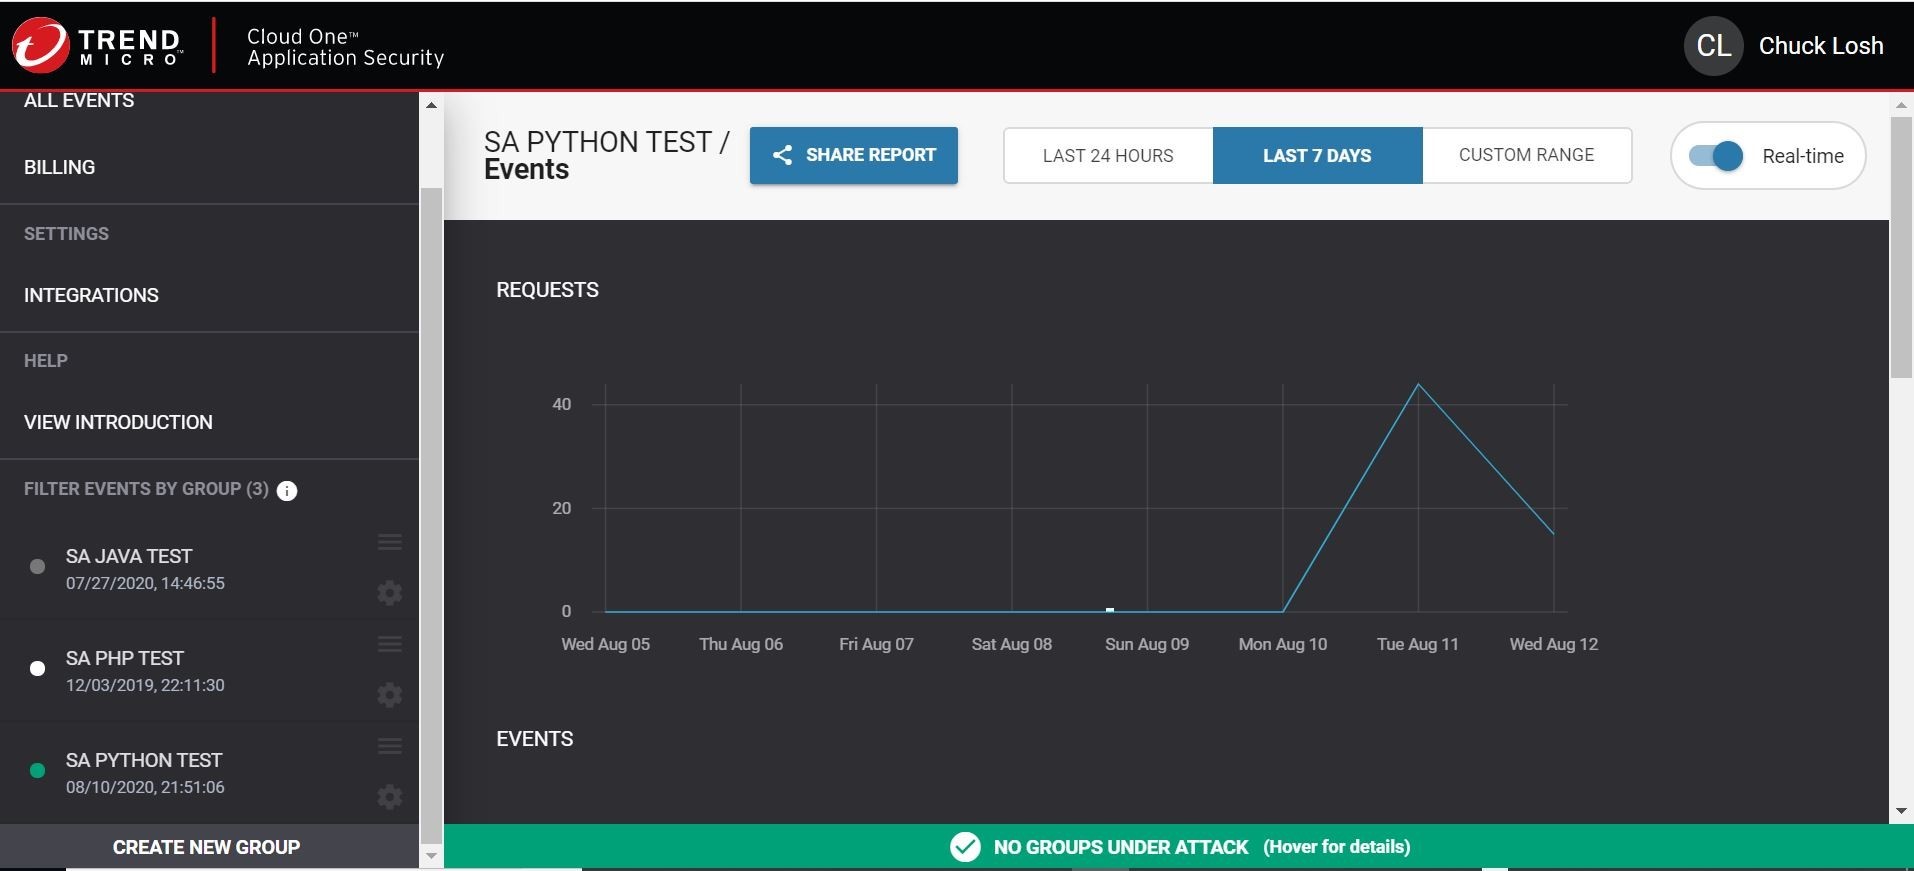
Eureka, it has! Cool! Now, we have successfully deployed our container based application to Azure Web App inside an associated Azure App Service Plan. We also have working build and release pipelines with Azure DevOps! Everything tests and seems to be working with our learning experiments!
Ok, last thing before you go! I wanted to see if I could run some automated tests in Azure DevOps to make sure that Trend Micro Cloud One Application Security is included in each and every build, and that it is not removed by accident or maybe on purpose.
I can accomplish that with…….drumroll……a Container Structure Test (Preview)!
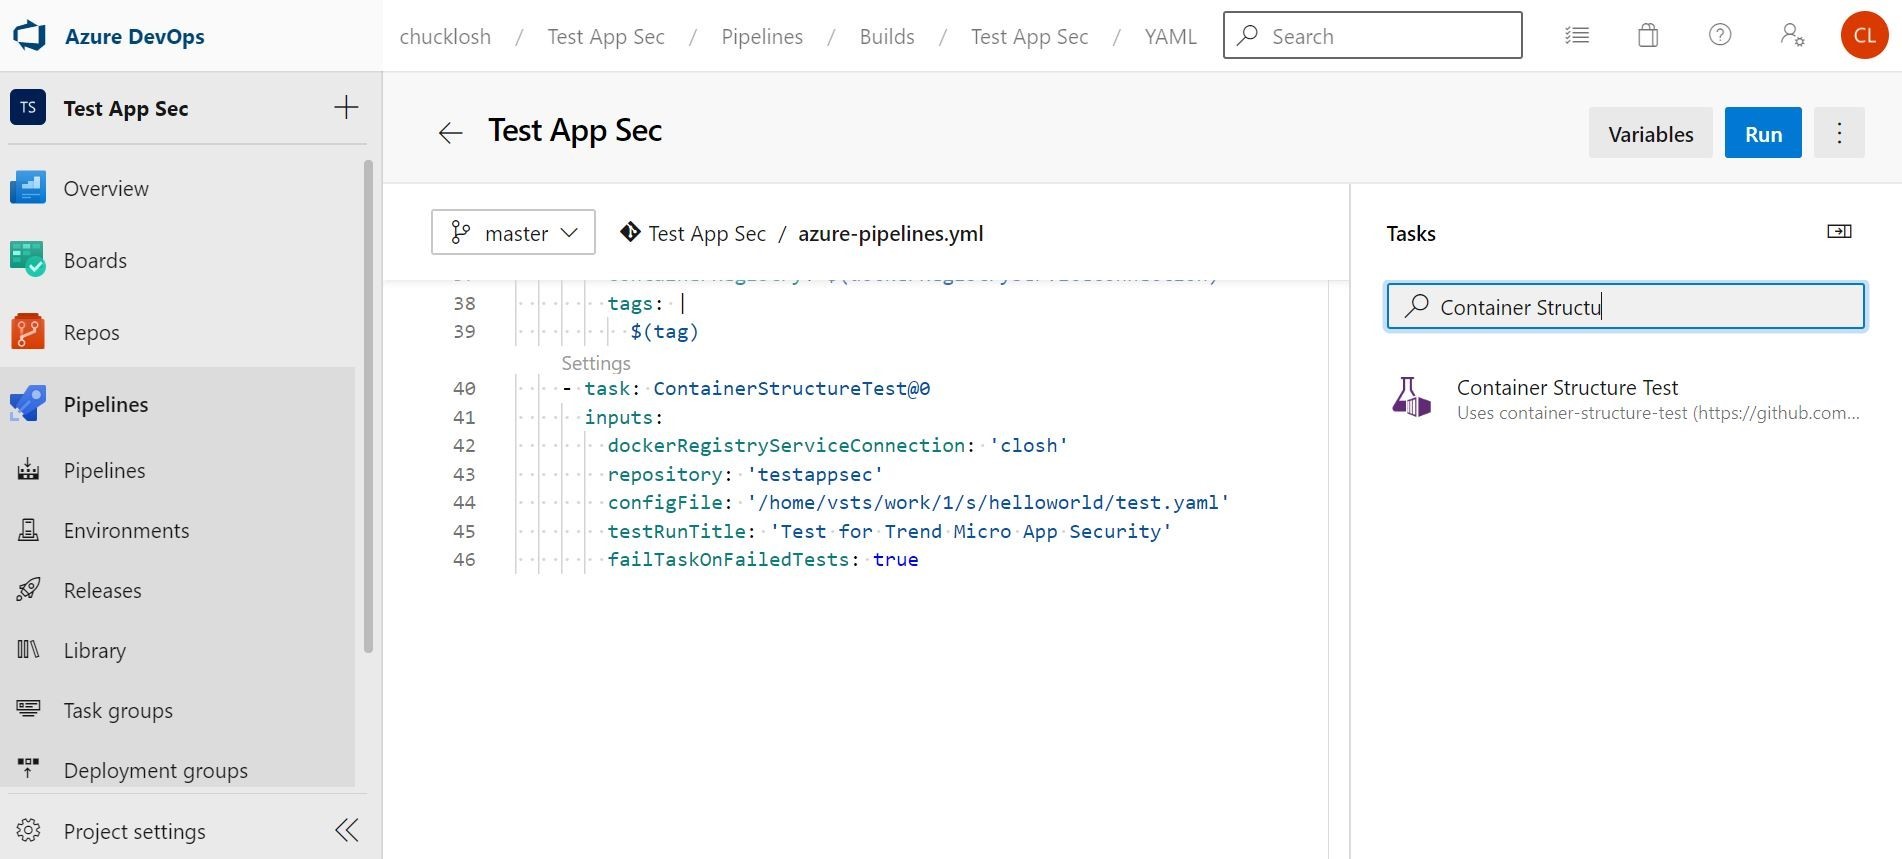
Here is my setup with the Container Structure Test Azure DevOps Task in my build pipeline. The config file for the tests is a Yaml file that I setup.
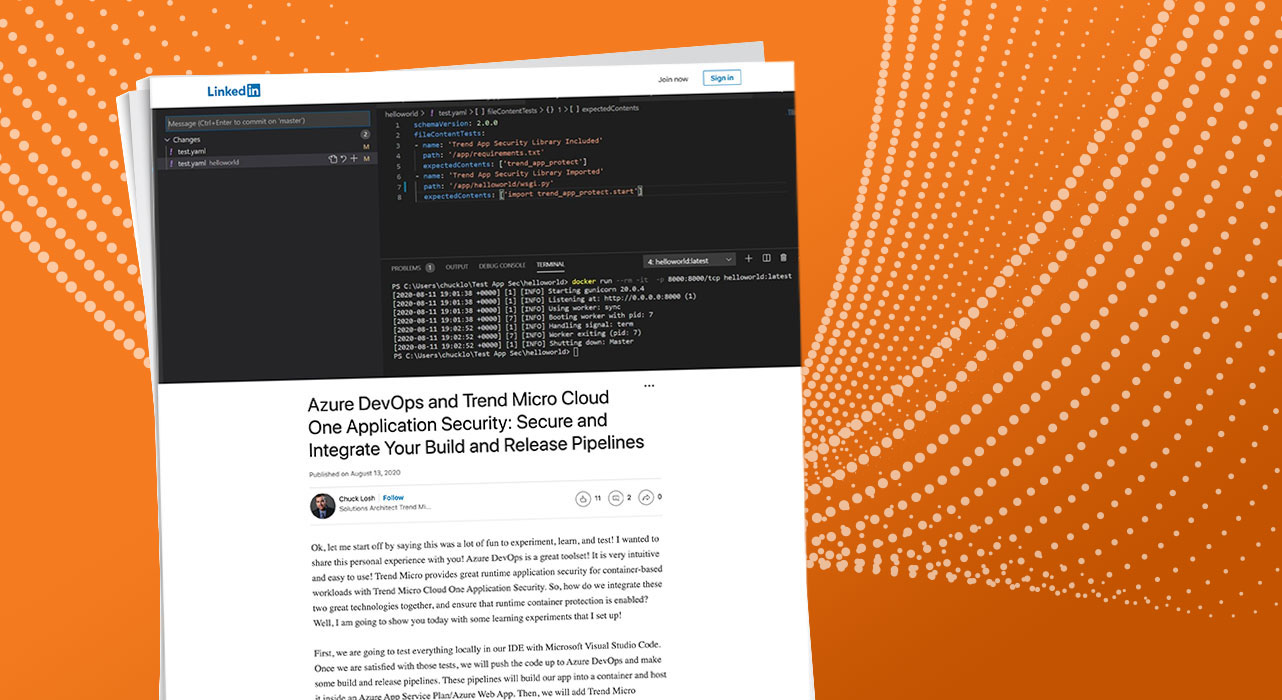
In the Yaml config file, you can see that I am using the file content tests. I am testing that trend_app_protect is included in my requirements.txt file, and I am checking my wsgi.py loader file to make sure that I am importing the security library.
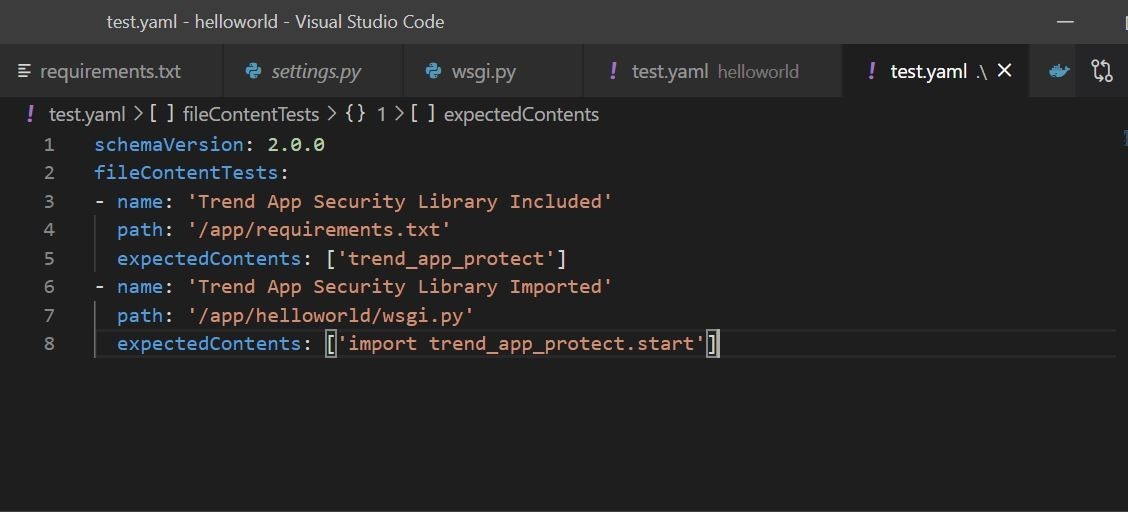
Ok, cool, so we have our Yaml config file that we are going to use for evaluation of the container image.
Let’s go ahead and commit that Taml file to source Repo. Once we do that, another automated CI/CD build and deployment will kick off. Let’s make sure that works as intended first before actually attempting to remove Trend Micro Cloud One Application Security. We should be able to go into our build pipeline, and see the tests performed and the results of those tests.

Ok, we can see the build is complete and the subsequent release. We can also see that we have the tests that were performed under Tests and Coverage and they were 100% passed lets take a look at the details of the tests.
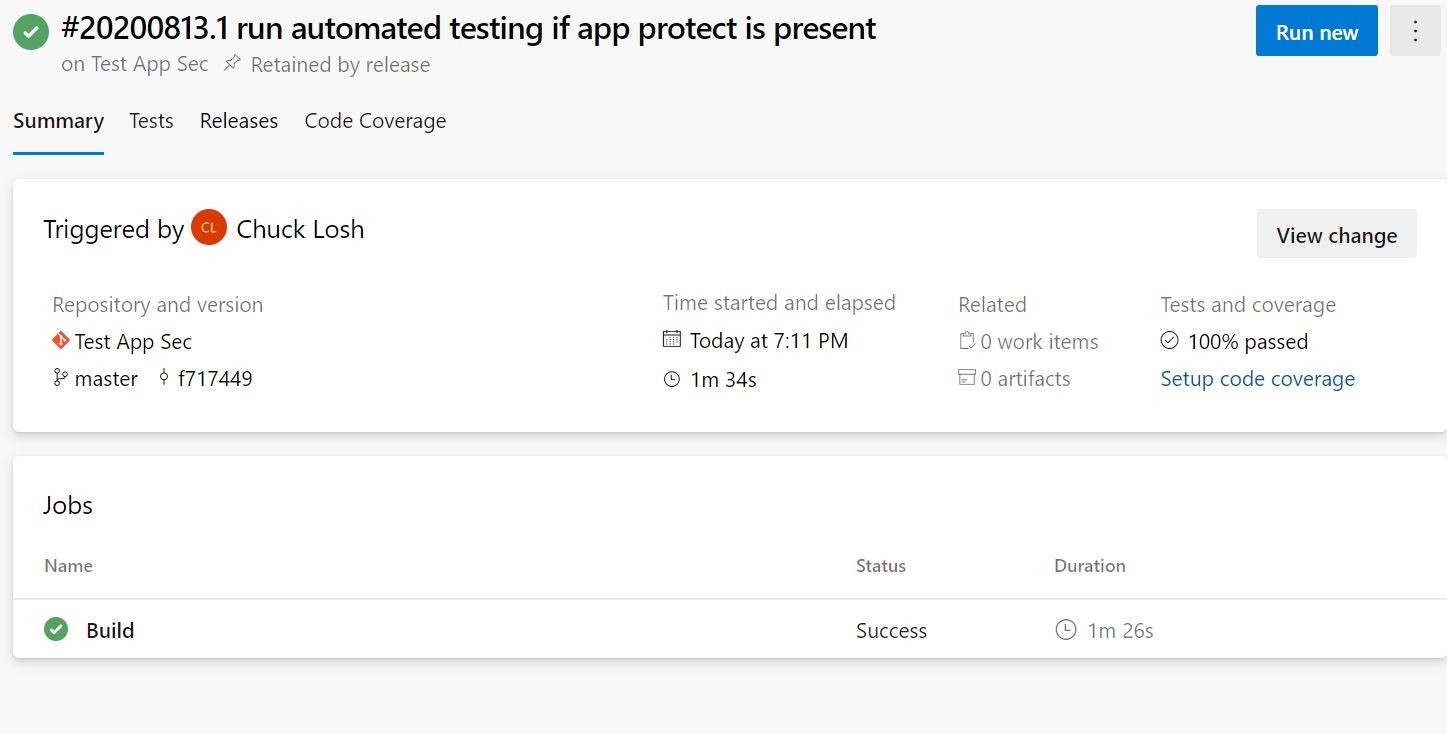
Here are the test details that were performed by the Yaml configuration file that was utilizing the Container Structure Test construct.
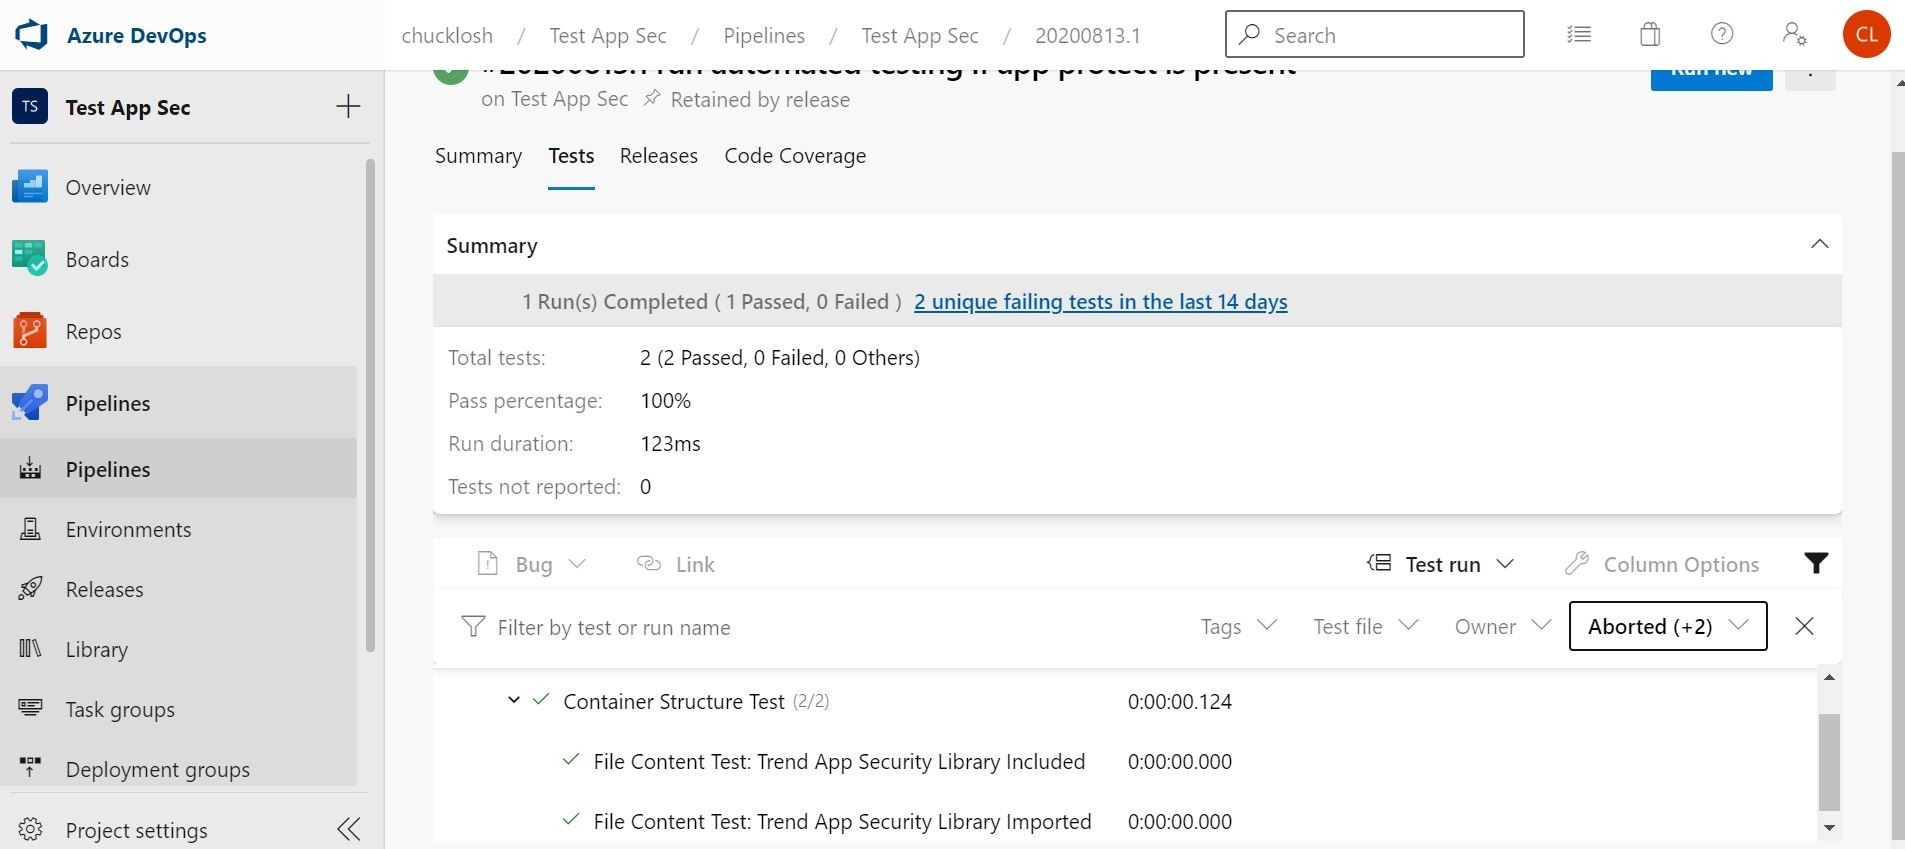
Ok, very cool! Our Release worked was successful because the build pipeline tests were successful. So, this version/deployment of the application is now running in Azure Web App, and also as an added bonus currently protected by Trend Micro Cloud One Application Security.
Let’s go ahead and take out the inclusion of importing the security library, and commit that to Azure DevOps and see what happens! Essentially, what we are doing is disabling Trend Micro Cloud One Application Security.

Here you can see that I committed the removal of the application security library import.
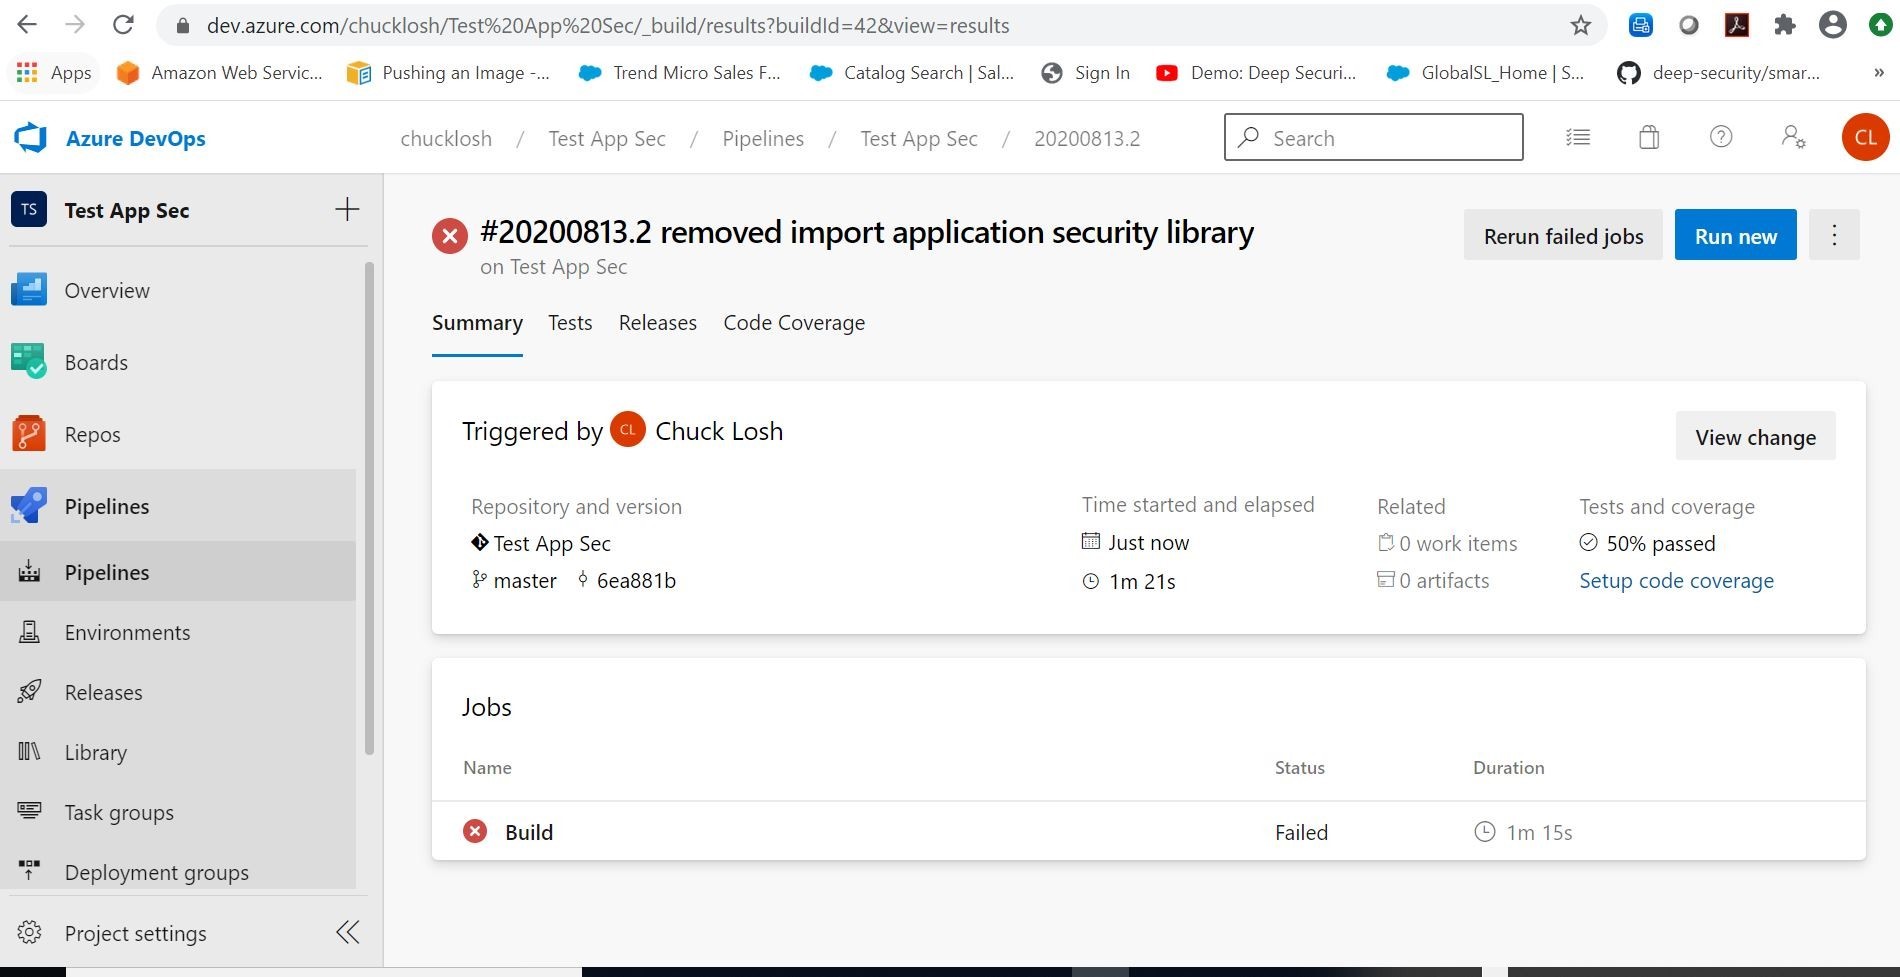
Here you can see that the automated build has failed because my tests are are now at 50 percent passed. So, there is no subsequent linked release pipeline. The software in production is still on the previous release, and currently still protected by Trend Micro Application Security. That is what we want. Let’s look at the test details and see which test failed.
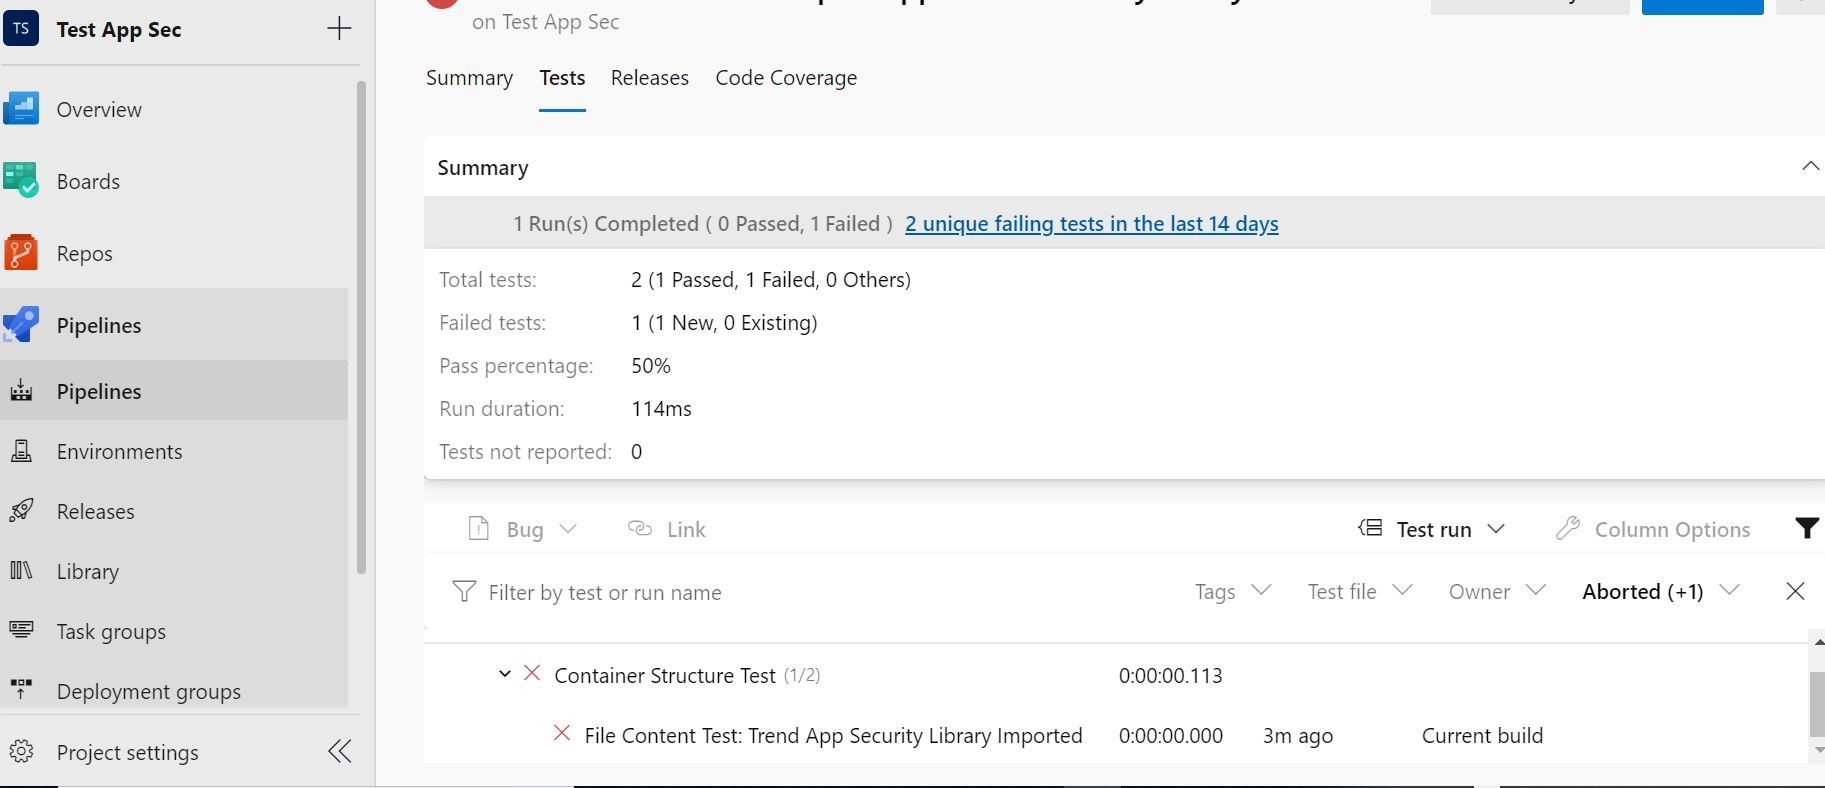
Ok, we see there that the Container Structure Test failed on the File Content Test: Trend App Security Library Imported.
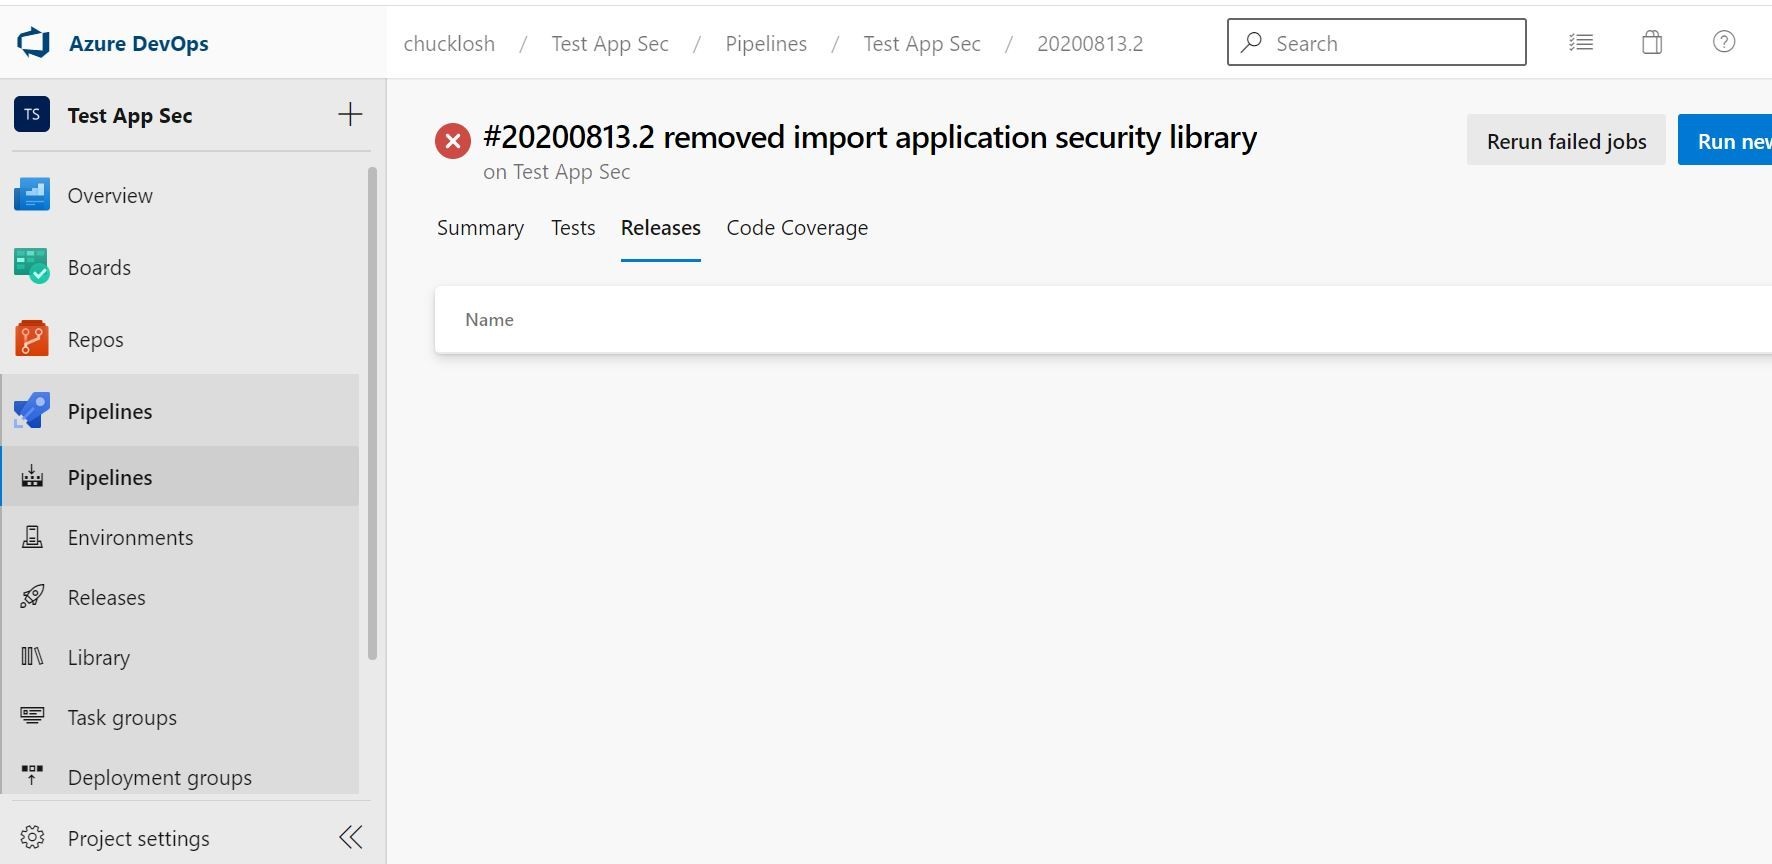
We also can visually confirm here that no release is associated with the failed build, so we saved this particular deployment from going to production with no active Trend Micro Cloud One Application Security Protection!
Once we put the security library import code back in and commit, we can automatically release the build to an new deployment. Let’s do that! I want to leave our test application and CI/CD in a good spot!

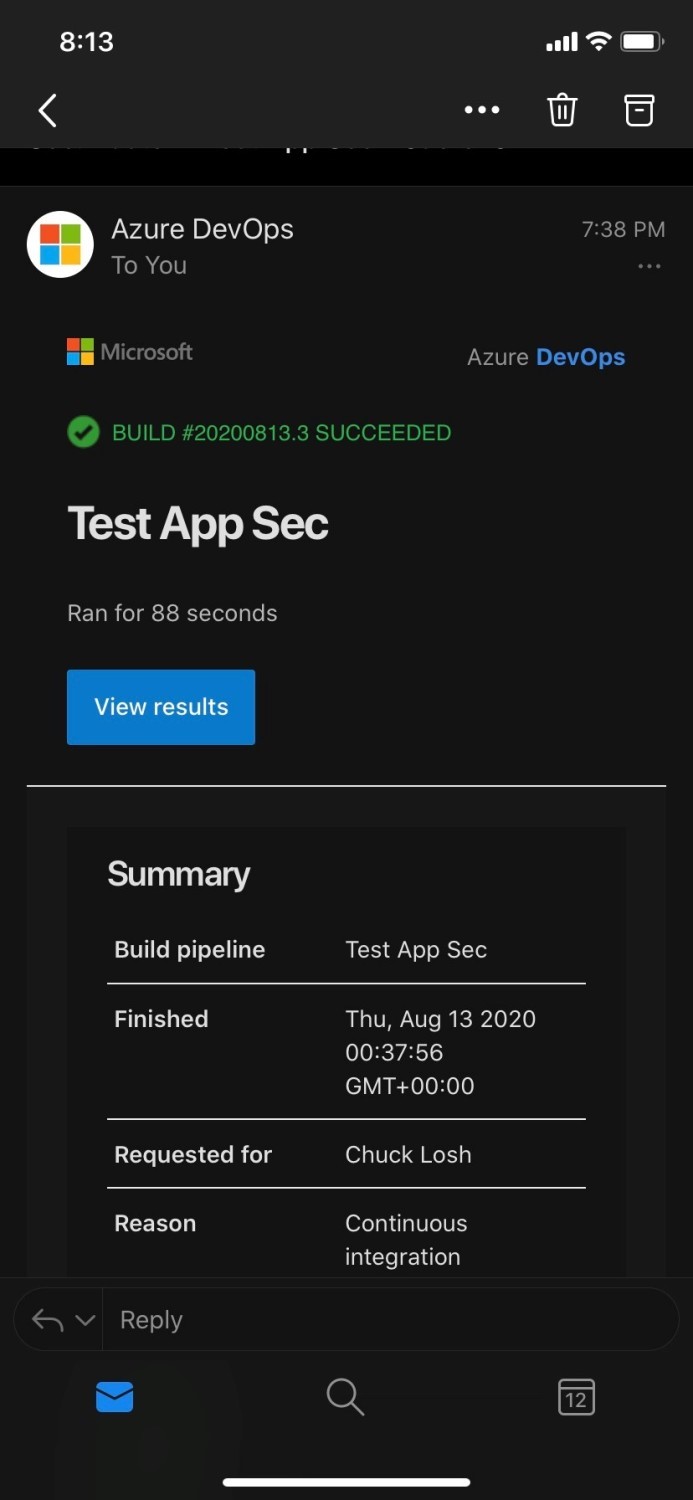
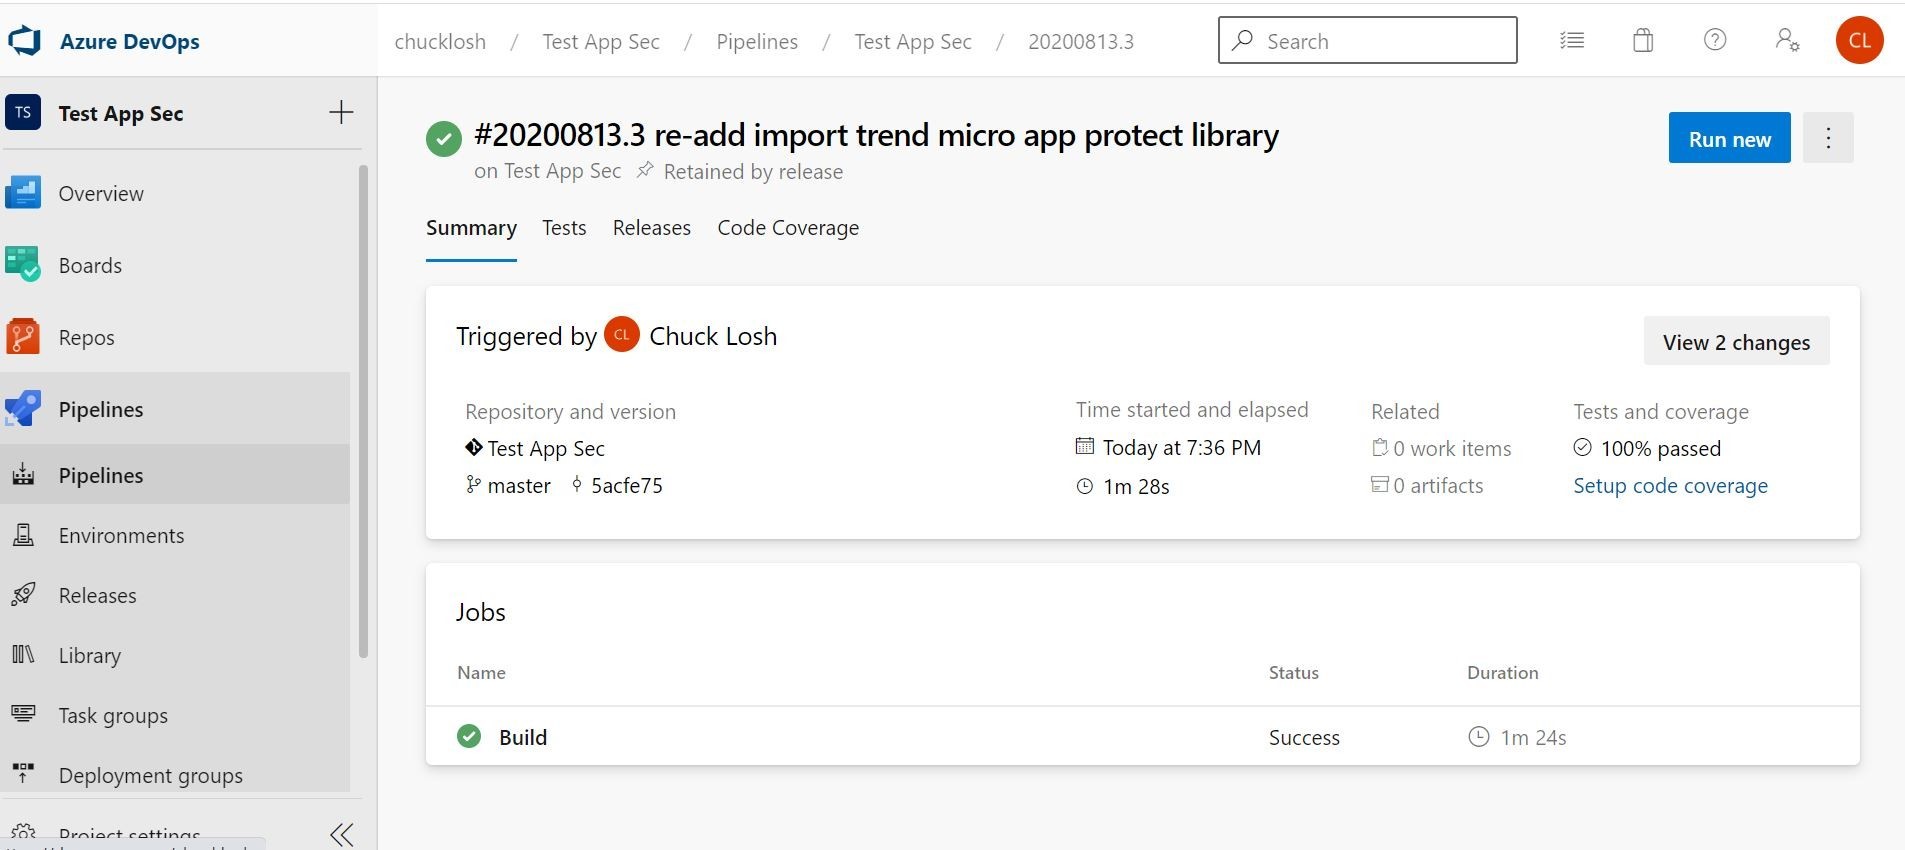
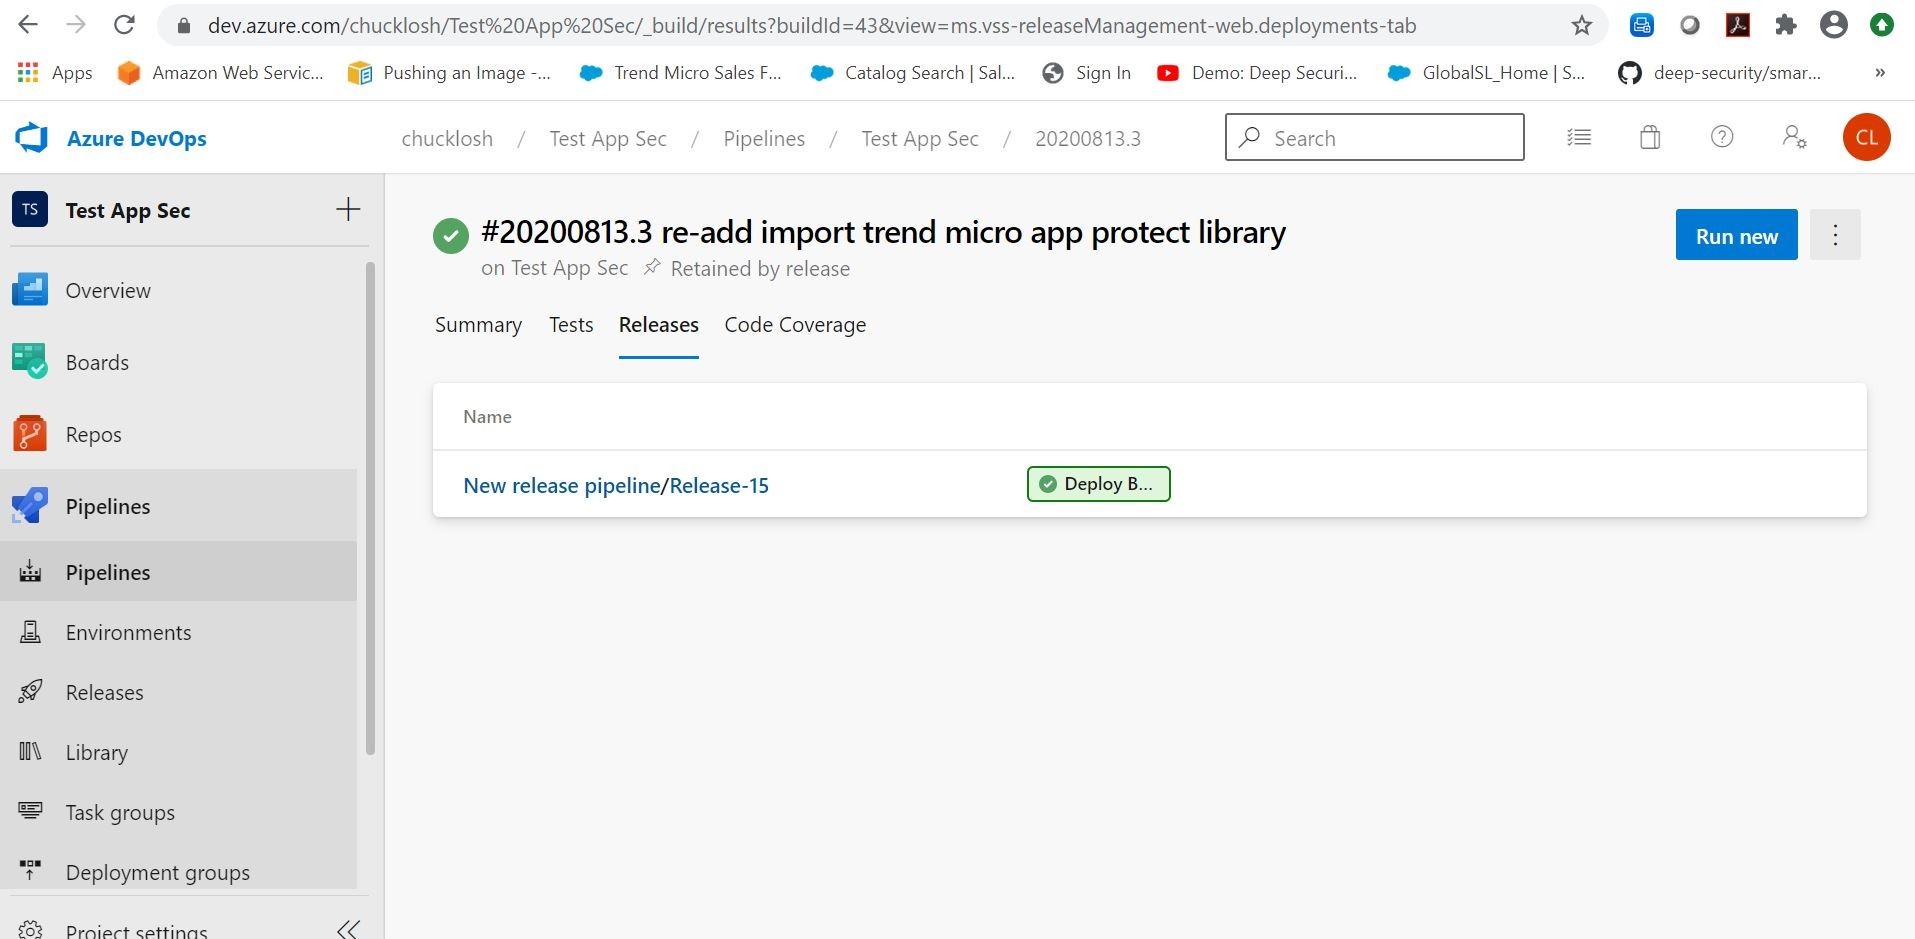
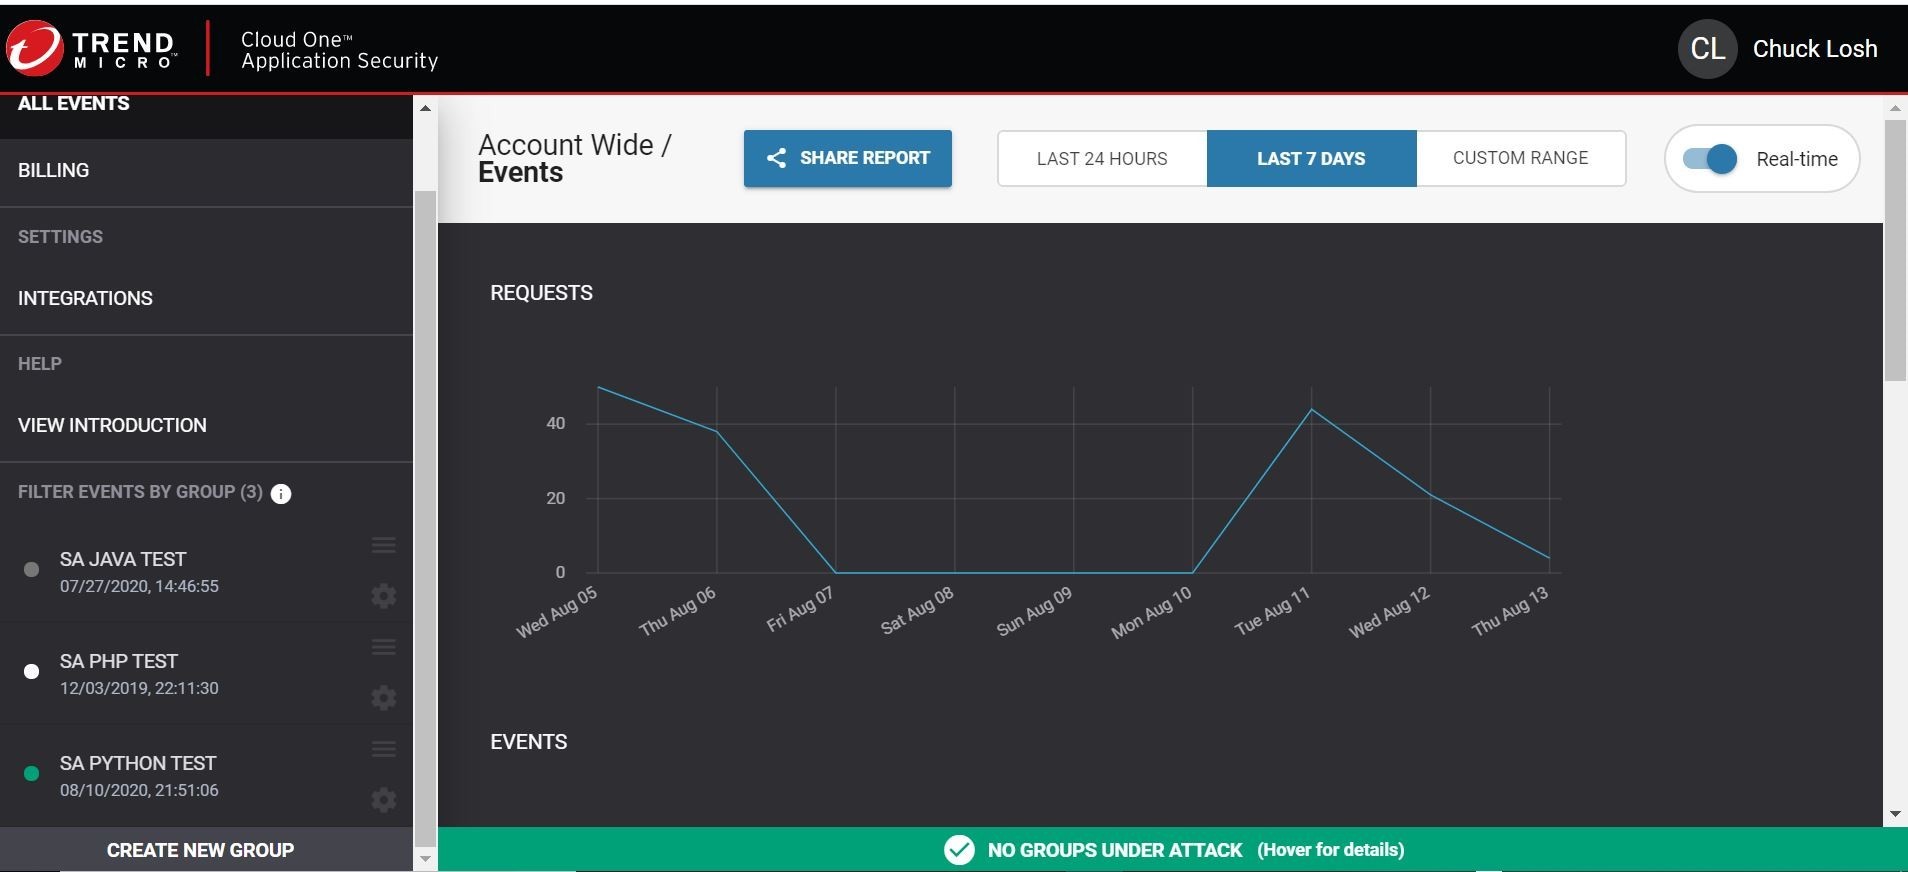
Ok, in monitoring our CI/CD Pipeline looks like we had a successful build this time! Both tests passed at 100 percent! Also, we have a new corresponding release and our application is showing online, deployed, and connected and protected with Trend Micro Cloud One Application Security! I also attached an email sample alert of the build that succeeded.
Tags
sXpIBdPeKzI9PC2p0SWMpUSM2NSxWzPyXTMLlbXmYa0R20xk
Read More HERE


