Trend Micro™ Deep Security™ 20 is Here Solution Engineer
Workload Security
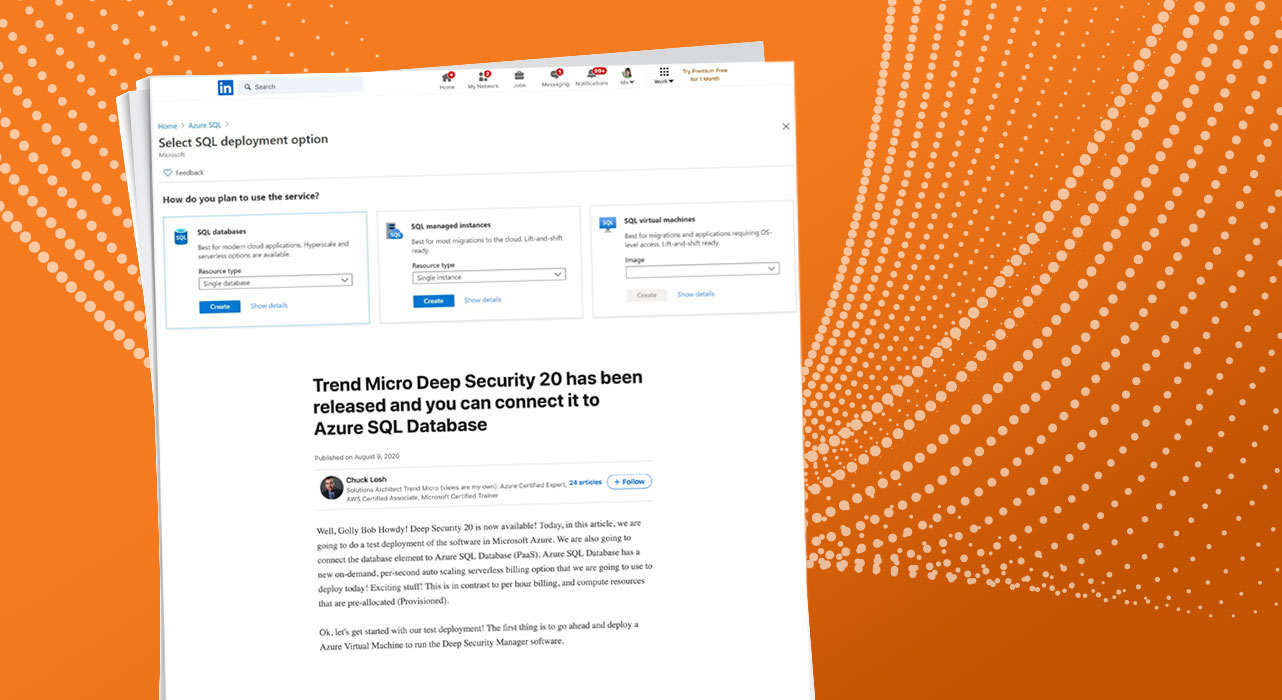
Chuck Losh, Solutions Architect, takes us through the deployment of Trend Micro™ Deep Security™ 20 software in Microsoft® Azure® and runs through how to connect the database element to the Azure SQL Database.
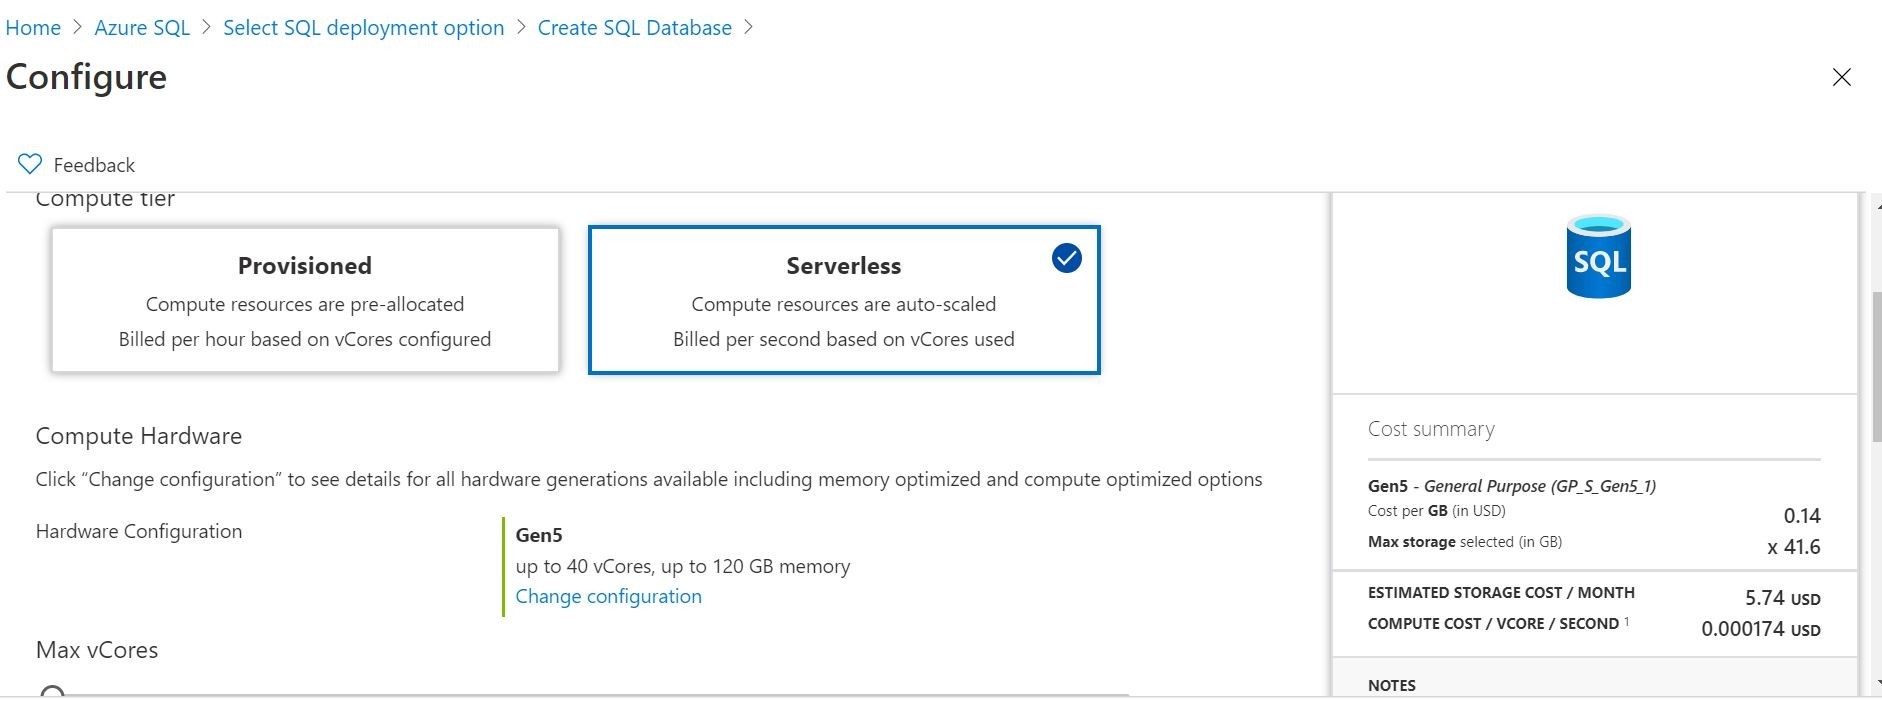
Well, Golly Bob Howdy! Deep Security 20 is now available! Today, in this article, we are going to do a test deployment of the software in Microsoft Azure. We are also going to connect the database element to Azure SQL Database (PaaS). Azure SQL Database has a new on-demand, per-second auto scaling serverless billing option that we are going to use to deploy today! Exciting stuff! This is in contrast to per hour billing, and compute resources that are pre-allocated (Provisioned).
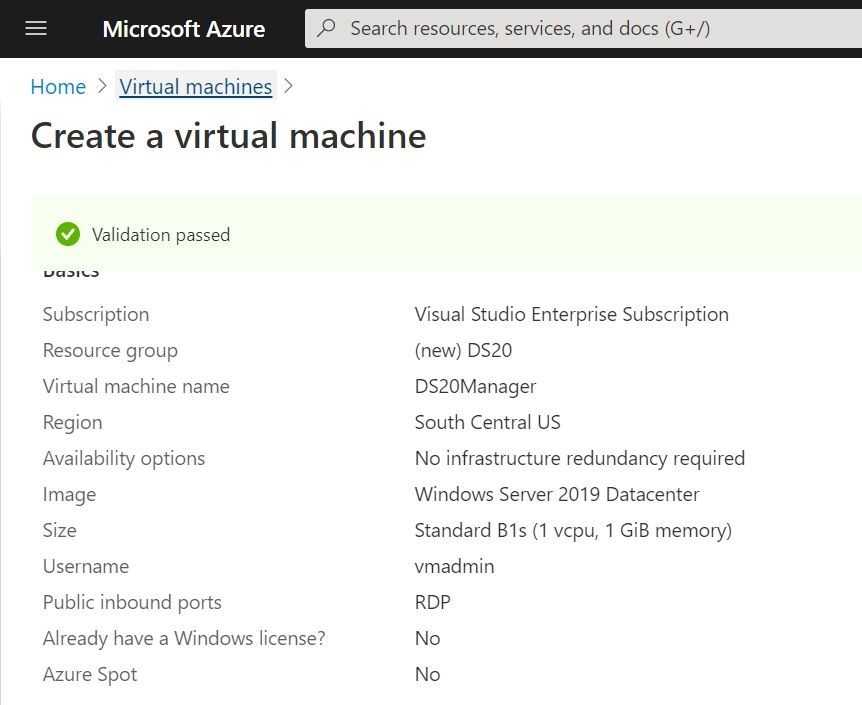
Ok, let’s get started with our test deployment! The first thing is to go ahead and deploy a Azure Virtual Machine to run the Deep Security Manager software.
The next step will be to deploy an Azure SQL Database. In this experiment, found out some pretty cool things about Azure SQL Database!
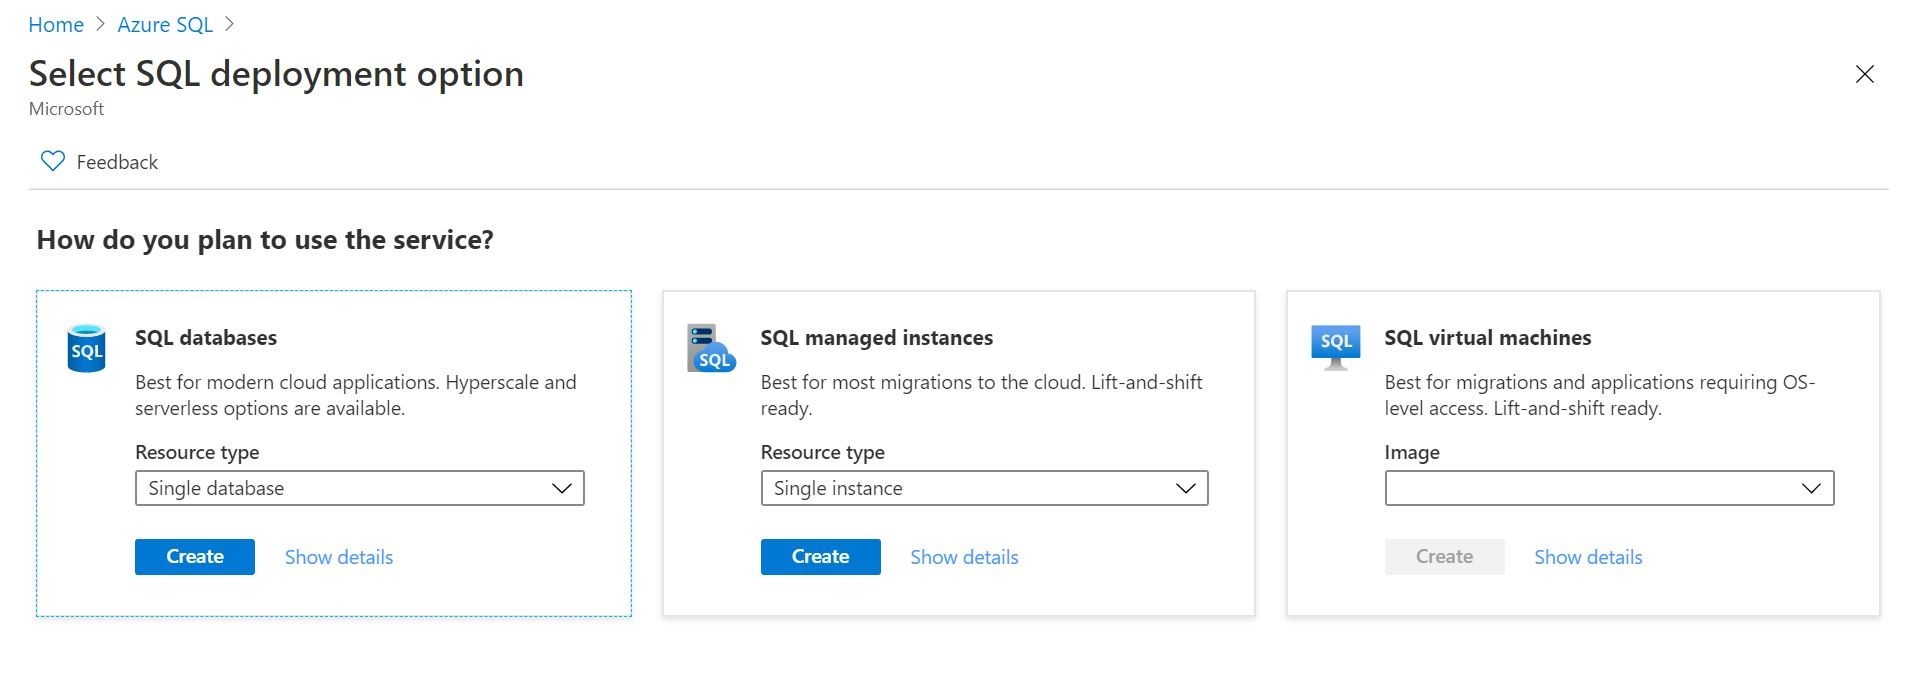
In this case, I selected the new Azure SQL database Serverless option for per second billing.
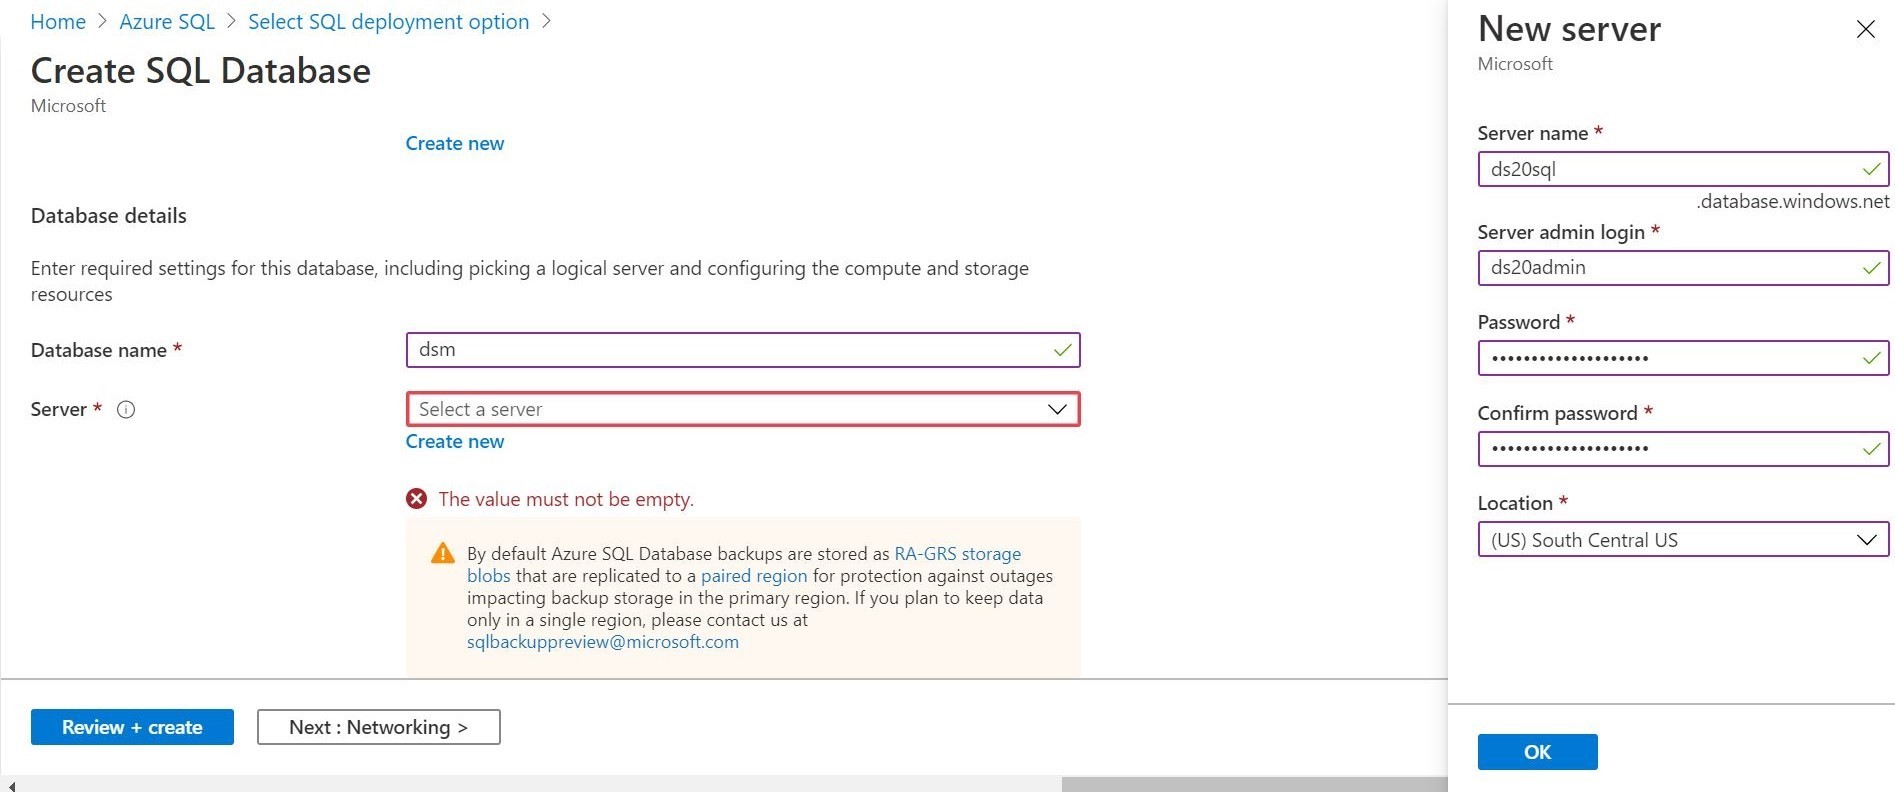
Here is where you can choose to create a database upfront and your corresponding credentials.
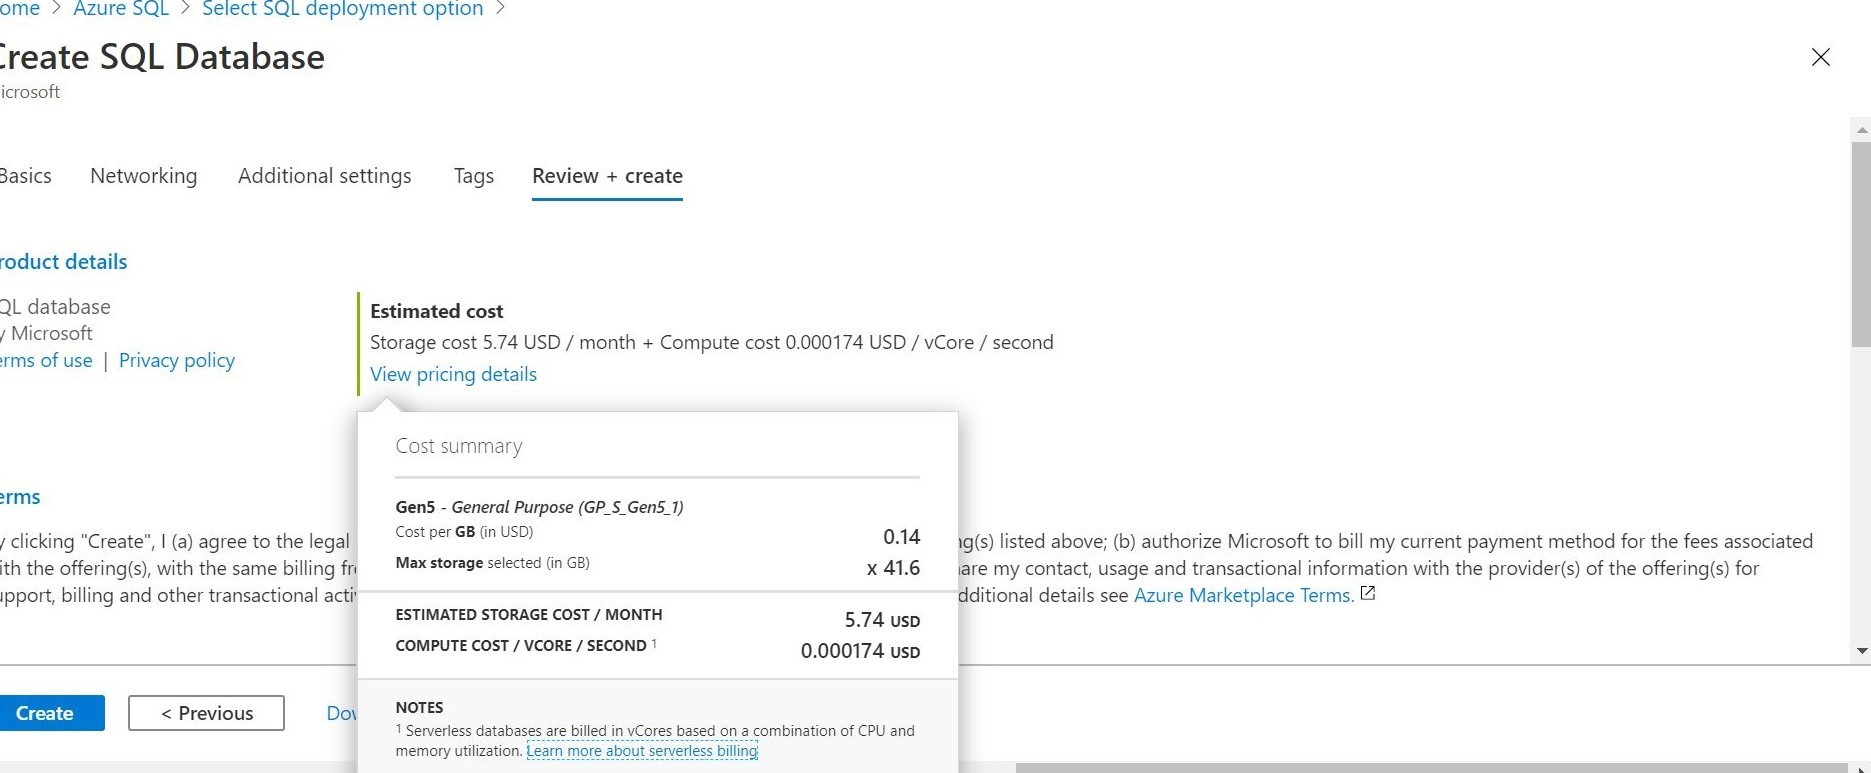
Look at that compute cost! Wow! This is a surely a game changer for businesses. You can even set it to pause and throttle down during periods of inactivity where you are just paying for storage. Pretty cool!
After the database is provisioned, you will want to connect to it with the credentials that you had setup in the initial configuration. If you already have not downloaded SQL Server Management Studio, it would be a good thing to get at this time. It is free from Microsoft!
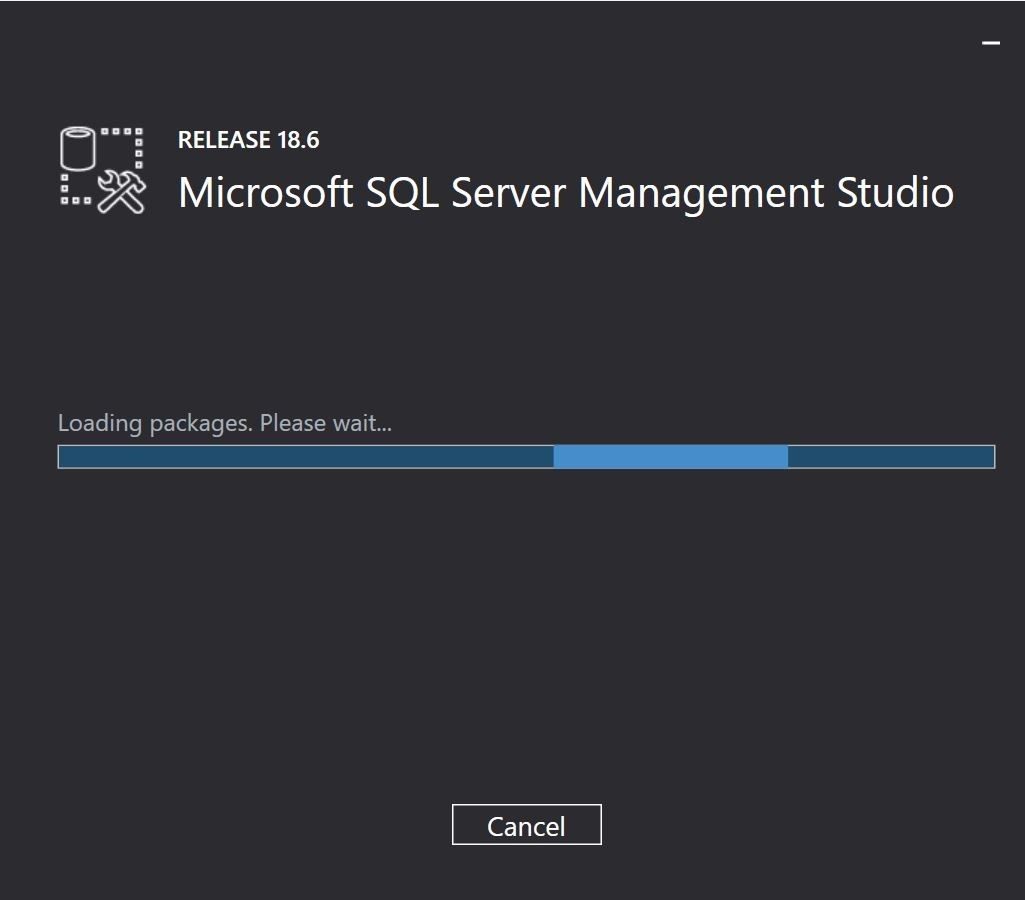
After installation, you can now connect to the Azure SQL Database, and verify that your database has been created.
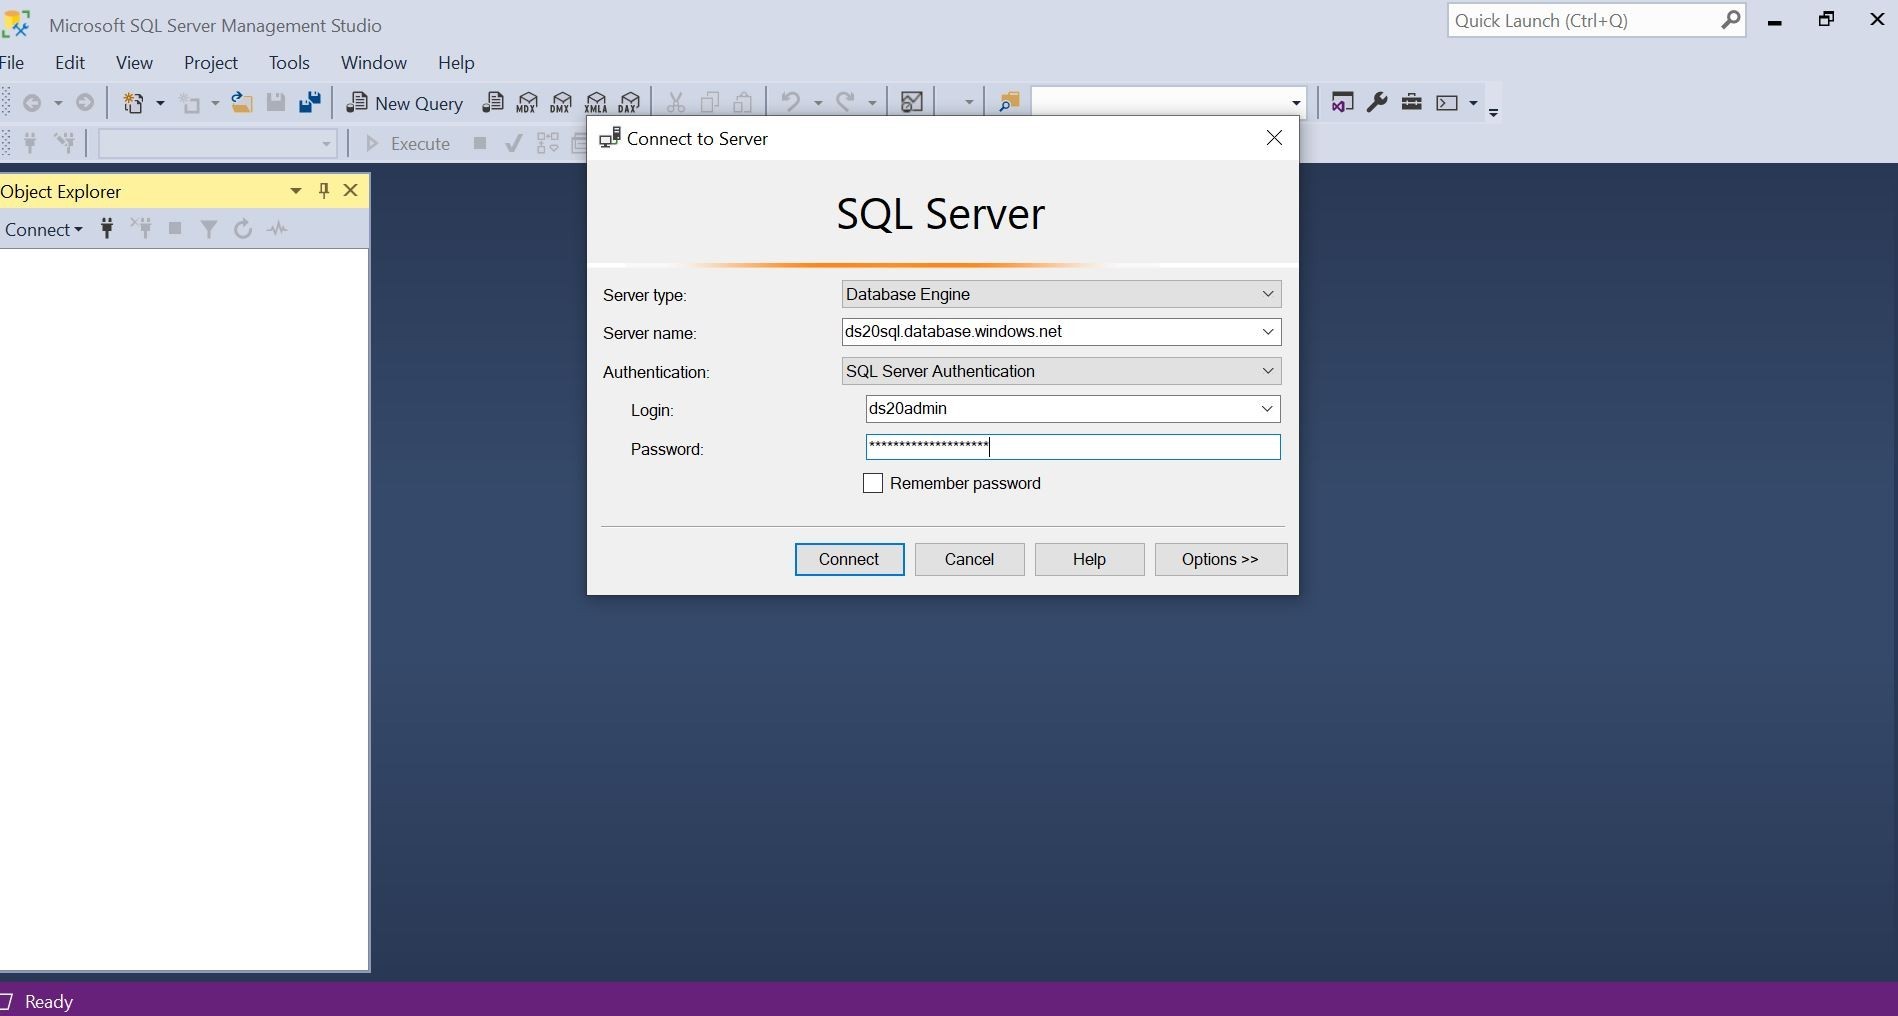
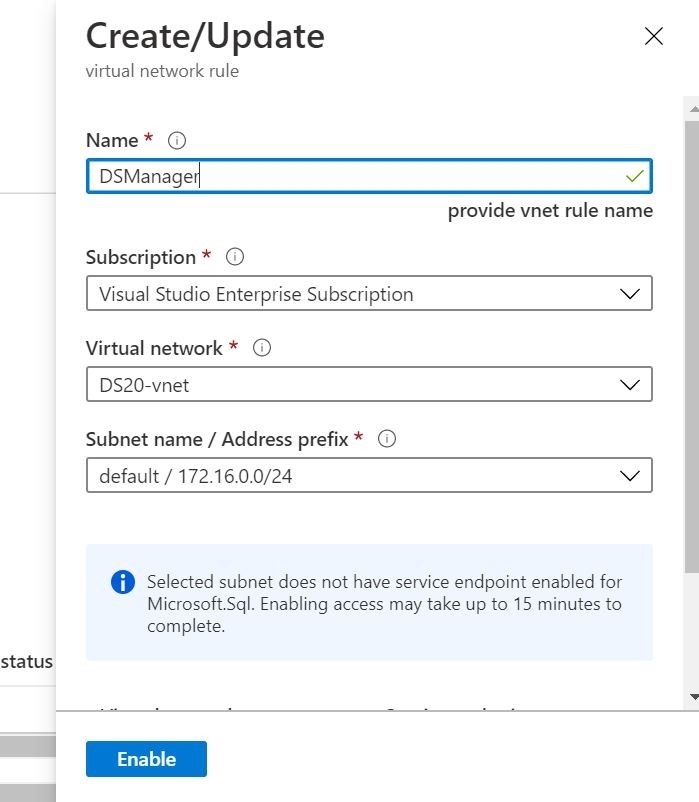
You will notice one of the cool things about the Microsoft SQL Server Management Studio remote connection software is that it will challenge you to logon to your Azure Subscription. It will also force you to make a firewall rule exemption to connect to your Azure SQL Database from your host machine. The second screen I am also showcasing on how to make the Deep Security Manager virtual network able to talk to Azure SQL Database directly. This is an important step to make sure communication can happen! Very good!

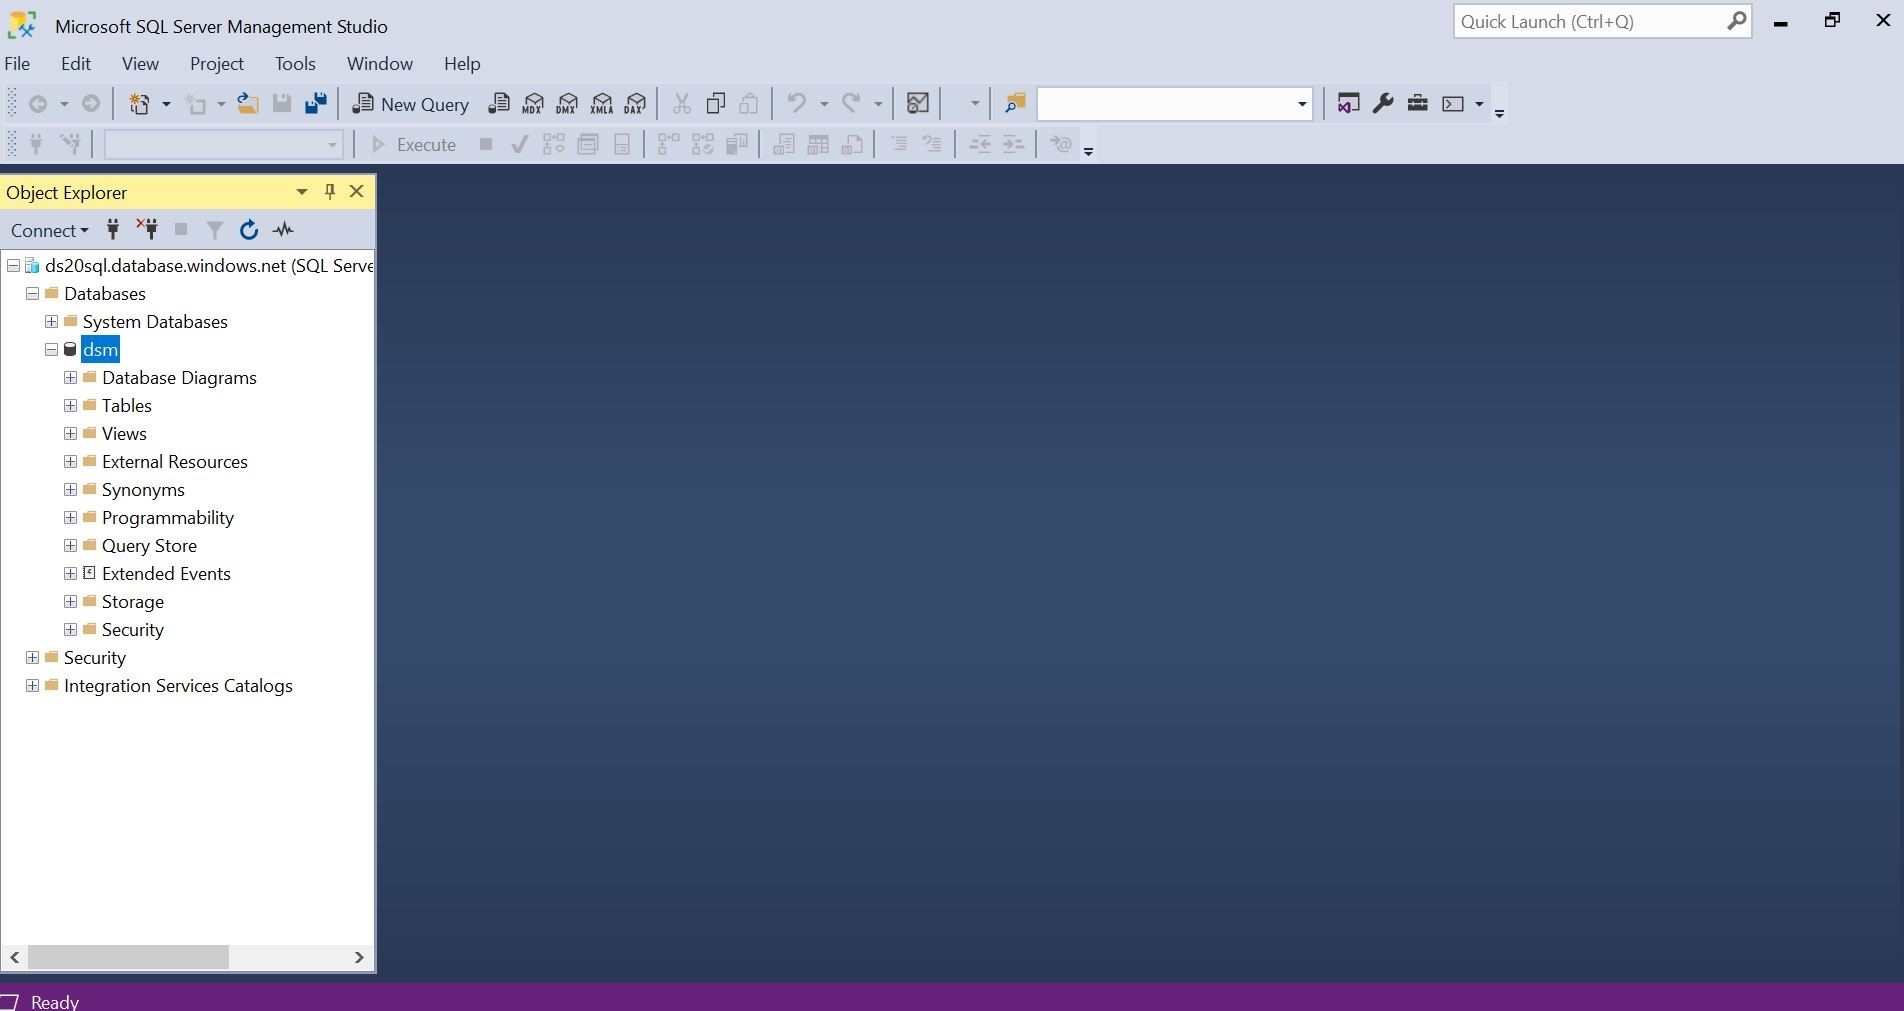
Once all that is completed, you should be able to view your new database! Huzzah! That is the easiest way to provision/connect to a database.
Ok, we are all set to run the Trend Micro Deep Security Manager installation. First, you should go out to the Trend Micro Download Center and download the Deep Security Manager Software for Windows.
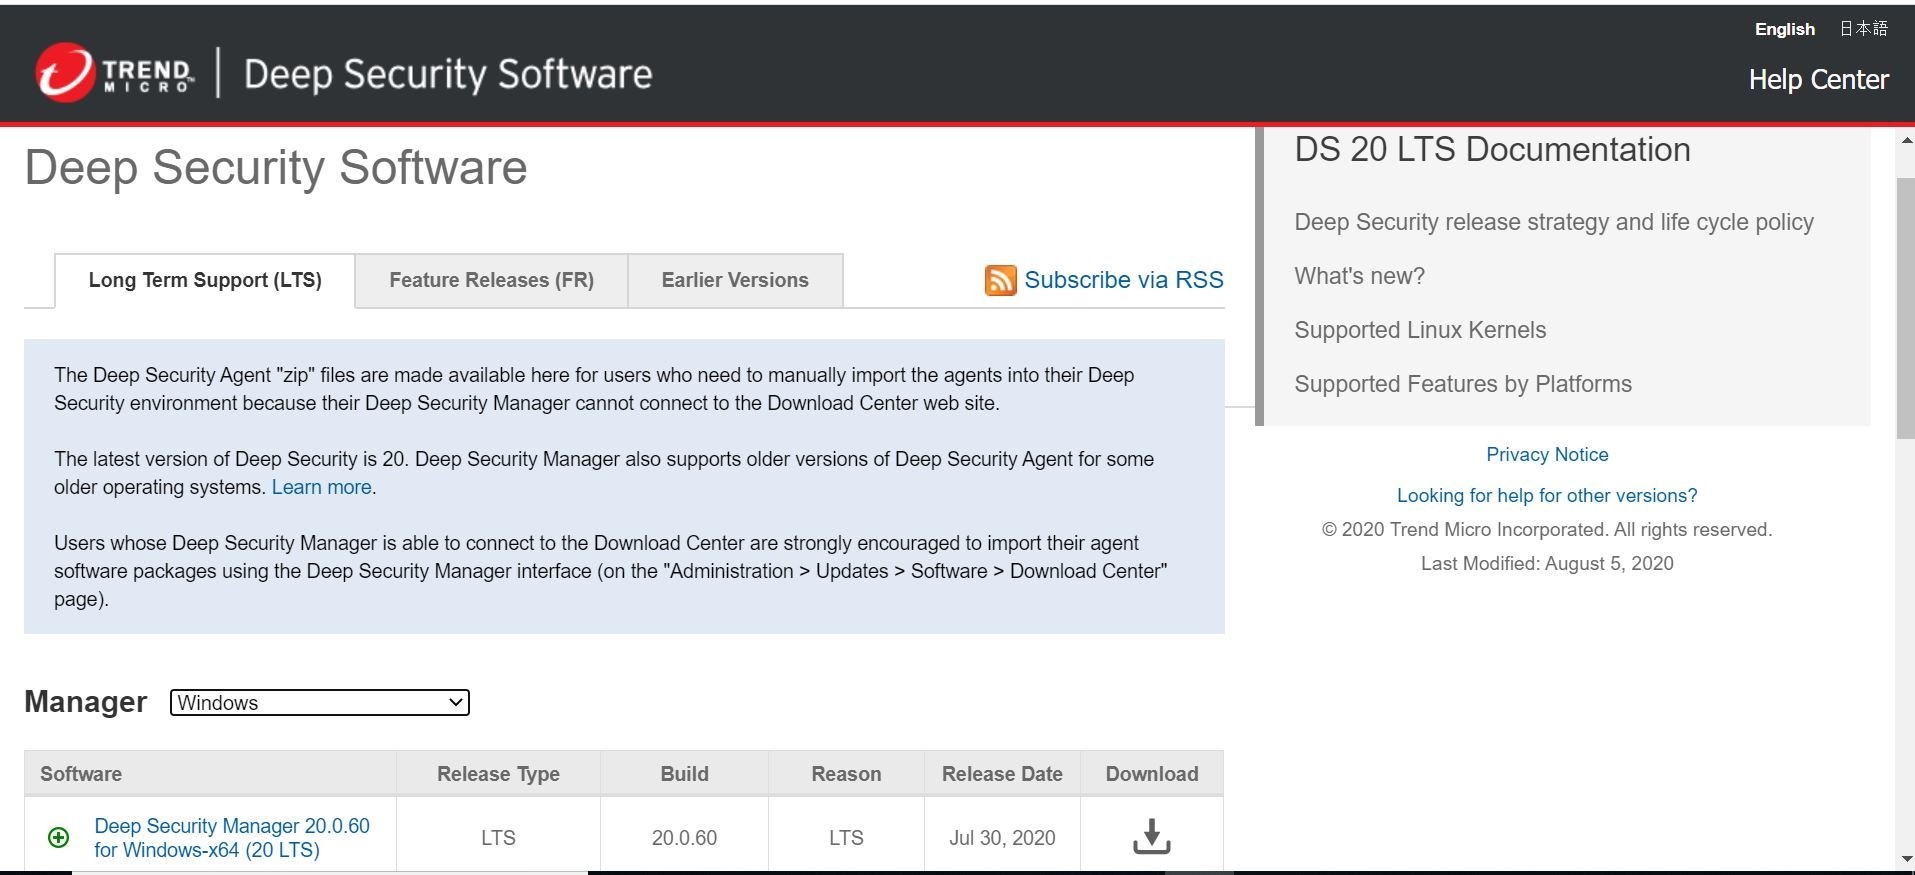
After the software download has completed, go ahead and copy the installation package to your Deep Security Manager Server.
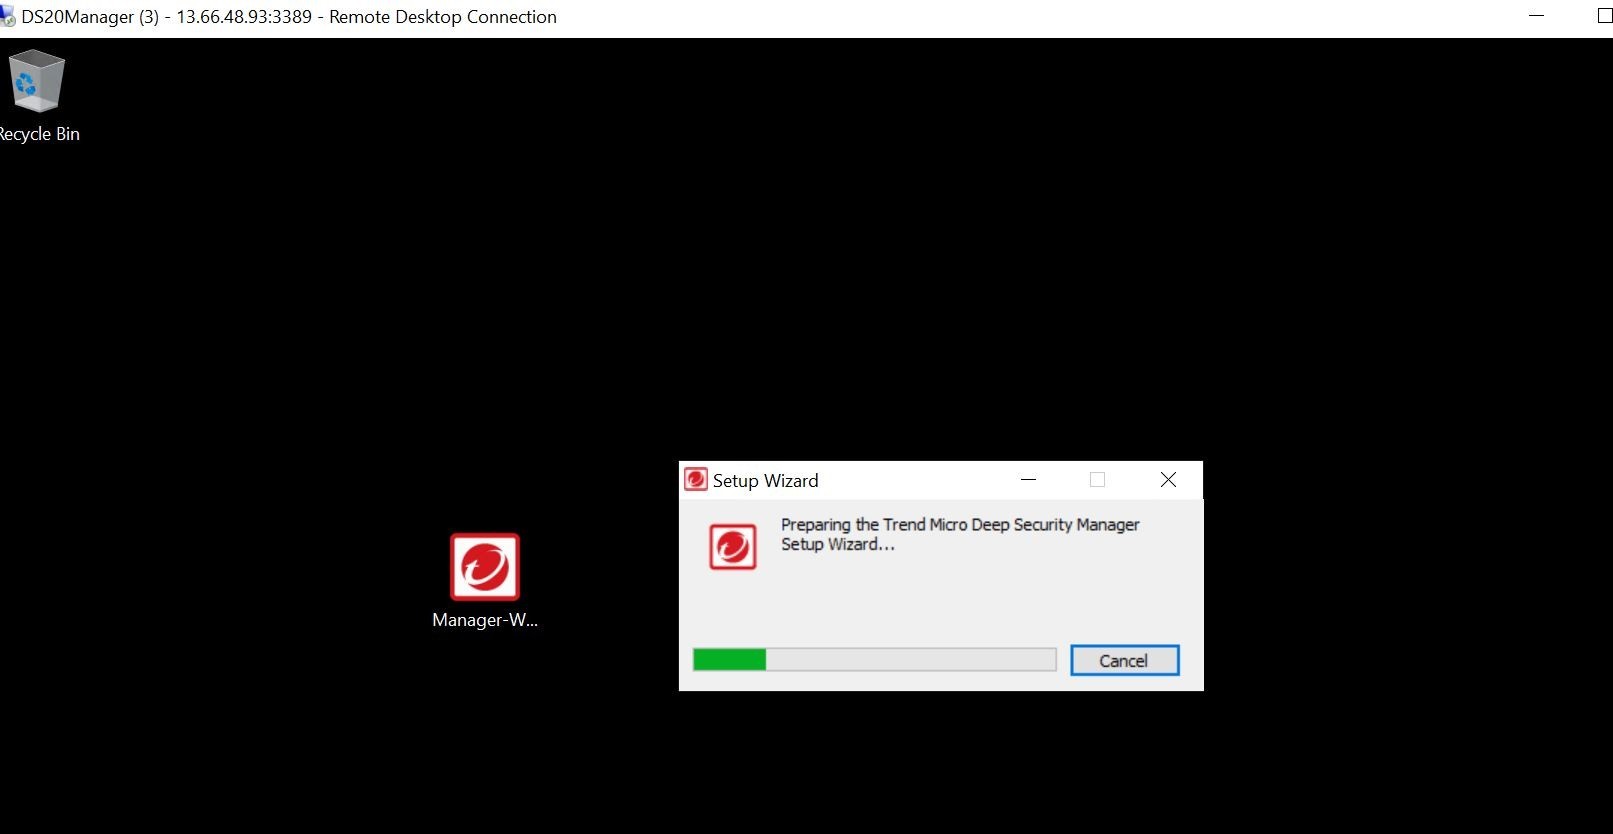
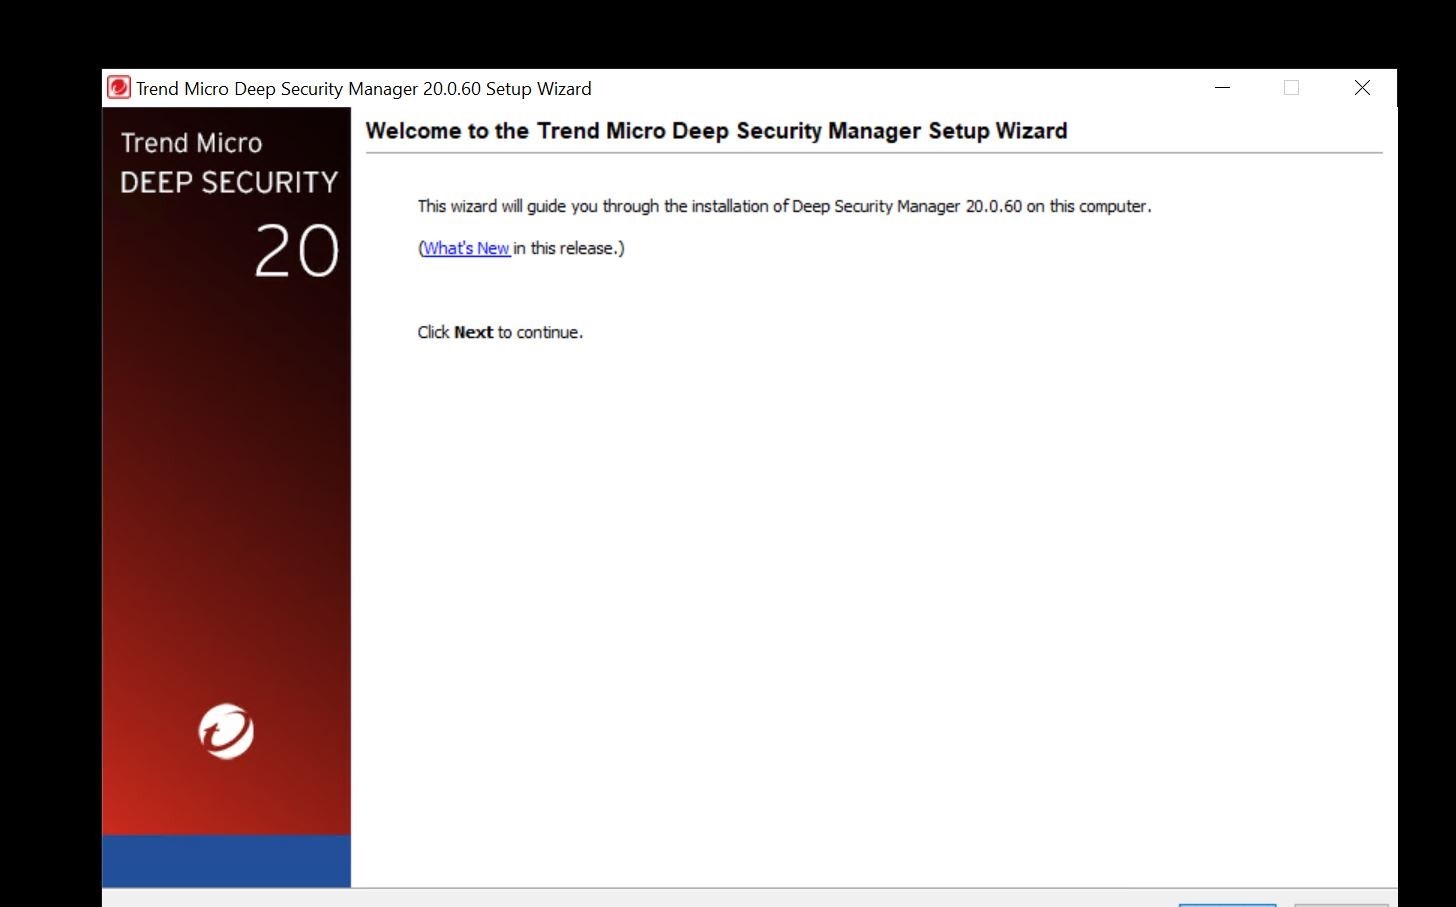
When you launch the software, it should start the installation wizard.
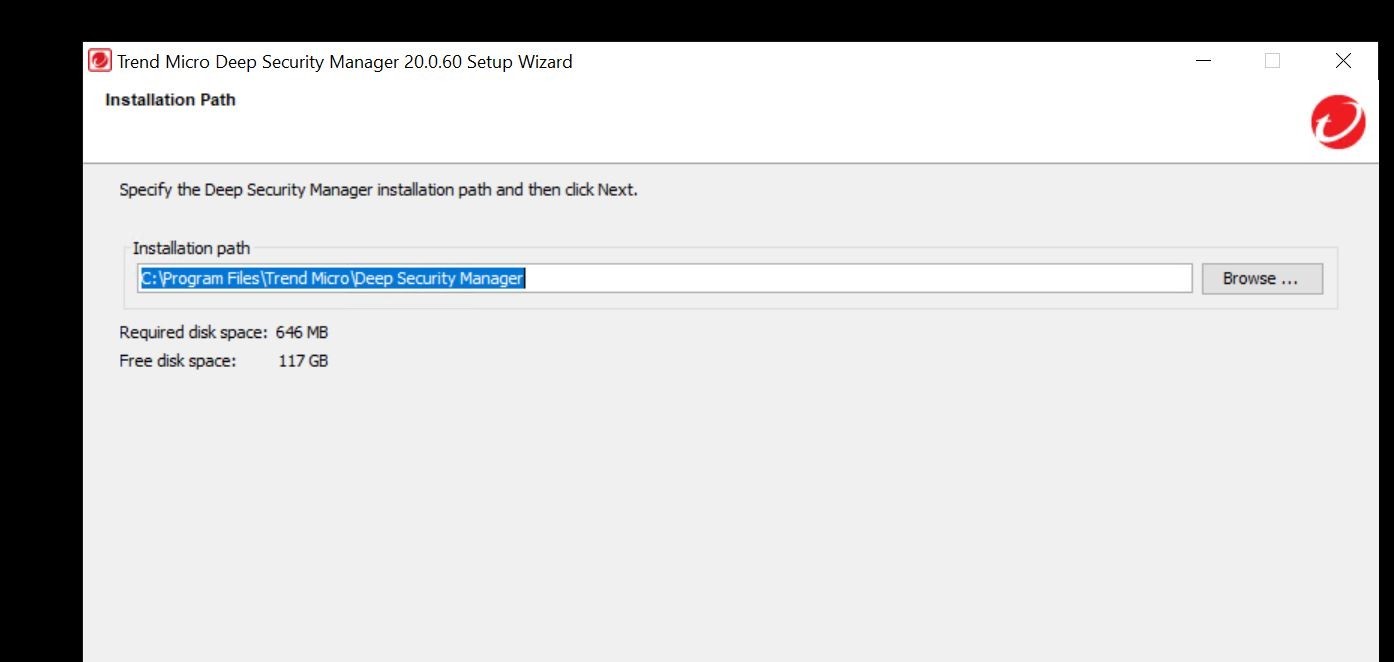
Standard stuff ahead, please pick your appropriate installation directory!
Next, you are going to hook it up to your Azure SQL Database! Exciting! Fingers crossed!
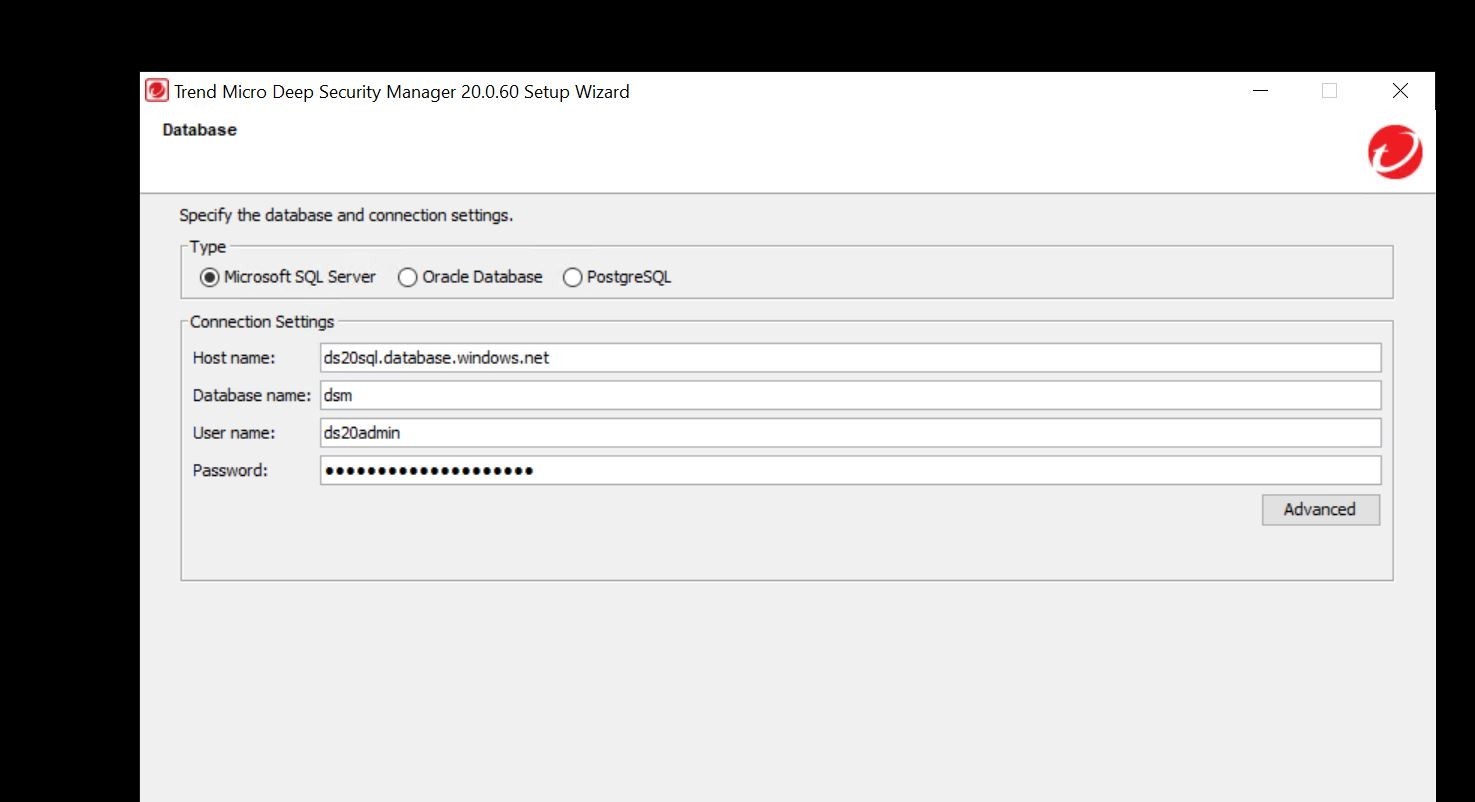
Then, it will run through the readiness check!
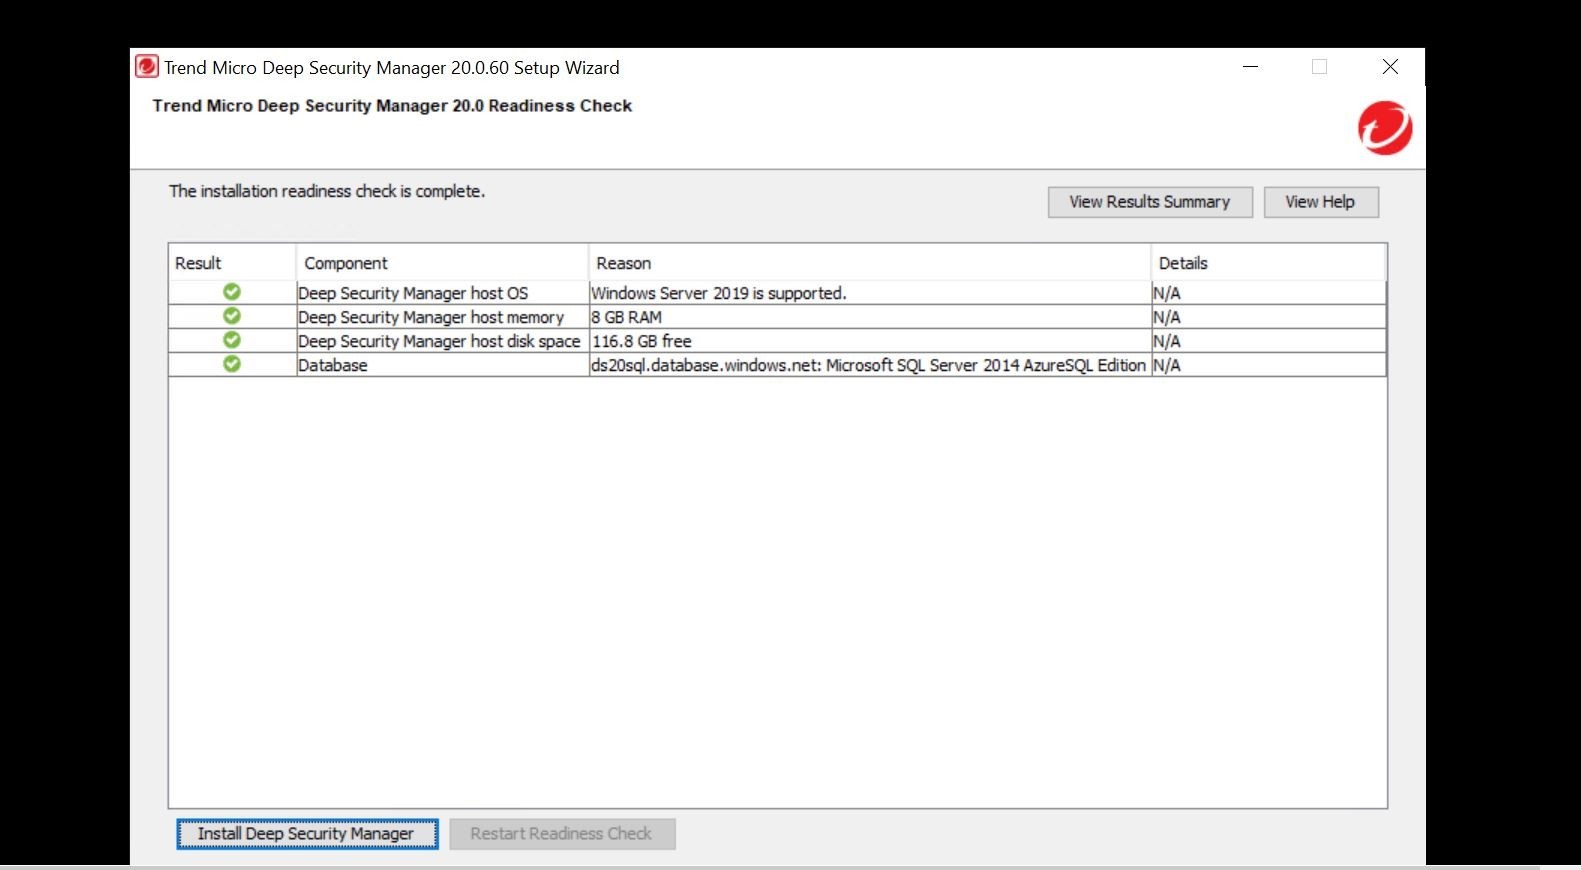
If all the system requirements including your Azure SQL Database are met for all required components, you will be able to run the installation!
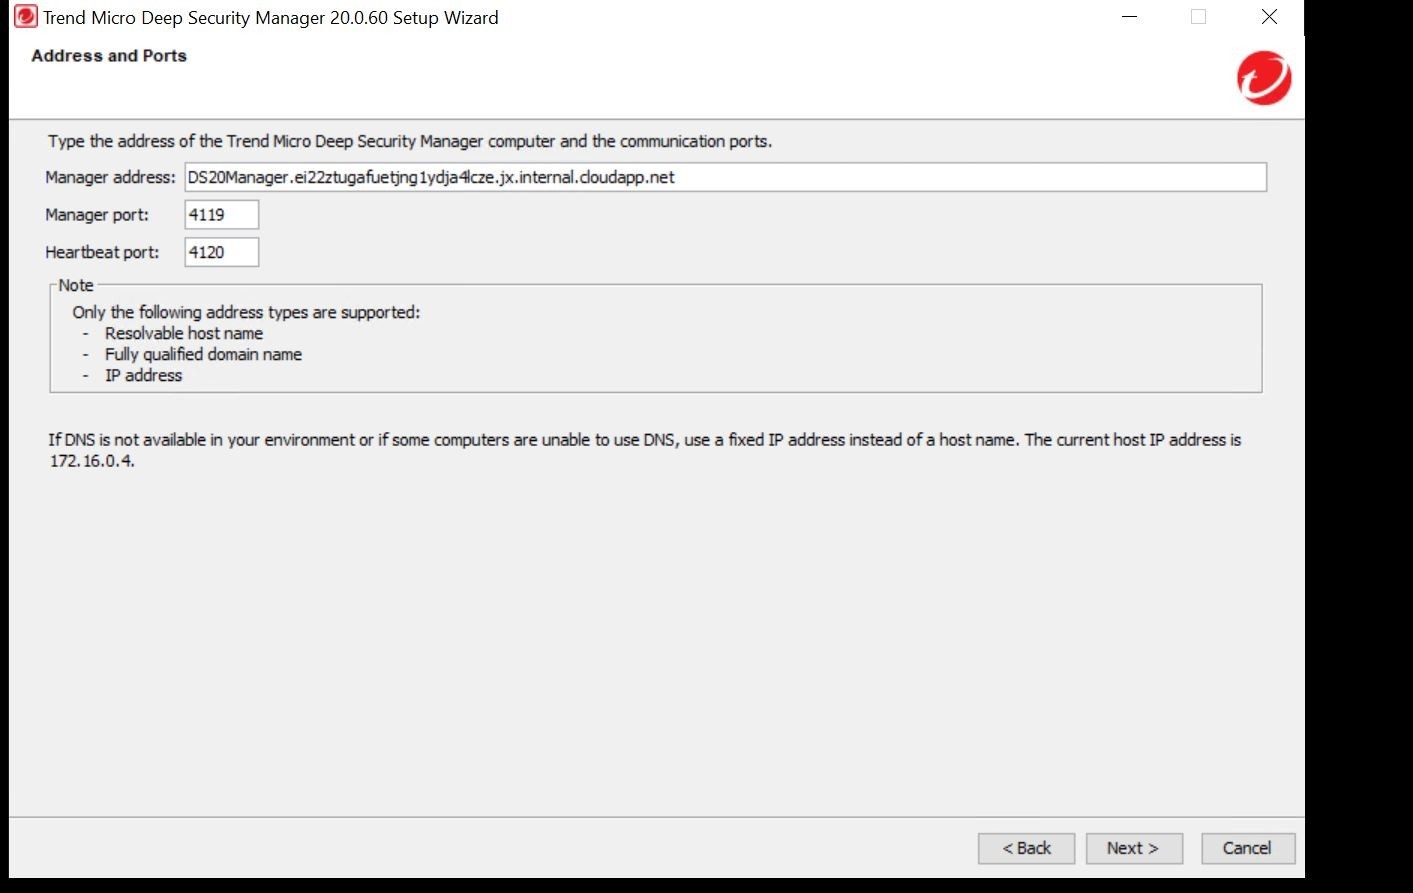
Here on the next screen is where you setup the address of the Deep Security Manager and the appropriate communication ports.
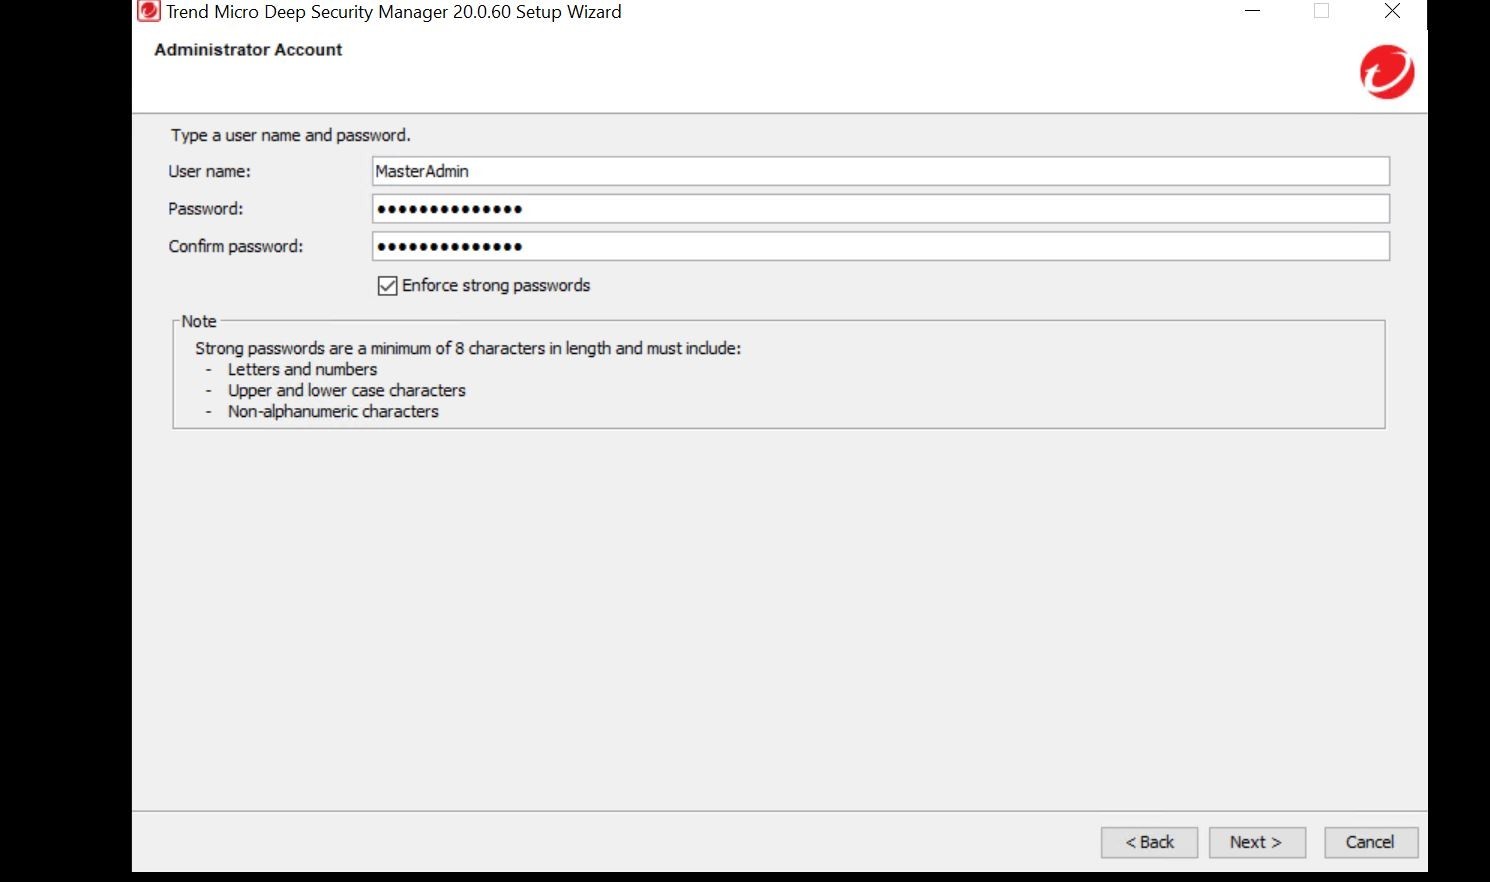
Also, you need to setup your all important Admin account! Make sure you record that!
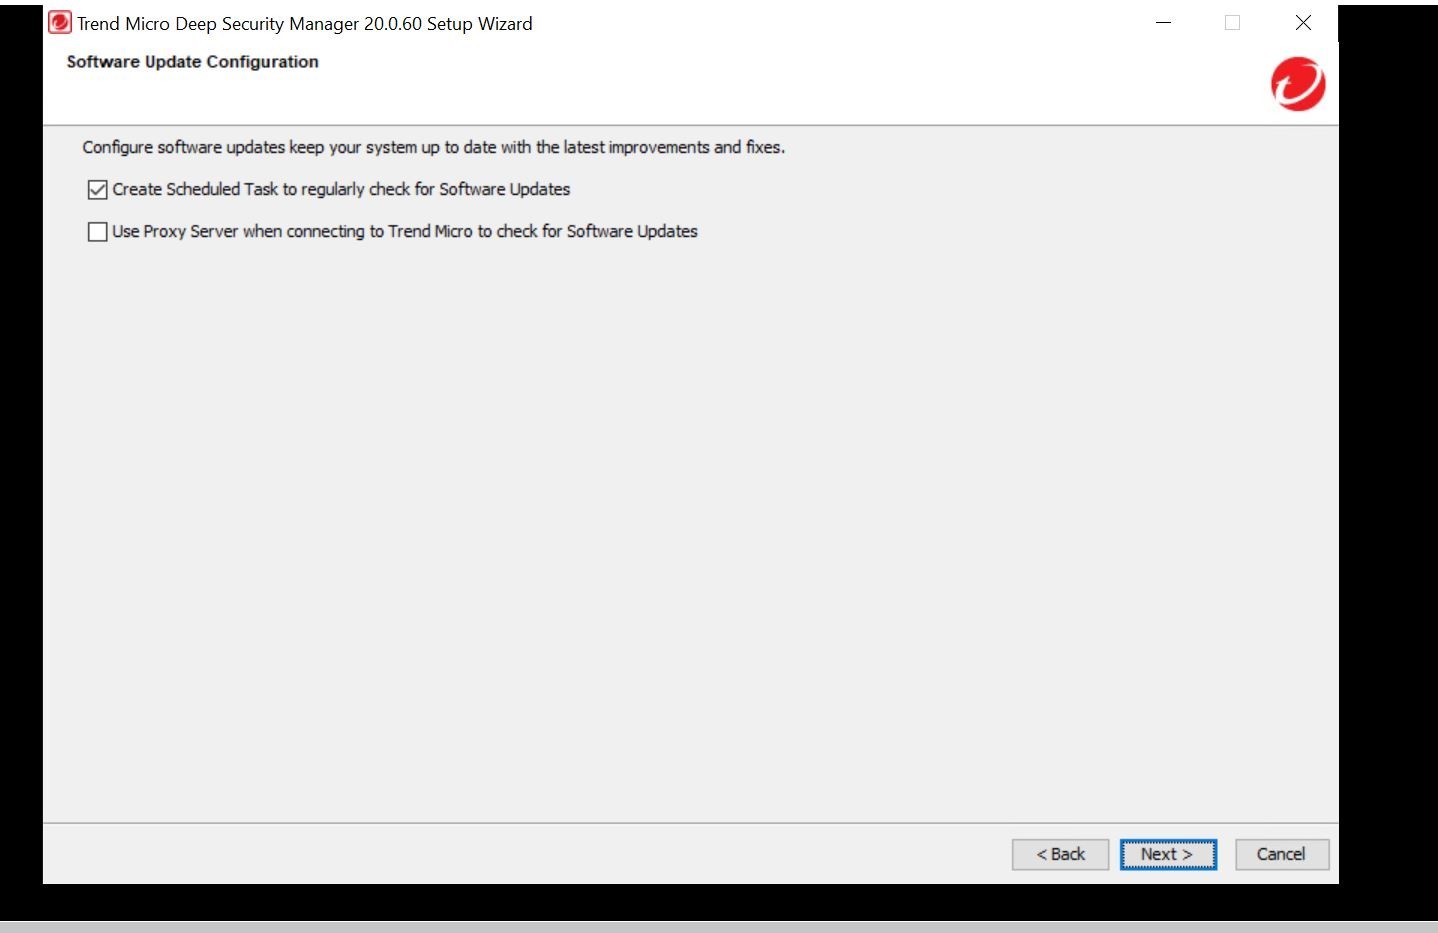
Next, make sure you have your scheduled tasks configured/checked to receive updates. This is important!
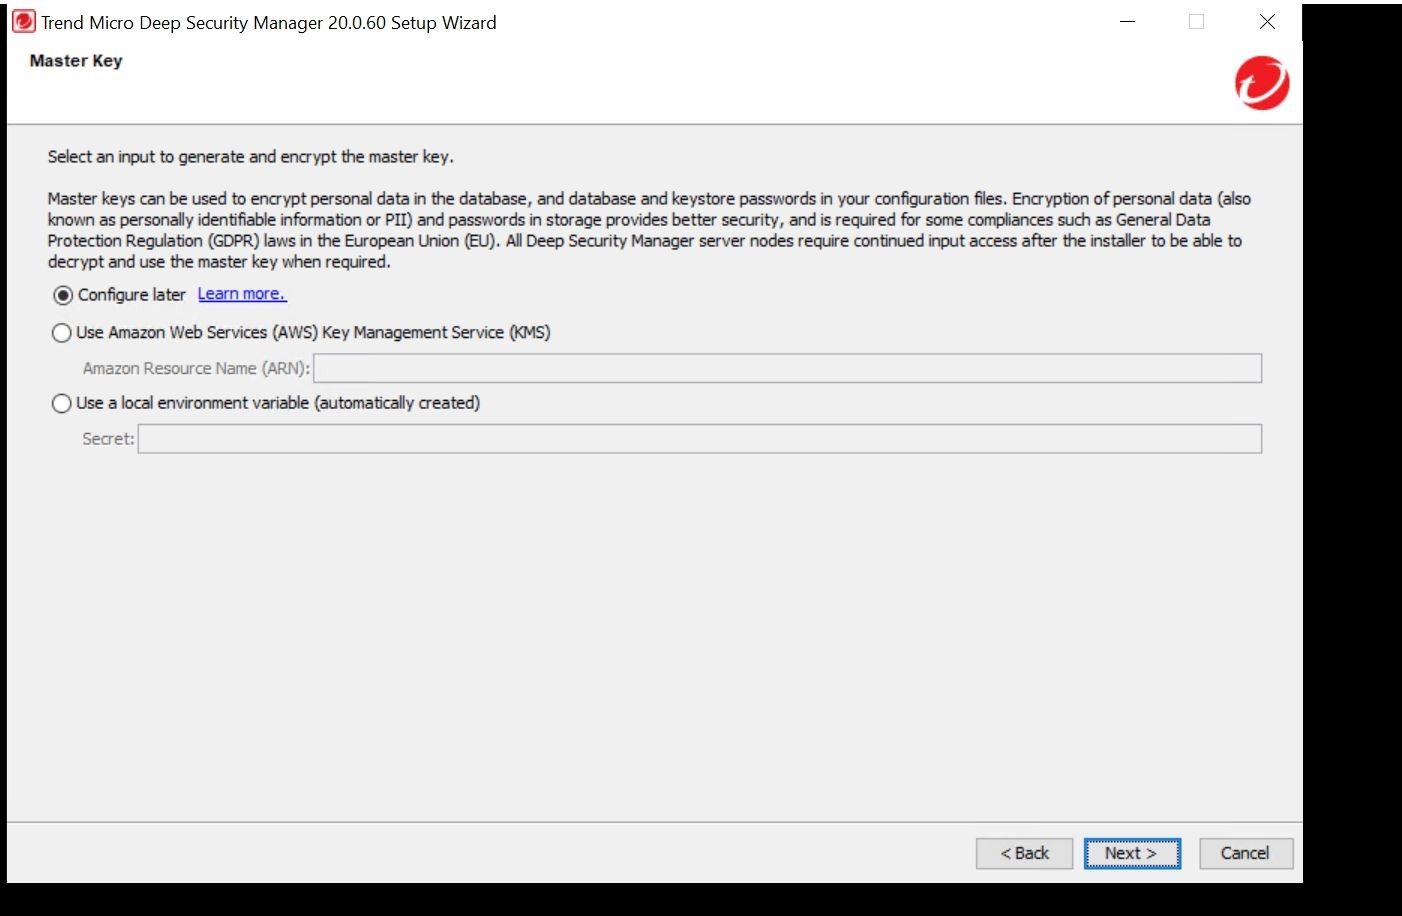
This in an optional step to encrypt the Master Key for the database.
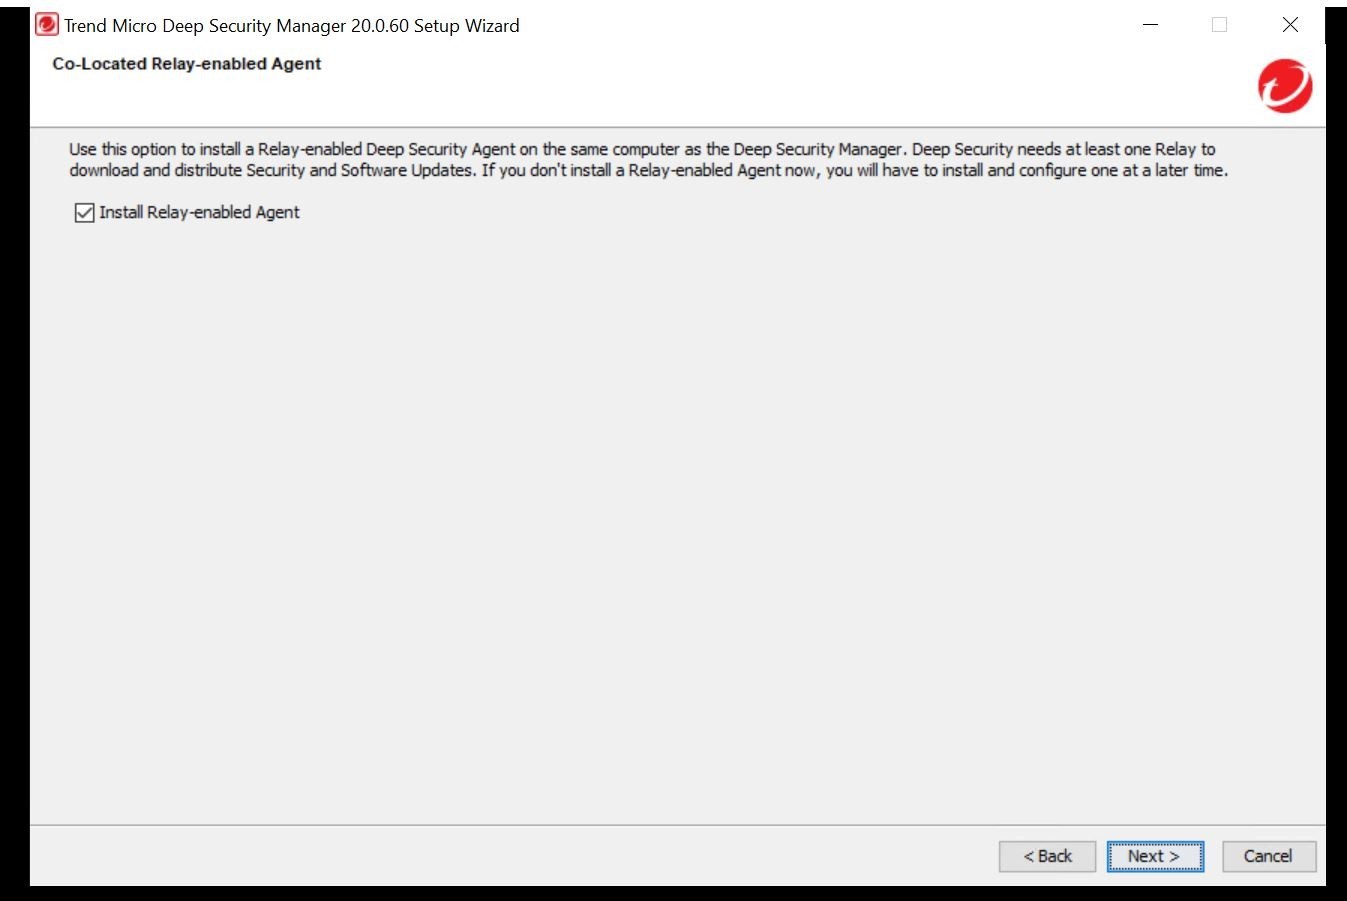
Next, make sure you setup the Deep Security Manager server as a relay agent. You can also have multiple relay agents dispersed in your environment!
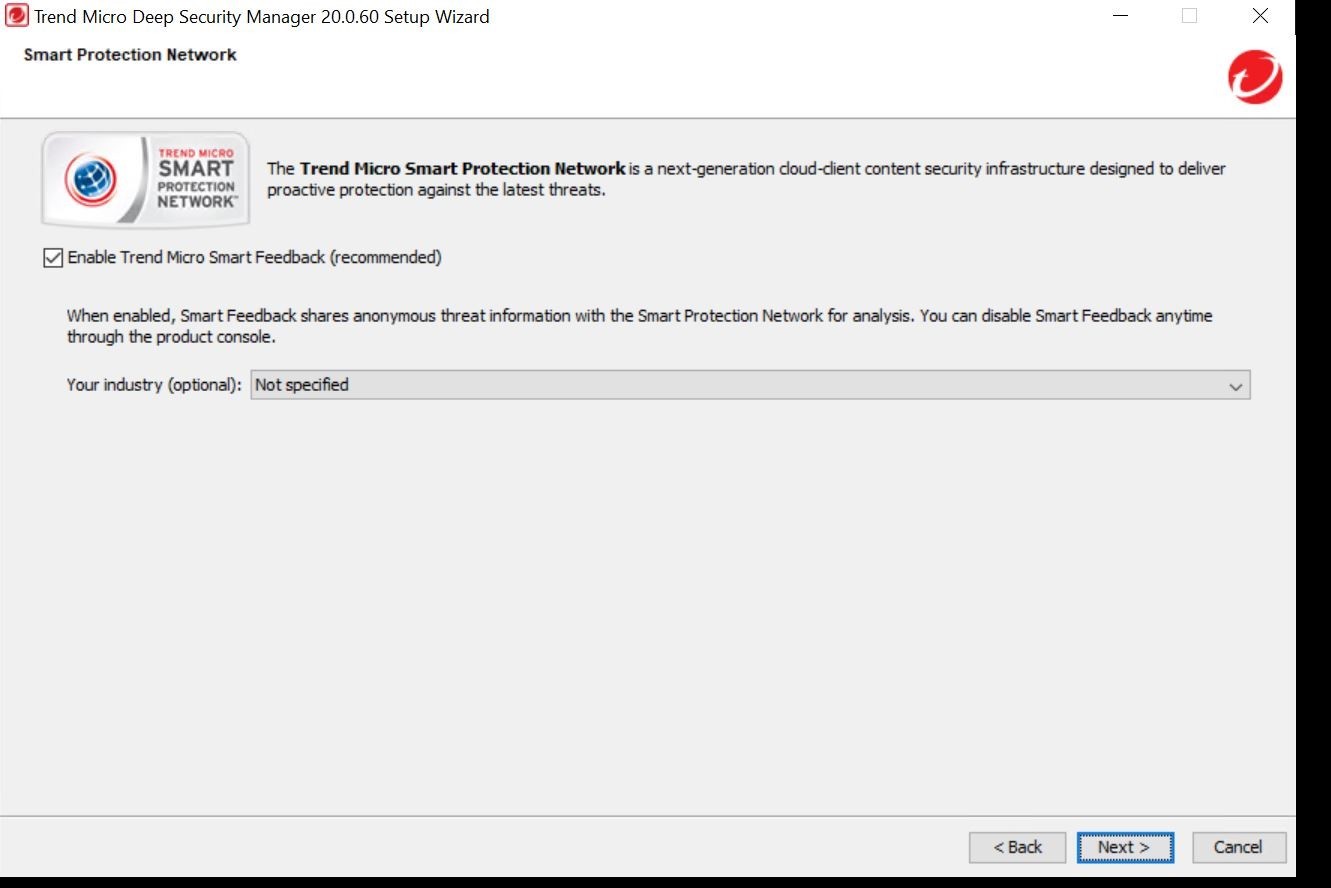
Please check to make sure the Smart Protection Network is configured.
Lastly, you should get an installation summary/confirmation screen.
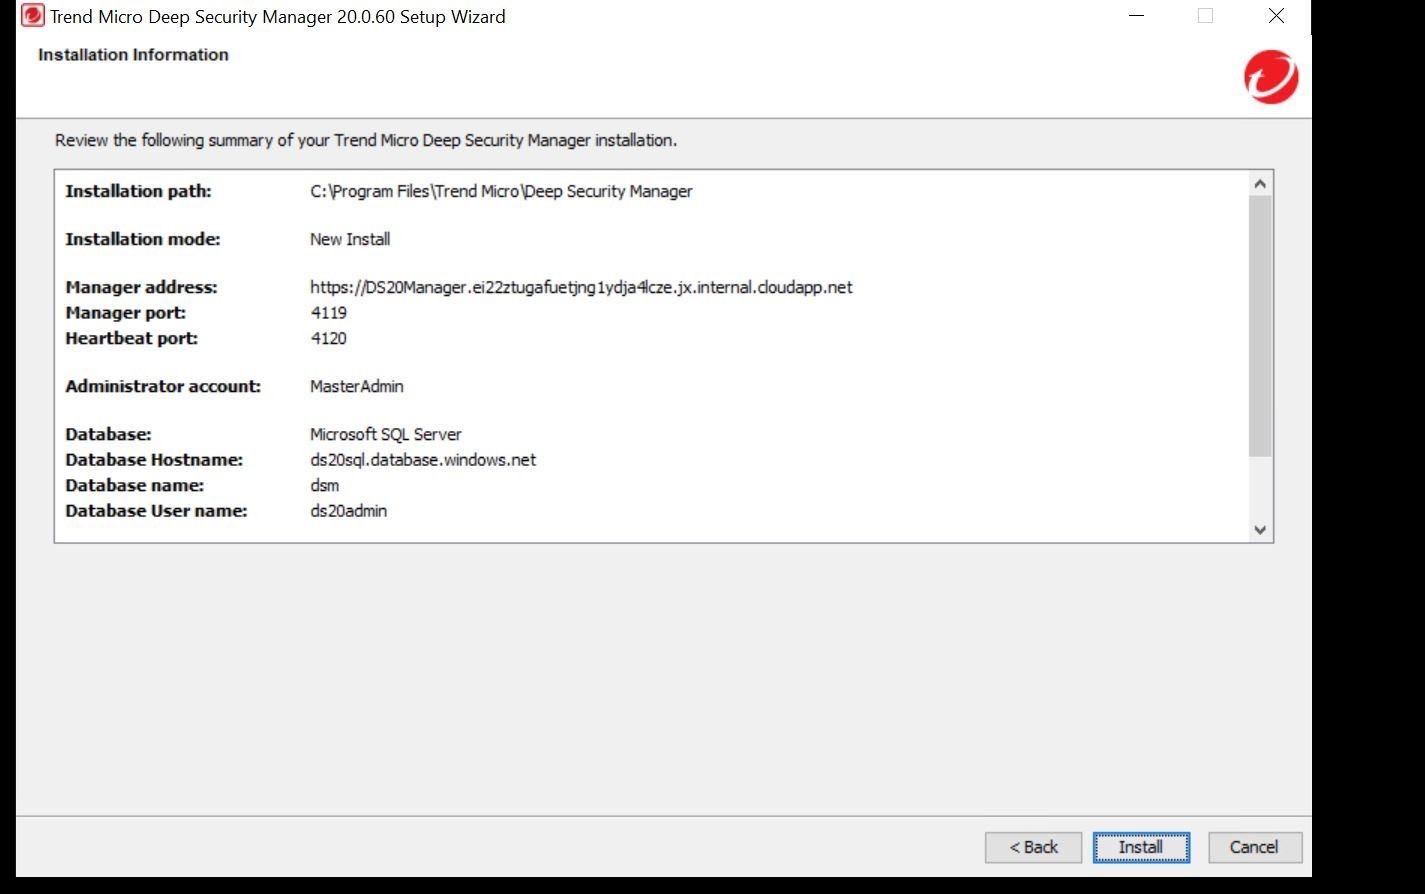
When everything looks good on that screen, go ahead and click the install button and step away from the computer for a bit! C’mon take a break!
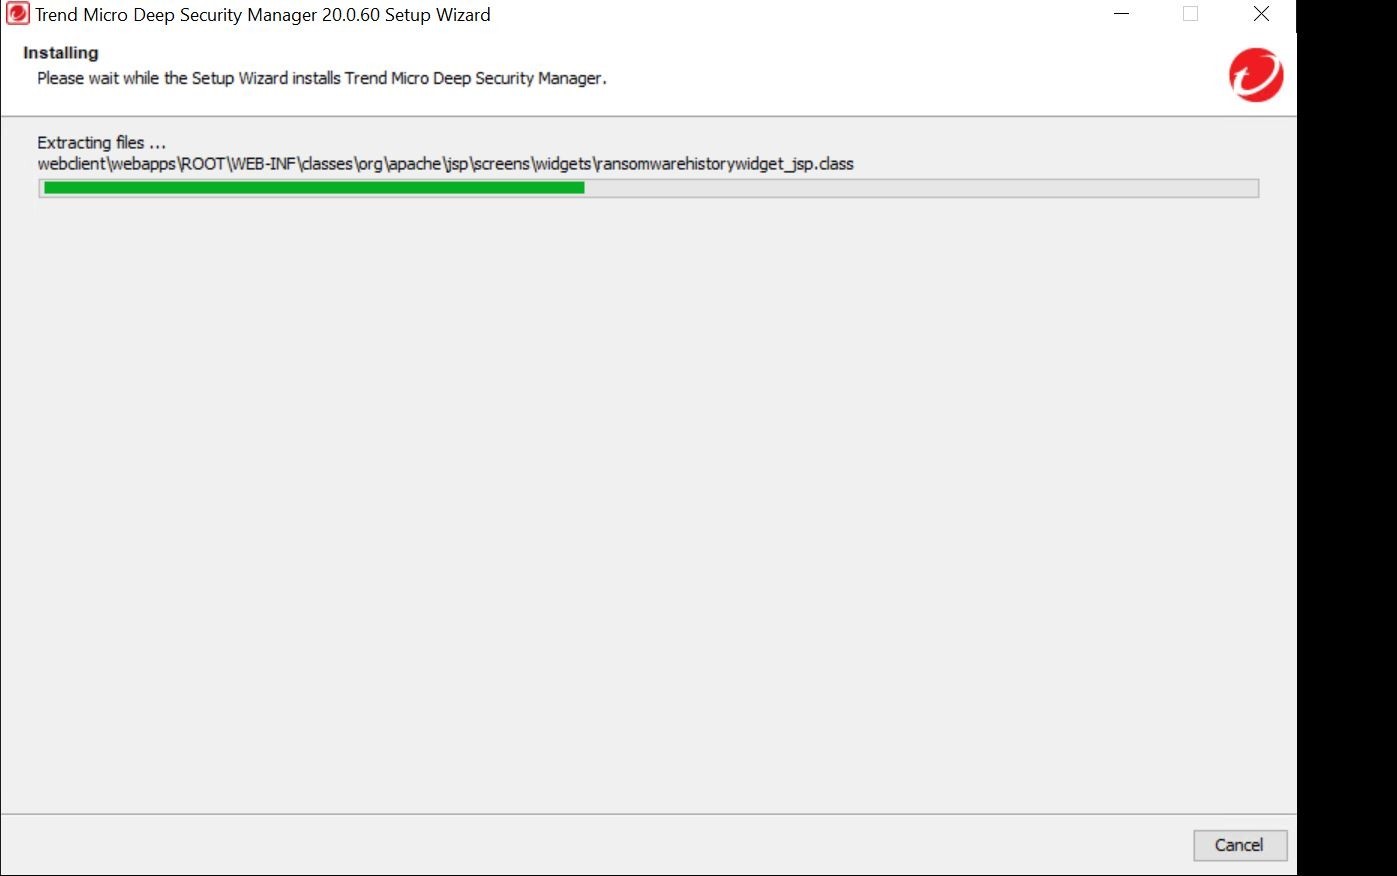
Installation should progress as shown above! Gotta love watching progress bars!
Once installation is complete you should get an installation complete screen!
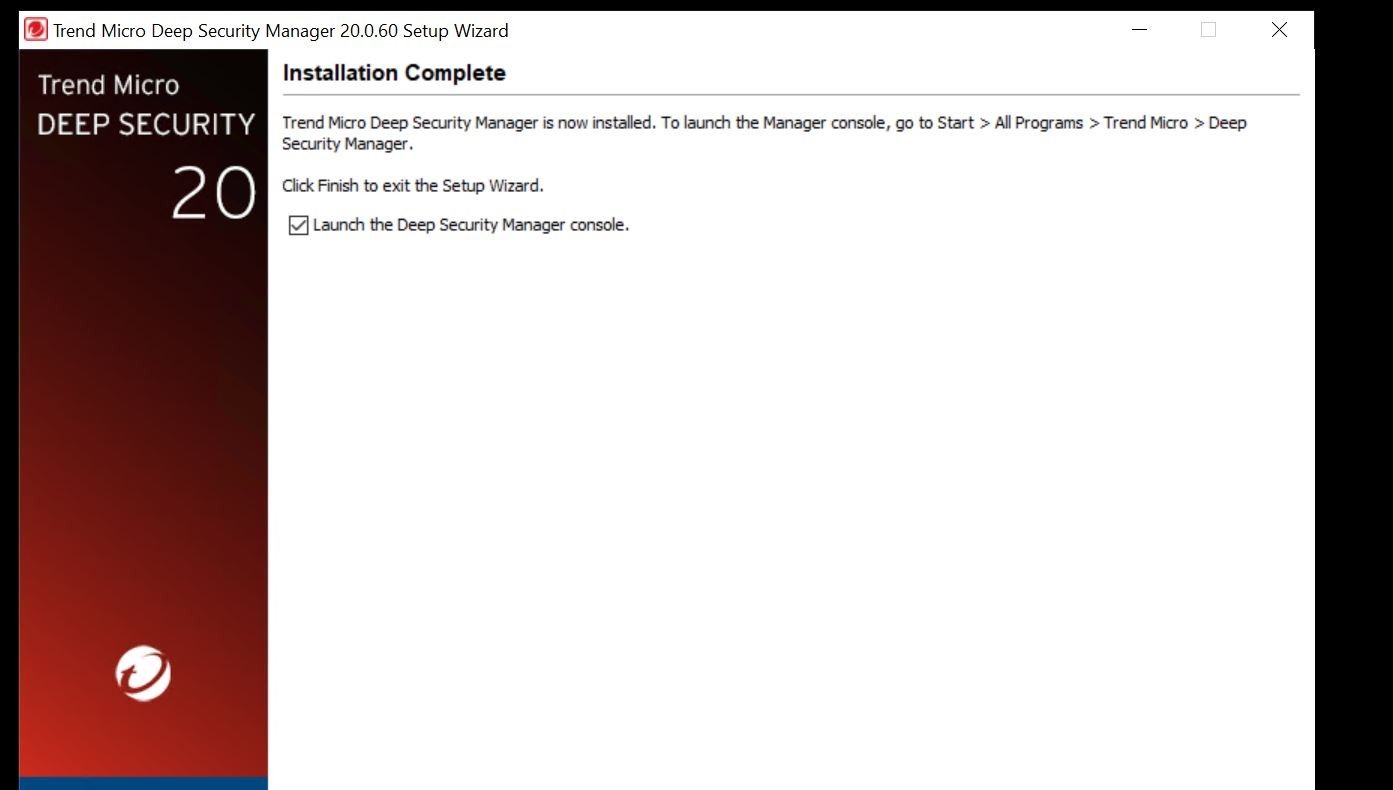
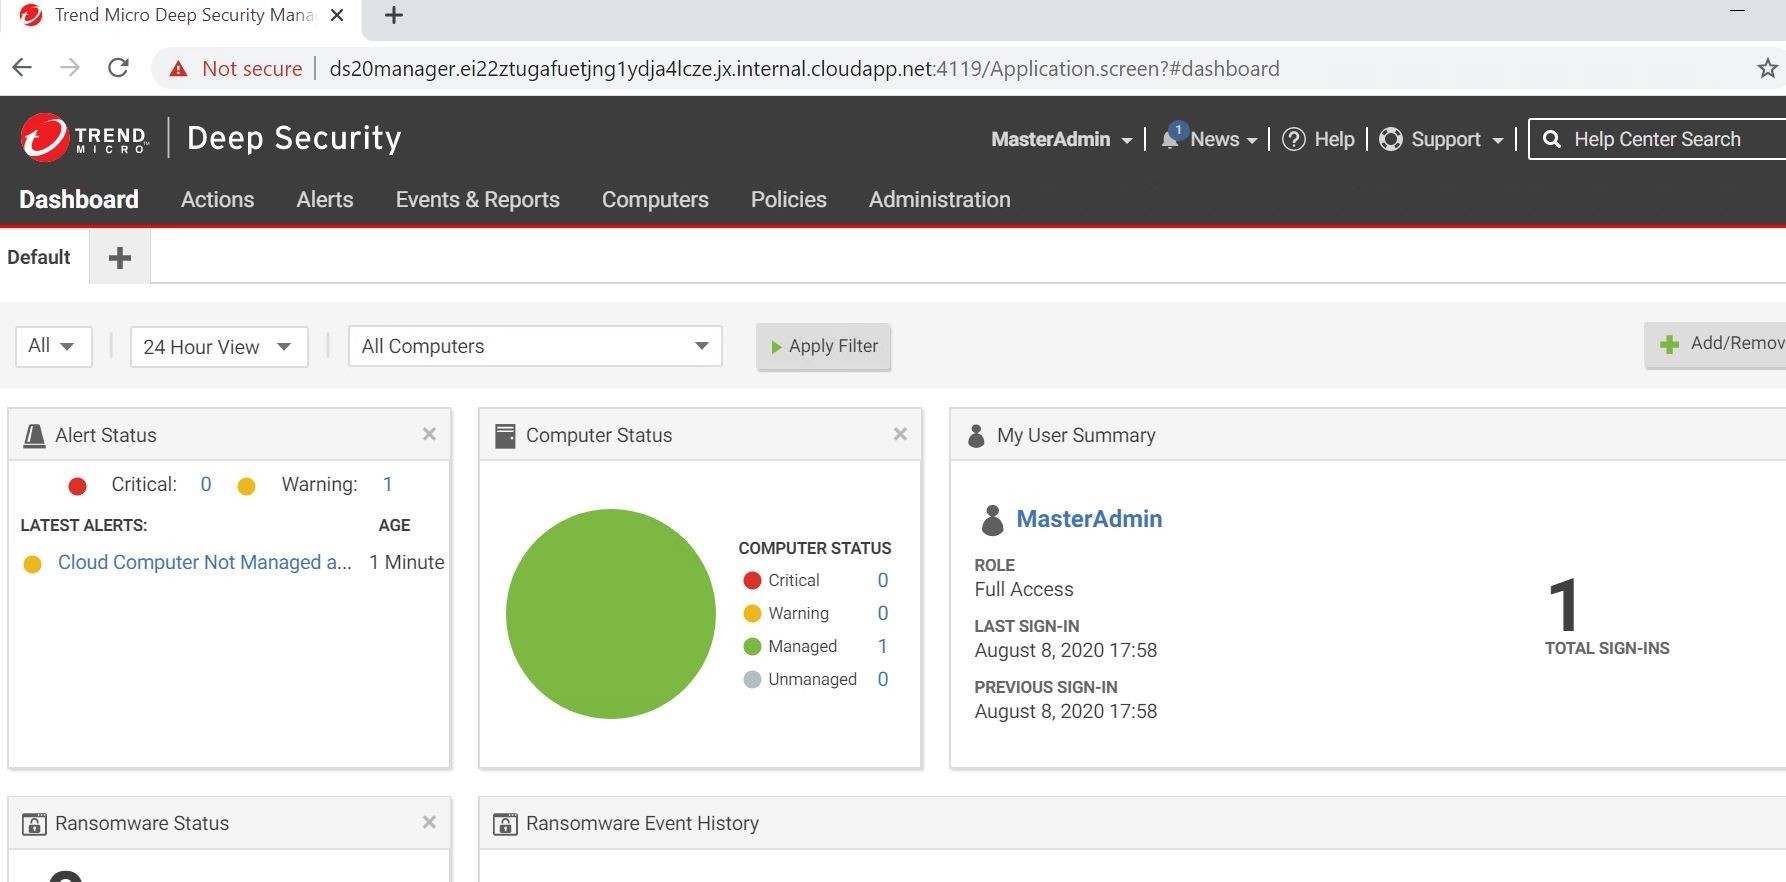
Congratulations! You have a successful installation of the product! Let’s go ahead and make sure we can sign into the Trend Micro Deep Security Software Console.
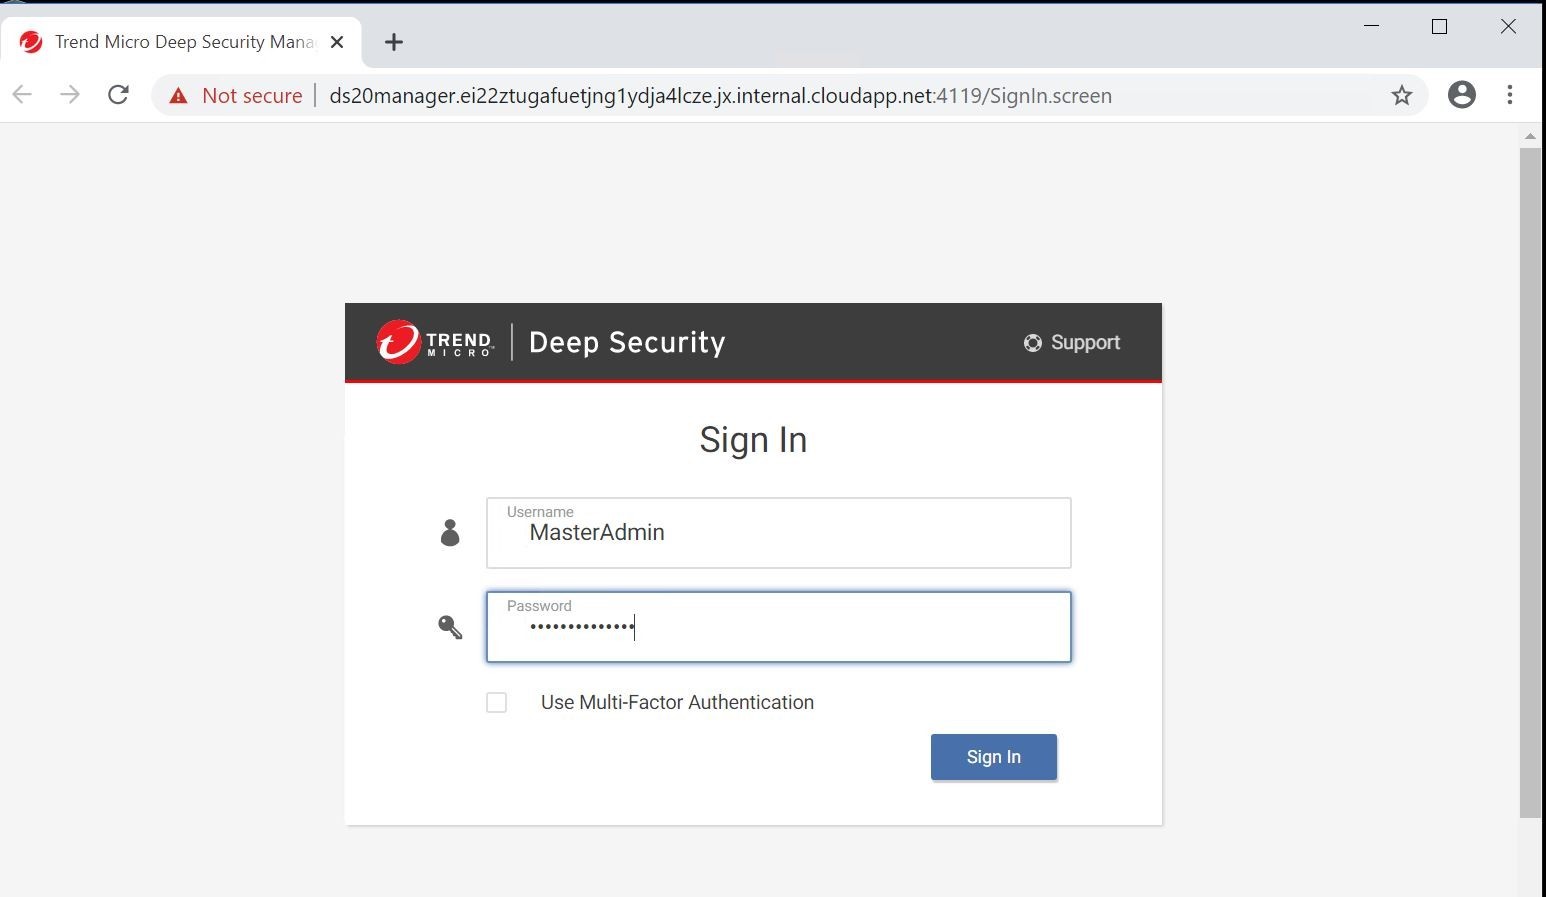
Ok, there we have it! We have successfully logged on to our brand new Trend Micro Deep Security 20 installation running in Microsoft Azure. It is also utilizing an Azure SQL Database Serverless backend. Pretty cool!
Tags
sXpIBdPeKzI9PC2p0SWMpUSM2NSxWzPyXTMLlbXmYa0R20xk
Read More HERE


